

Let’s Paint Upholstery to Look Like Leather!
Have you ever painted upholstery? I have seen lots of videos of people converting the look of fabric-covered furniture into pieces that look like leather! They claim that the fabric actually feels like leather – or at least faux leather. Some of the people use chalk paint then wax while others use latex or acrylic paint and add fabric softener or fabric medium to the paint. While I’ve considered giving this technique a try, I was not willing to test it on a piece of furniture that I use all the time at home. However, one of my sons recently bought an upholstered wing-back chair at Habitat for his home office. He asked if I could make a slipcover for it once he made a decision on the material he wanted to use. He said he really wanted a leather chair for that room but since those are pretty expensive, he was settling for a slipcover. I said I could make a slipcover (although making one for a wingback chair is not an easy task) but I remembered the paint technique and wondered if painting the chair would actually make it look like the leather he wanted? I figured it wouldn’t hurt to give it a try. After all, if it came out looking awful, I was already planning on making a slipcover….but, what IF it came out wonderful?!
- Original look of the chair
- To paint or not to paint
- Supplies needed
- Prepping the chair
- Preparing the paint
- First coat
- Second coat
- Third coat
- Fourth coat
- Final coat
- Adding clear wax
- Dark wax
- Refinishing the legs
- Final Touch
- Finished leather chair
- Before, During, After
- The son's reaction
- Instructions
- For your convenience
- Want more project ideas?
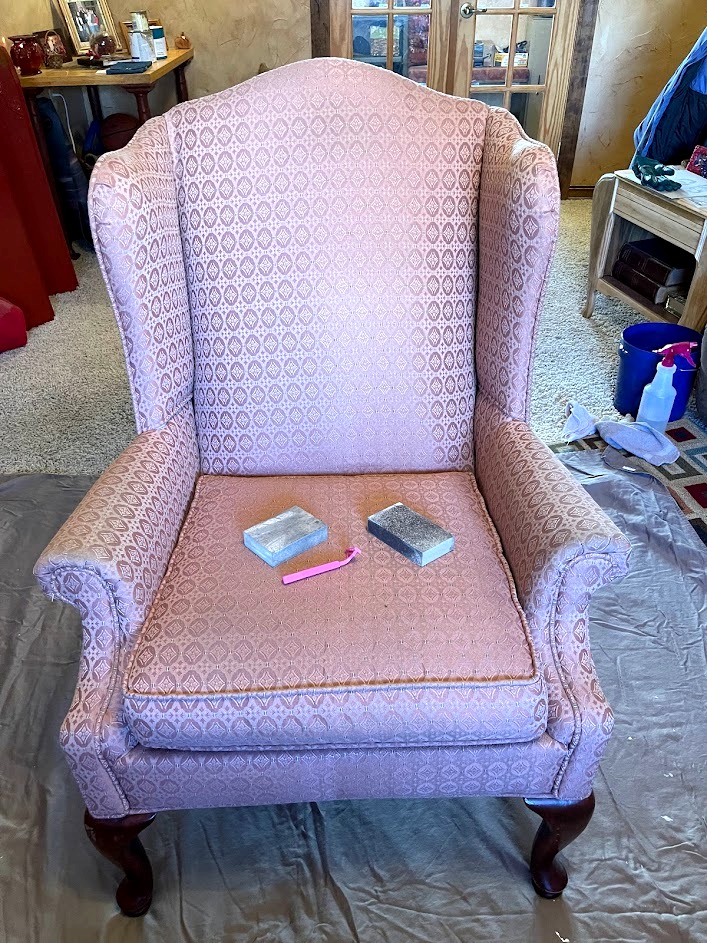
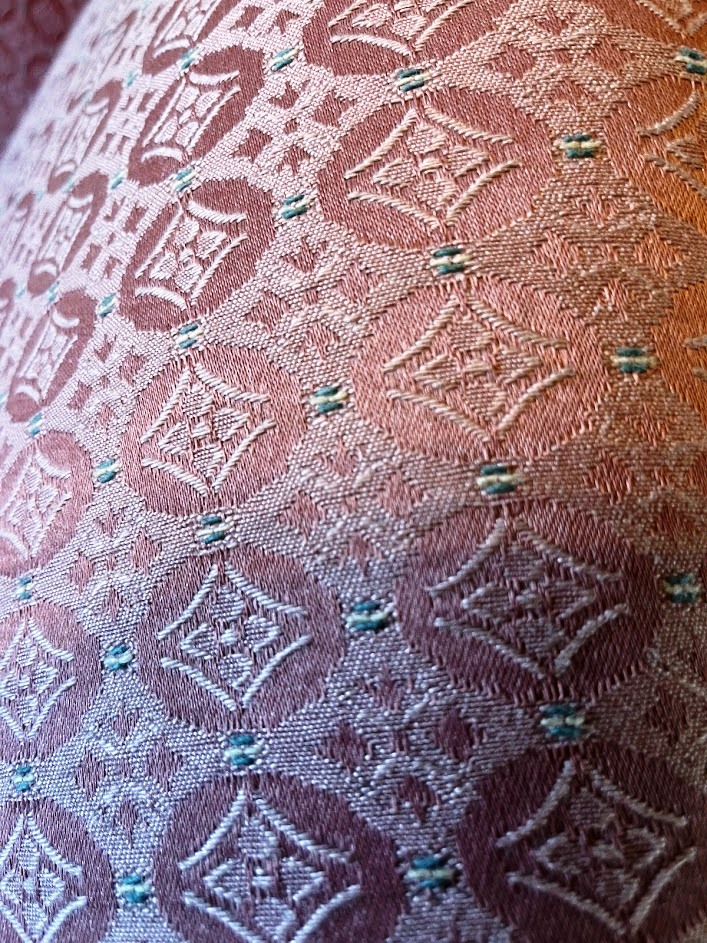
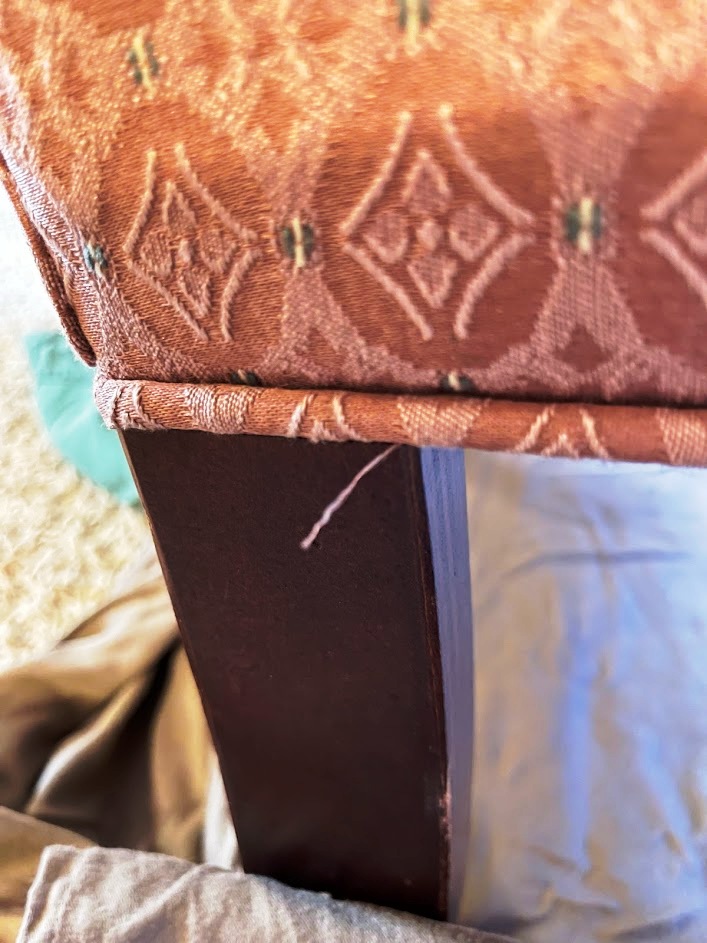
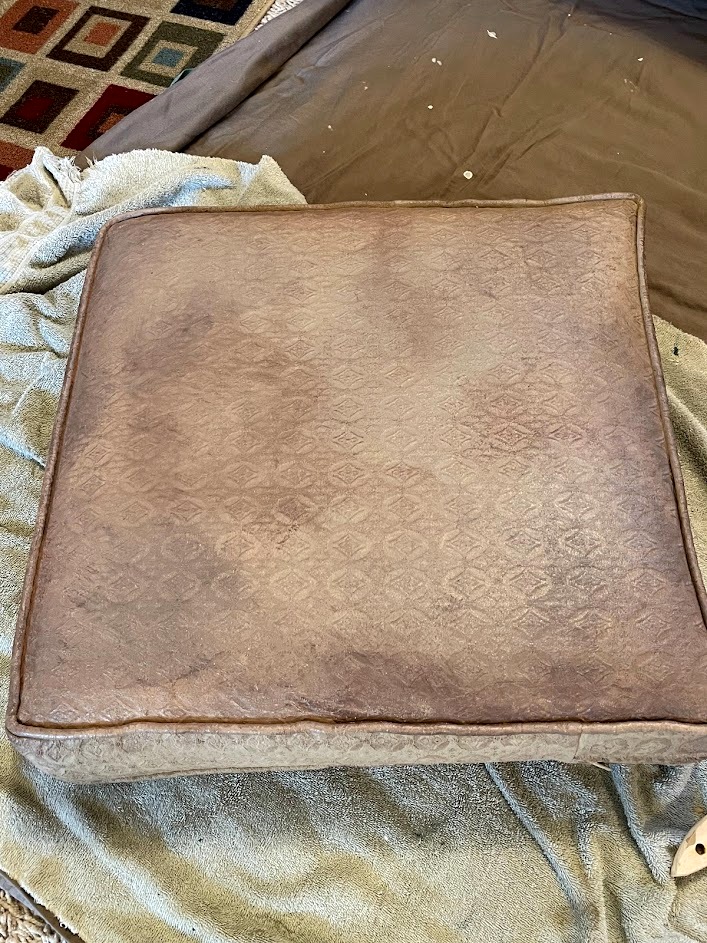
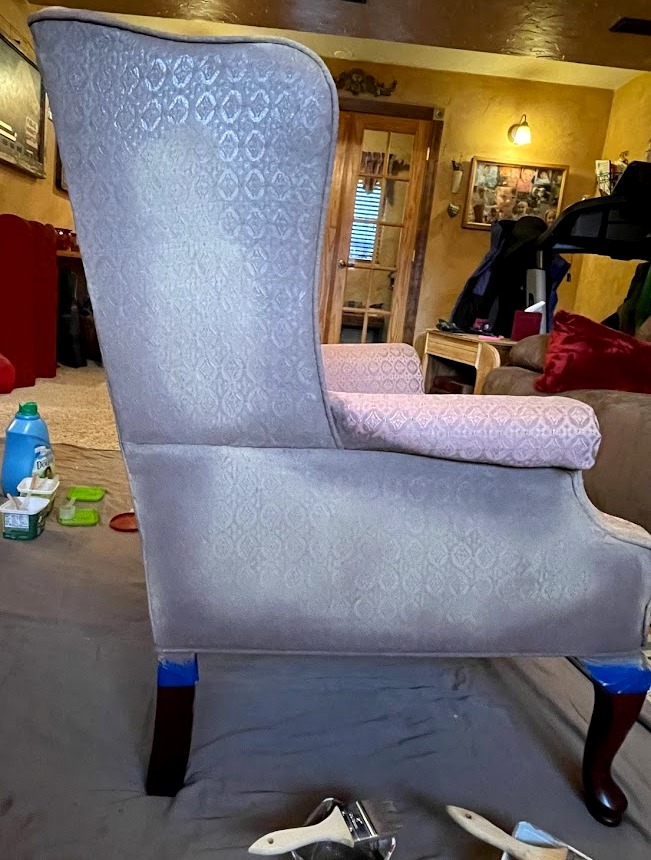
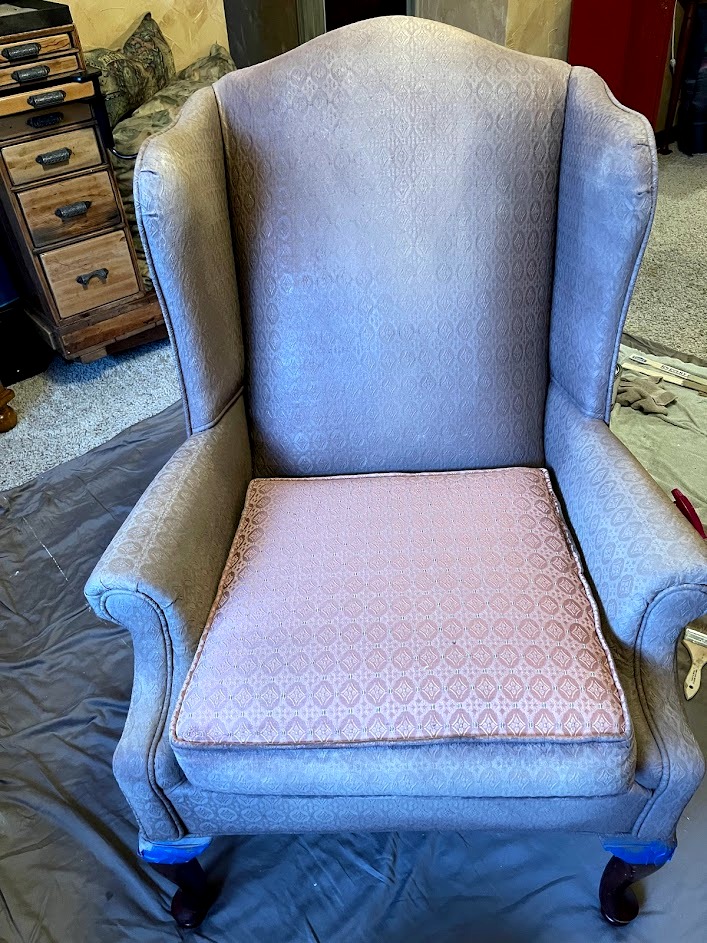
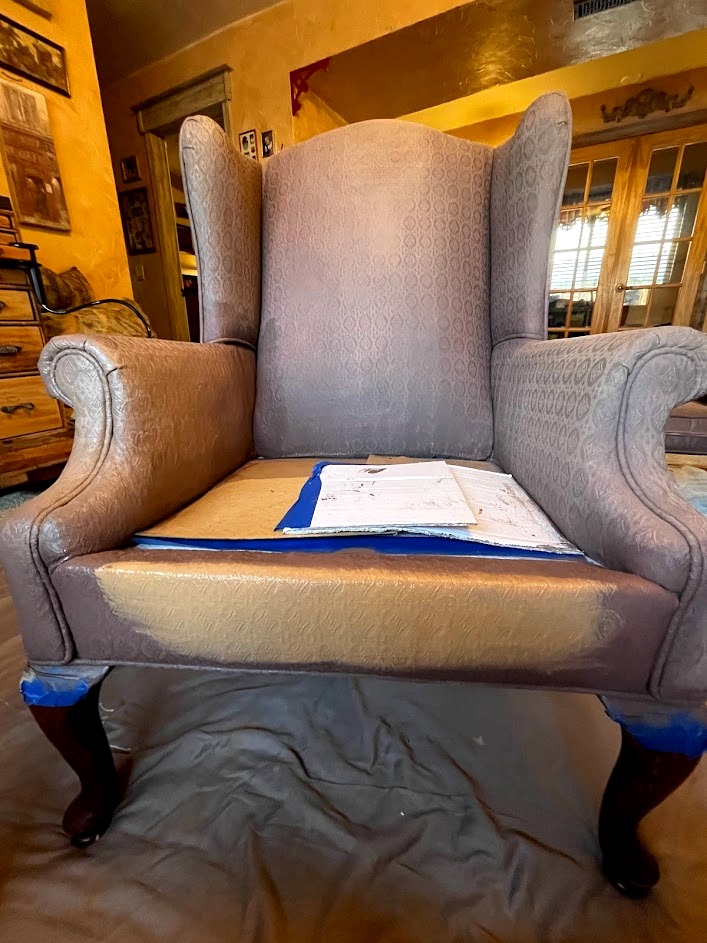
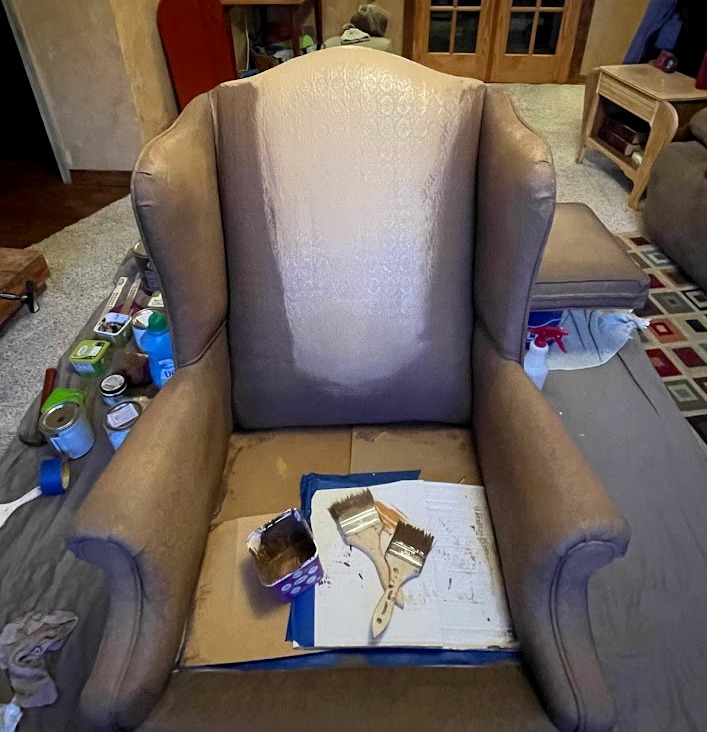
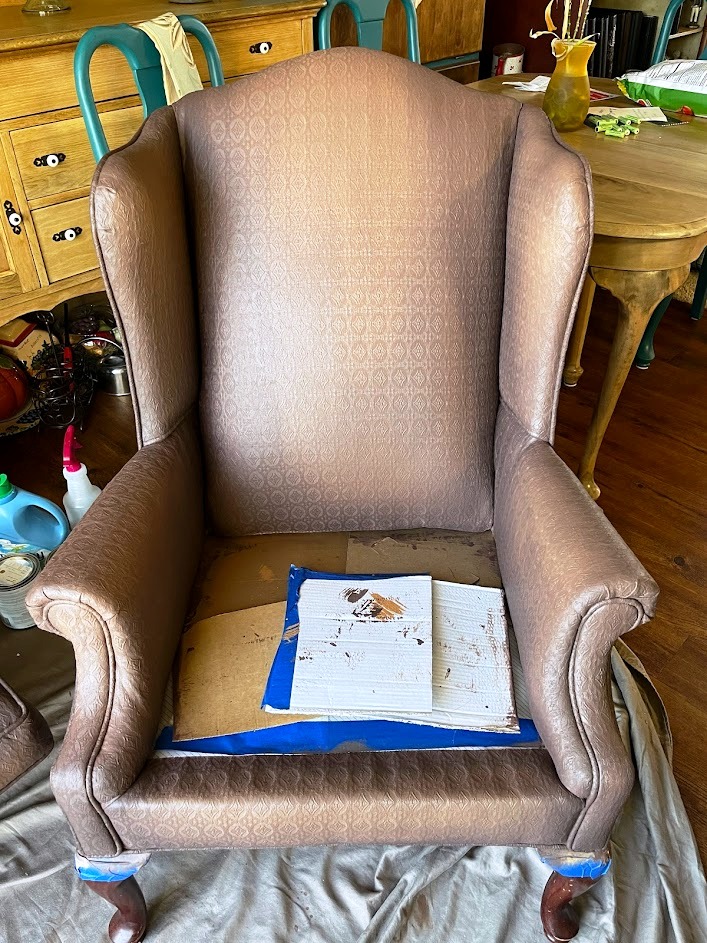
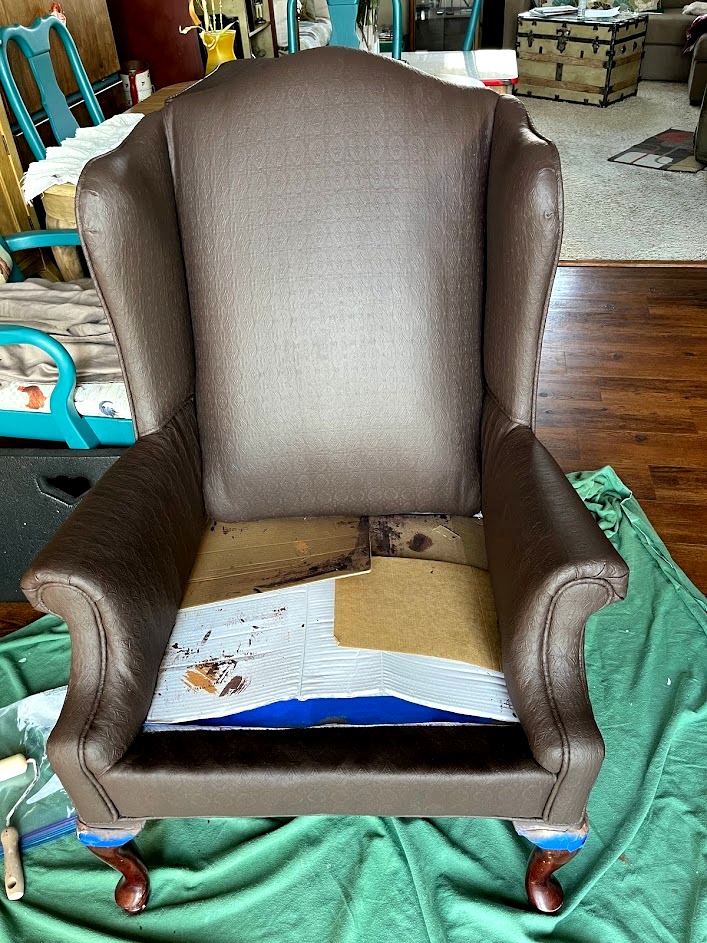
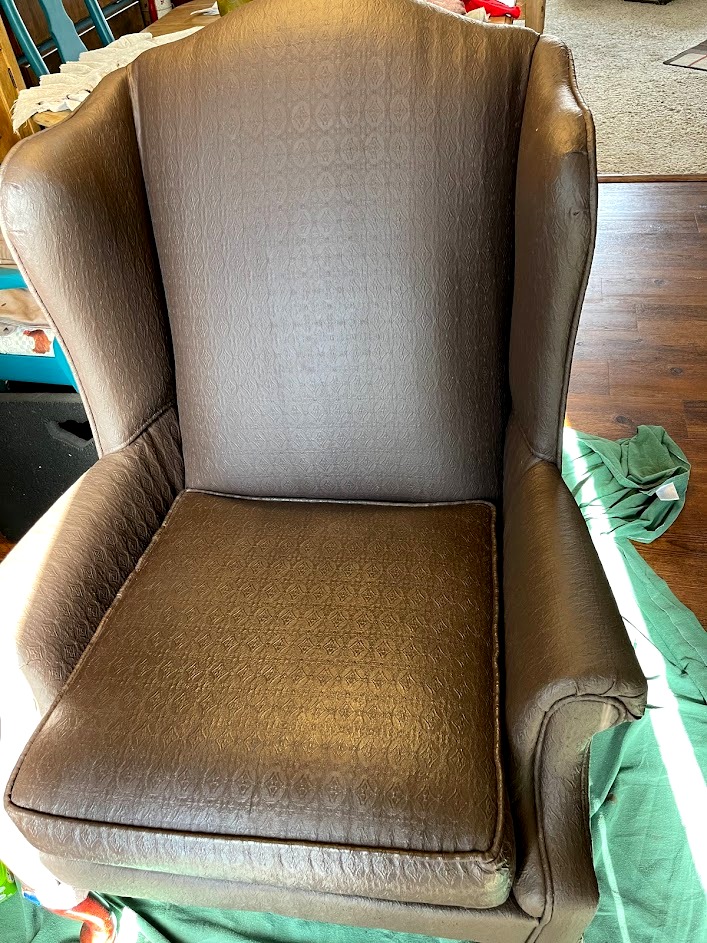
Original look of the chair
This pink chair with little blue accents is the one my son found at Habitat for $25. I was surprised he bought it but he said that when he sat in, it was really comfortable so even though it was pink, he bought it. The chair is nice and sturdy and the fabric was actually in really great shape with no stains, rips, or tears. We discussed what type of fabric he was thinking about for a slipcover and he said maybe a plaid but wasn’t sure in case he found a plaid rug to use in the room. Since he really wanted leather, I suggested that I try to reupholster the chair instead of making a slipcover. I’ve not reupholstered before but felt fairly confident that I could do it; he seemed less confident in my upholstery abilities. So, I suggested painting the fabric. That suggestion was met with a hard NO response. I believe it was ‘I do NOT want my chair painted’. 🙂
To paint or not to paint
I do have to say that I completely understand his response and skepticism about my painting the chair. Unless you’ve been looking at Pinterest for ideas on changing the look of an upholstered piece of furniture, it is an odd suggestion. But, I mentioned above, I have seen videos of people not only painting upholstery fabric but being able to make it look like leather. Even though he said NO to the painting idea, my thought was ‘why not?’. What is the worse that could happen? I give it a try, it looks awful and I make a slipcover anyway? I’d waste a little time and paint but gain experience. Then I thought ‘What is the best that could happen?’ I actually succeed in making it look like leather and not have to make a slipcover! That would be awesome!
Since I was taking the chair home to have on hand for when he chose the slipcover fabric, I thought I’d go ahead and give the painting a try. Shhhh, I didn’t mention this idea to him. I didn’t want him to fret that I would ruin the chair. After watching many more YouTube videos on exactly what supplies I needed, techniques to use, and do’s and dont’s, I decided to use the latex paint/fabric softener technique. I gathered my supplies, laid down a couple of sheets that I use for drop cloths to protect my carpet, and got to work.

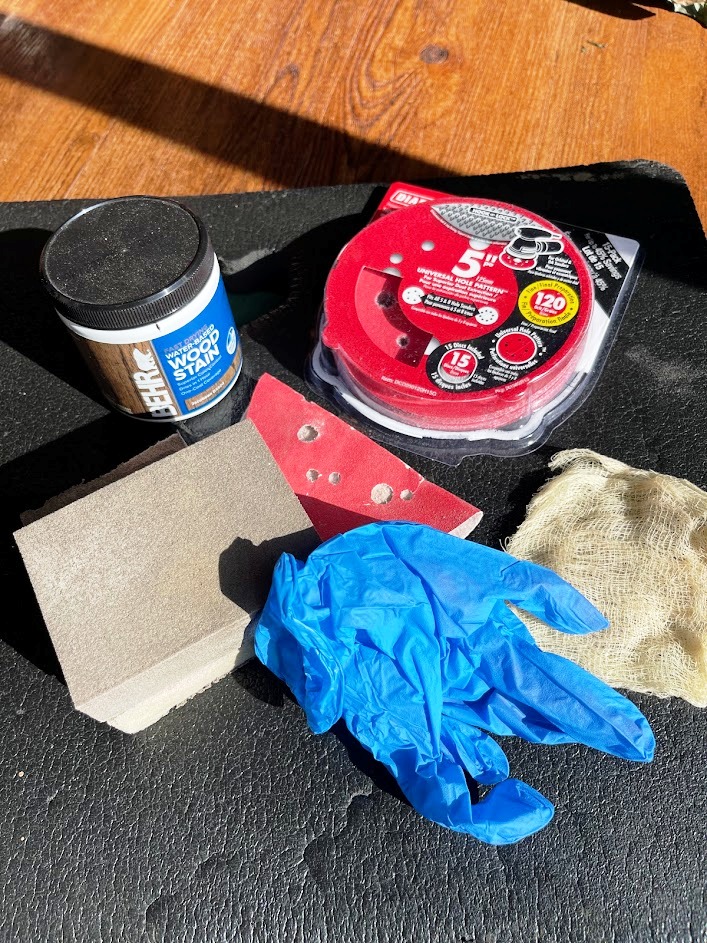
Supplies needed
- Fabric softener
- Paint
- Inexpensive paintbrushes
- Containers for mixing paint with softener
- Stir sticks or spoons
- Spray bottle
- Measuring cups
- Sandpaper or sanding block
- Painter’s tape
- Annie Sloan clear & dark waxes (*optional)
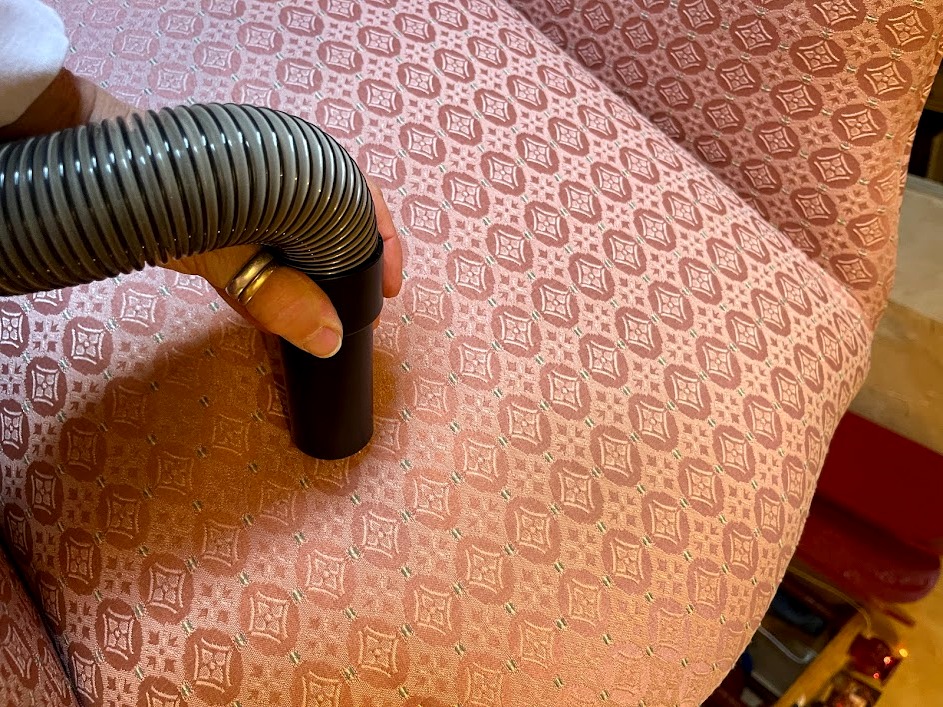
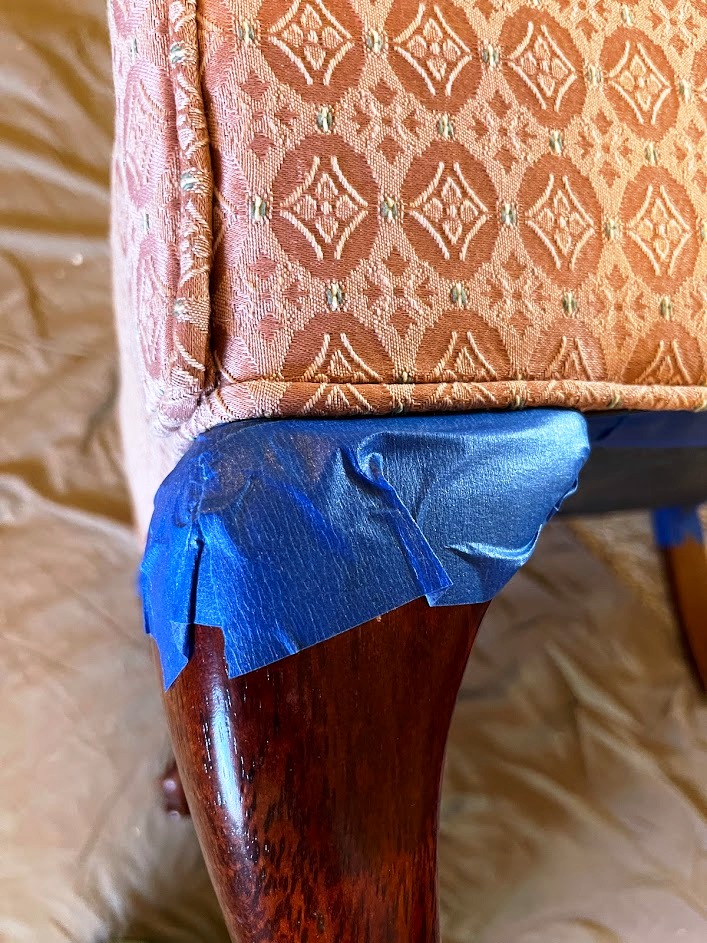
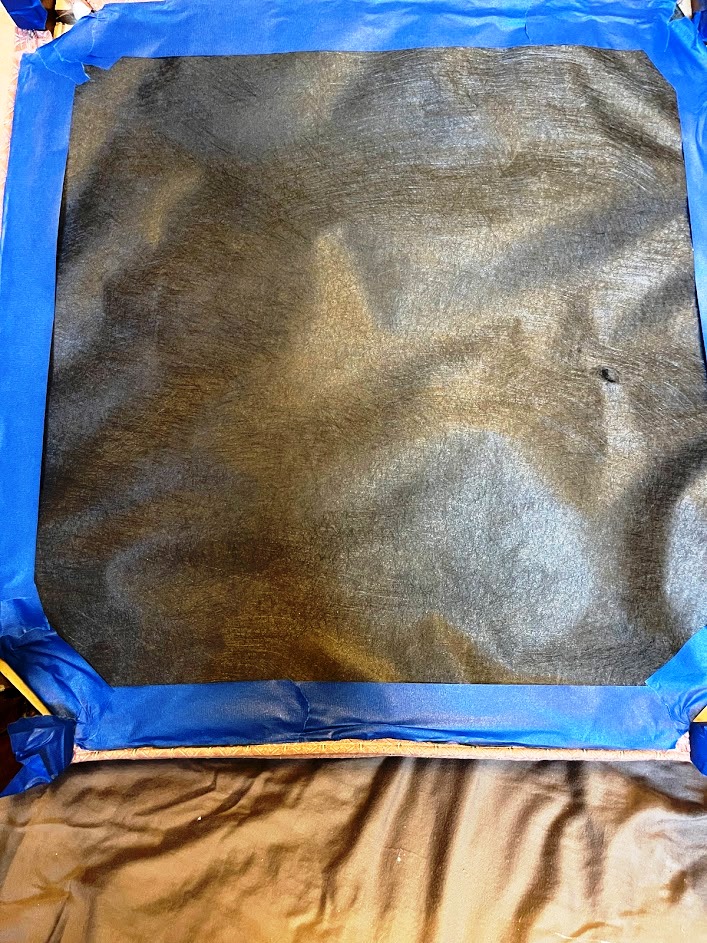
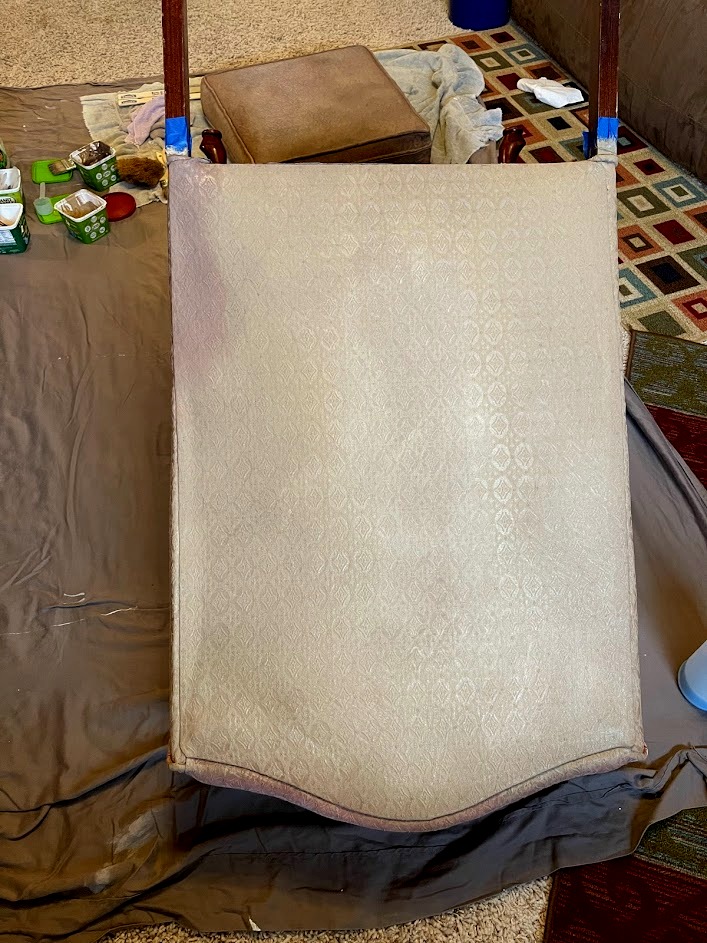
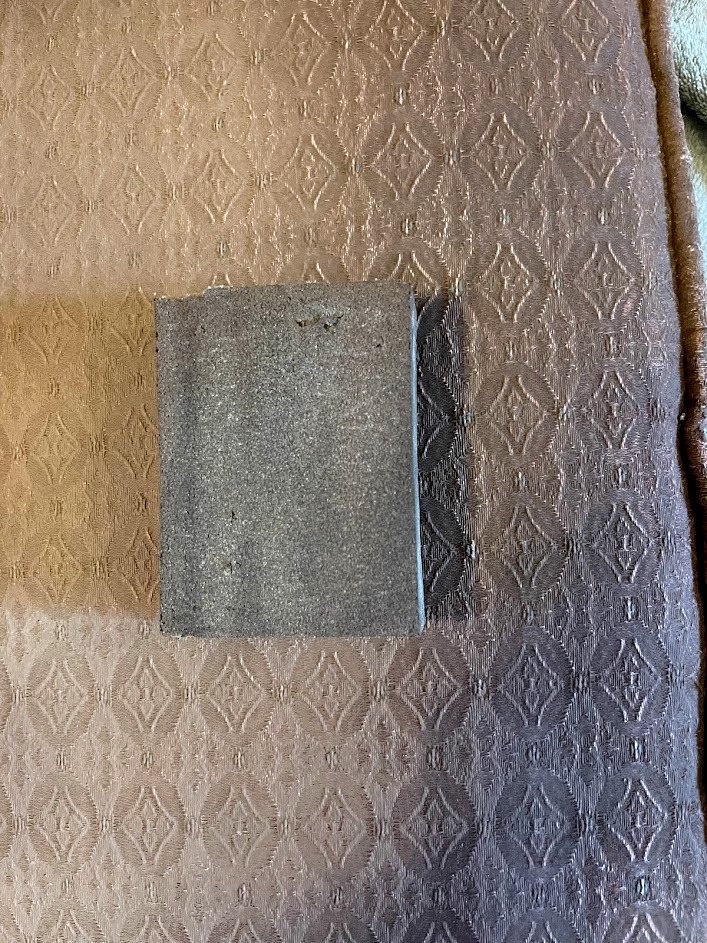
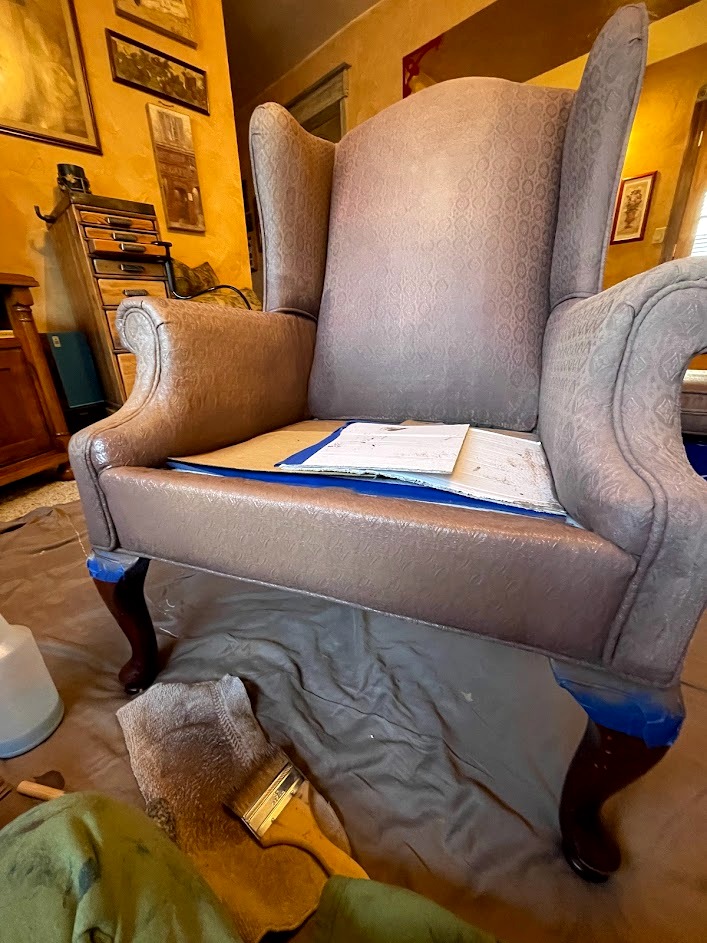
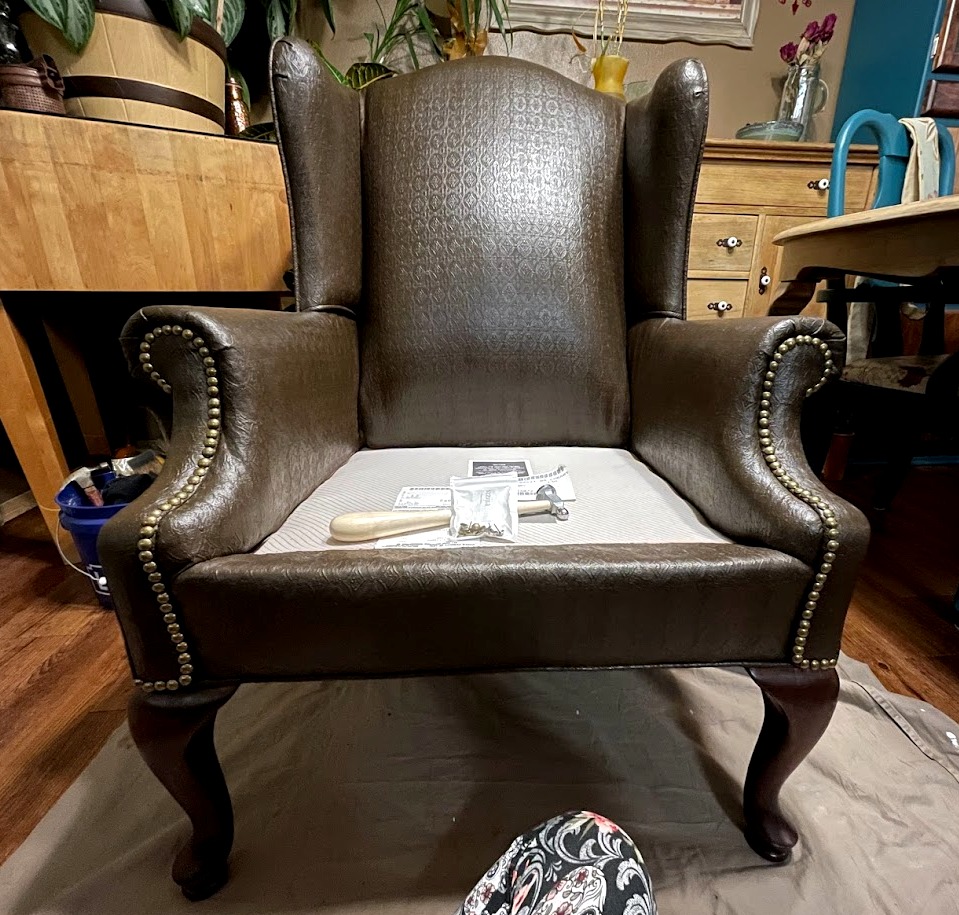
Prepping the chair
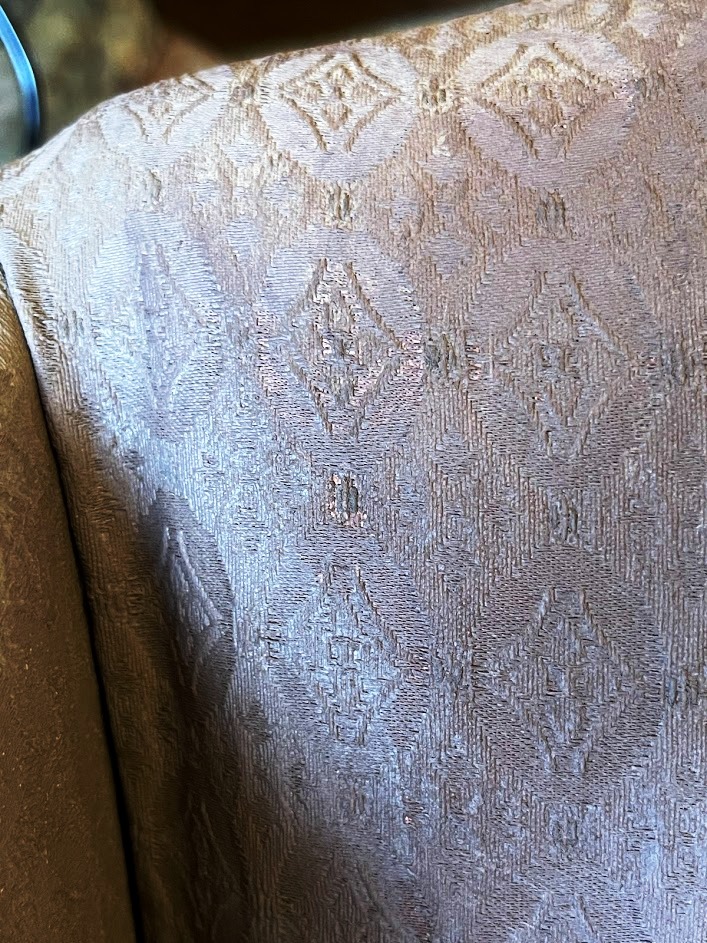
The first step is to make sure the piece of furniture is clean and to give it a good vacuuming. This chair was already clean, so all I did was vacuum it really well. I also clipped off all the loose threads. Since the stitching that makes up the pattern was raised, I thought I’d try to either sand it smooth or use a razor to make it less raised. Neither of those ideas worked, so I just prepared to paint it as is. To protect the wooden legs and the underneath of the chair, I used painter’s tape.
Preparing the paint
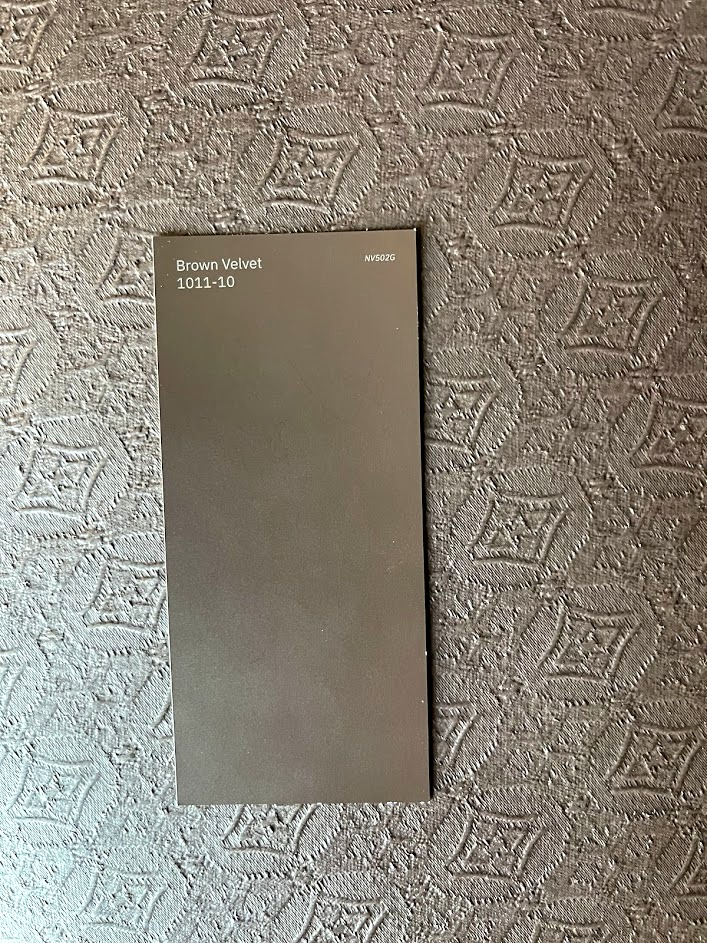
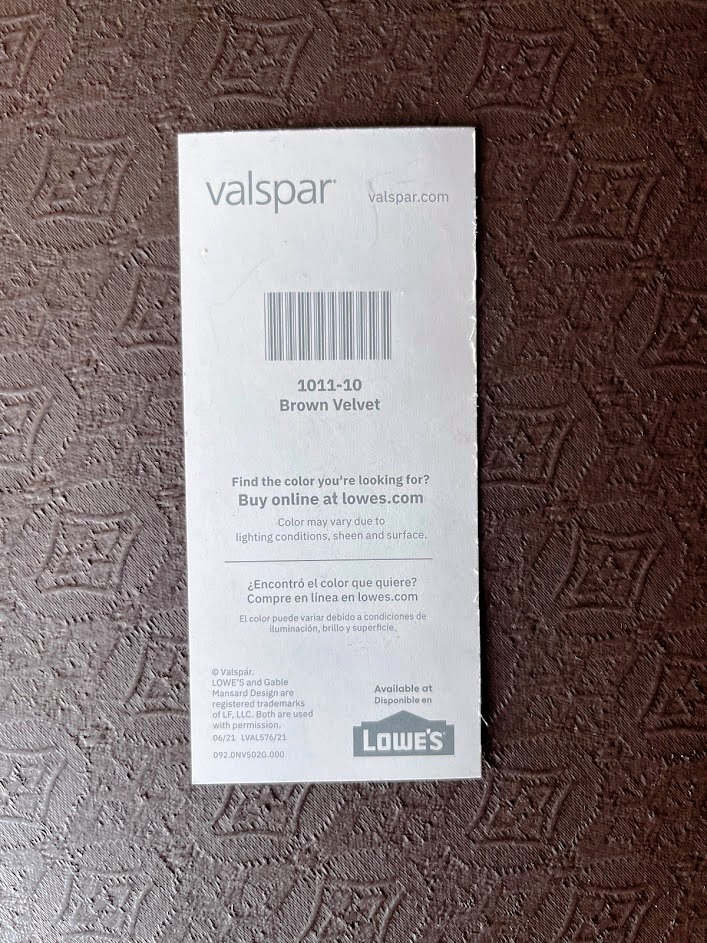
Once the chair was prepped, it was time to get the supplies ready. Before painting the fabric, it needs to be slightly damp. The technique I’m using suggests using a spray bottle with a mixture of water and fabric softener. I would say the mixture I made was about a 50/50 mix but I didn’t do an exact measurement. To apply the paint, I had decided to use a technique that I saw in a video by Emma Nies where she used several paint colors with each coat. She blended the colors as she painted. I thought that looked like a good idea so I gathered paints that I had on hand: rust, light brown, a golden color, and then bought a quart of deep chocolate brown by Valspar called Brown Velvet. By using several colors of paint, Emma was able to get a worn-in leather look which is exactly what I had in mind for this chair!
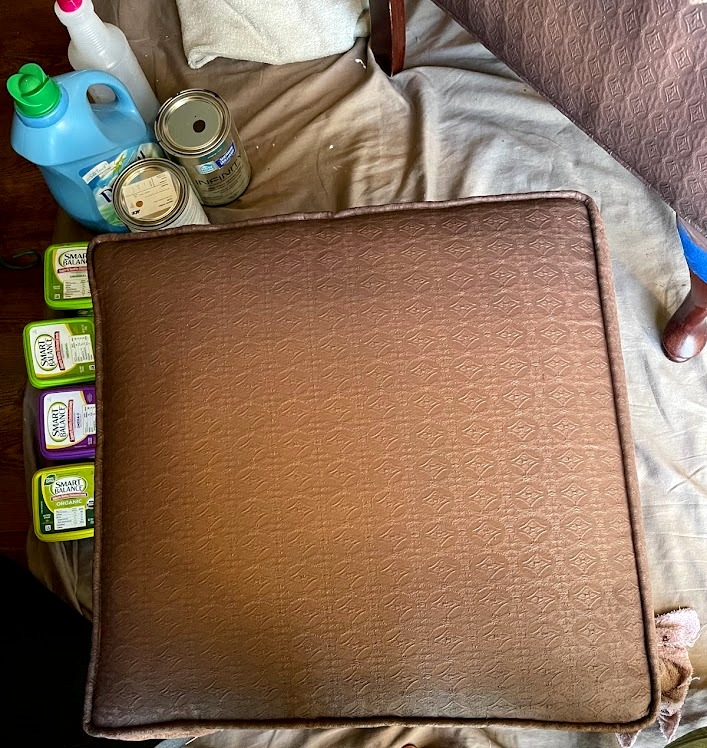
To prepare the paint, I poured a little of each color into small plastic butter containers (I like to keep these to use for craft projects) then I mixed in a little fabric softener. Adding fabric softener to paint gives the paint a rubbery texture with will help the painted fabric stay flexible and help prevent cracking.
I scooped 3 parts paint & 1 part softener into each of the tubs. This part of the process is a bit like a science experiment. Emma used a ratio of 4 to 3 but I found that the paints I had all reacted differently to the fabric softener. The light brown & rust worked well with Emma’s ratio but the chocolate brown got really gummy & the golden color never did get thick no matter how much softener I added.
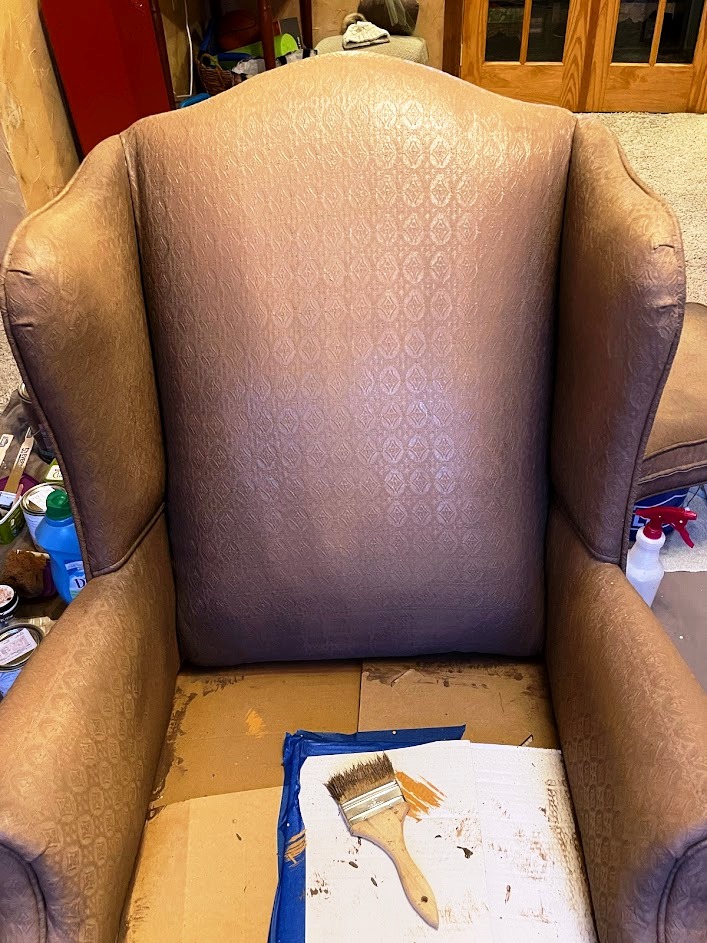
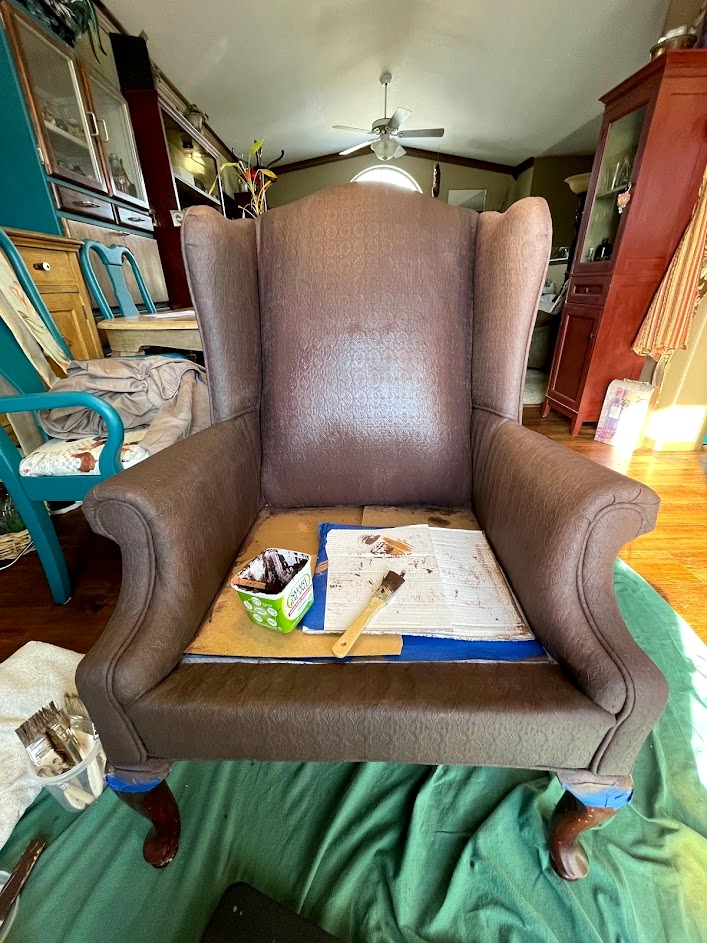
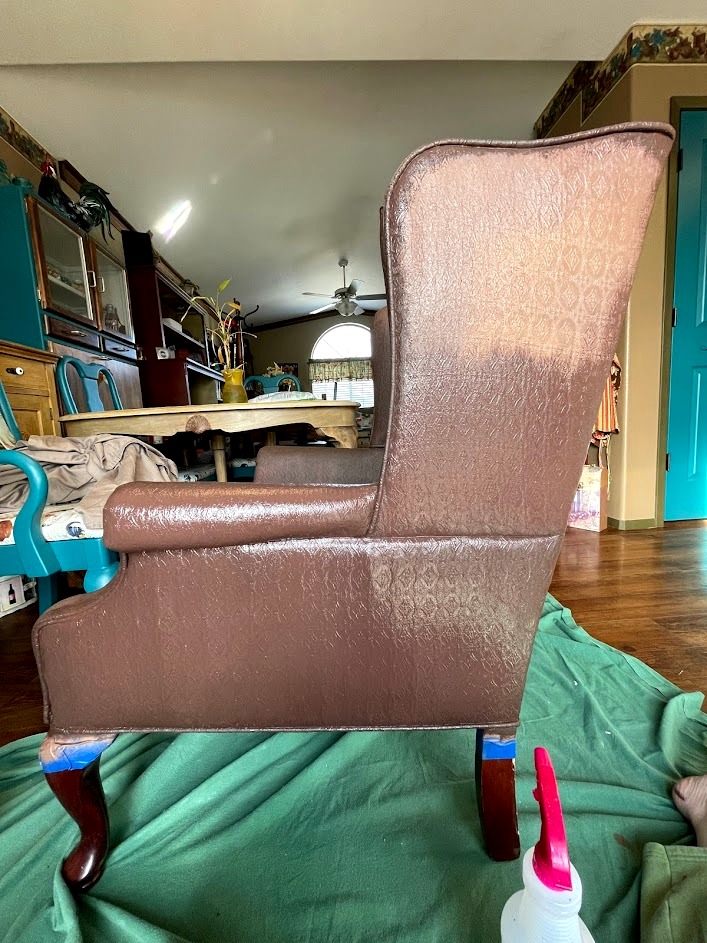
First coat
Ok, here we go! Now that the paint was mixed, it was time to start painting. The first step is to wet the fabric in small sections. This helps the paint soak into the fabric almost like a stain would. Using the spray bottle filled with the water & fabric softener mixture, I sprayed one of the sides of the cushion. I thought I’d start with the side of the cushion before committing to an area that would be more visible. I’m not sure if I thought I’d actually just do a little then quit? Anyway, I started in the center of the side and worked my way to the edge. I began with the golden color, then the light brown & ended with the deep chocolate brown paint, putting the paint on in a thin layer. Well, it looked ‘ok’ so I continued that process on the other 3 cushion edges and then one side of the cushion. While that was drying, I painted the back and sides of the chair. The last parts I painted were the front and arms of the chair. I thought the blending looked fairly good – the pictures don’t do it justice though. After a few hours, I painted the 2nd side of the cushion then allowed everything to dry overnight. The paint in the containers was still pliable so I put lids on the containers to continue using it the next day.
Second coat
The next morning, I looked at the fabric. The paint had soaked in pretty well, which is what you want it to do, and I could see where some of the areas got missed with the first coat. Before painting the 2nd coat, I gave the chair a light sanding with a sanding block. I was hesitant to do the sanding because of the raised pattern. I thought that sanding would break the threads and I was right. Some of the threads broke and others got fuzzy. Drat! However, after sanding the fabric, I decided to continue the process of spraying small areas with the water/softener mix then blending the paint colors from light to dark until I had applied another coat of paint to the entire chair. The 2nd coat covered the chair better and I started to think this might actually look good when I was done. Again, I let the paint dry overnight.
*You can apply more than one coat of paint in a day as long as the fabric & paint are dry but I had seen videos where people suggested leaving it to dry overnight so I chose to do that.
Third coat
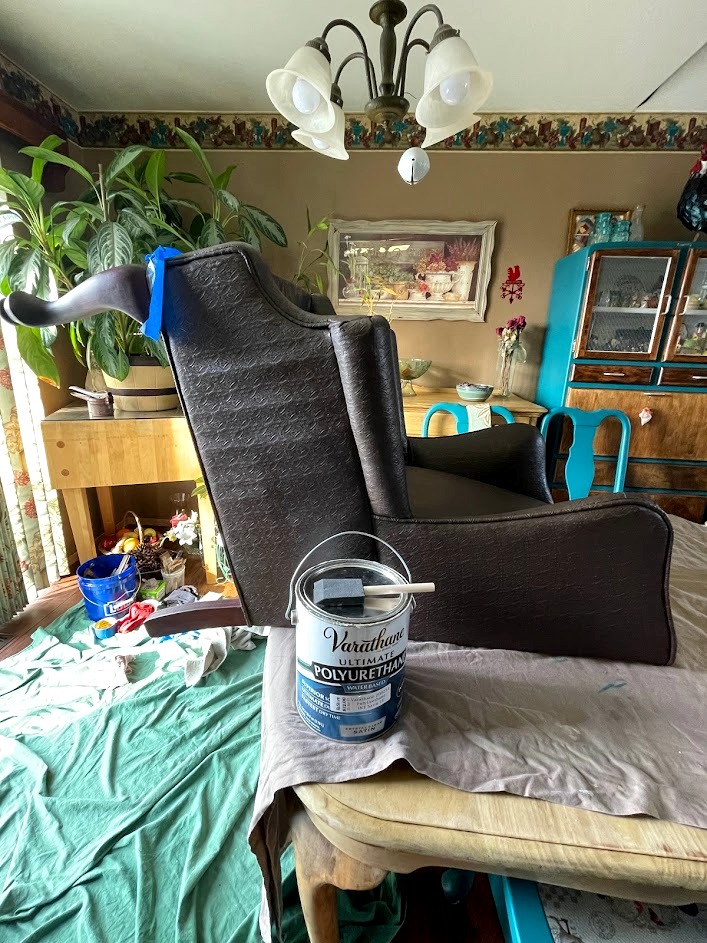
It’s day 3 and time to add another coat. For this coat, I brought the chair upstairs to have more light. I set it in the dining room so I could work in front of the sliding glass door. I mixed up more paint in each of the colors. Since the threads frayed a bit yesterday with the sanding process, I decided to skip that step before painting today. With the 3rd coat, I didn’t have to use as much of the water/softener mix but still sprayed the area where I was blending the paint colors. This time, I started with the outside of each of the areas I was working on which meant I was now blending from dark to light. I liked that look better. The thing with this technique is that you learn as you go and each time you add a coat of paint, the look improves. You really do need to just trust the process. Even though I heard that said in many of the videos on painting upholstery, there were several times that I was sure I would still be making a slipcover. Time to relax, though, and let this dry overnight.
Fourth coat
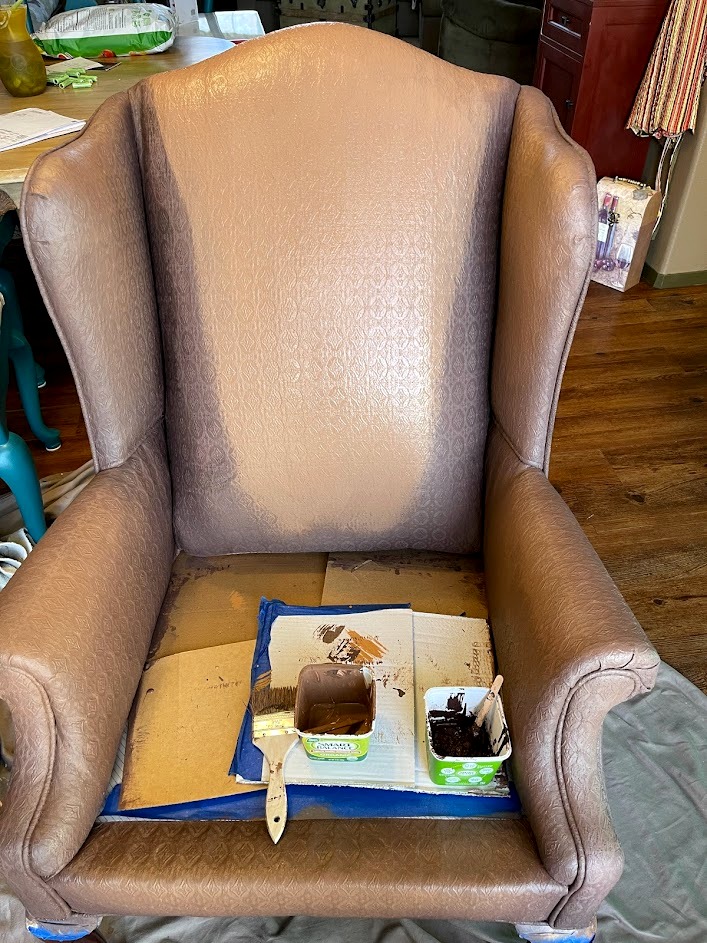
Yes, I am going to do another coat of paint on this chair. While it is looking good, the pattern still stands out more than I’d like it to. As I looked at the chair, I saw areas where the fabric looks a little bumpy so I decided to try sanding it again. I started on the side of the chair where it wouldn’t be very obvious if the sanding damaged the fabric and to my surprise, it actually smoothed the little bumps! Whew!
After giving the entire chair a light sanding, I was ready to add the 4th coat. However, this time, I decided to just use the Brown Velvet on the entire chair. I thought I would then add the lighter colors on the areas where I wanted the worn-in look. As I started painting with just the darkest brown, I thought how much better it looked. Since I was using just one color and there was a good base of paint on the fabric, I didn’t use any of the water/softener mixture. Hubby walked in to view the project and said he really liked the brown! Hmmm.….design change? We will know tomorrow after this dries overnight.
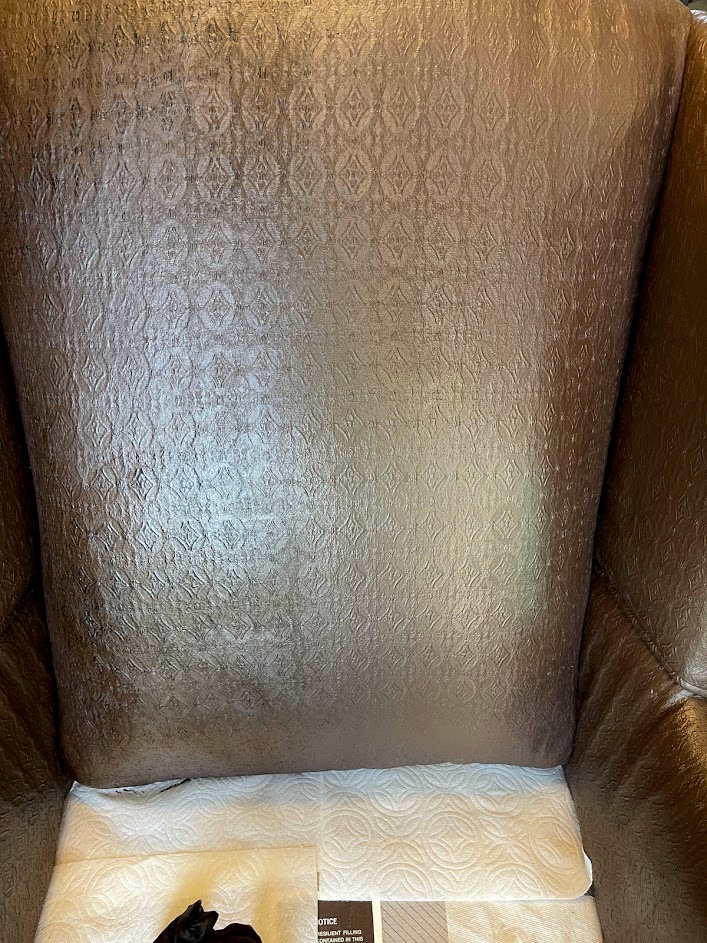
Final coat
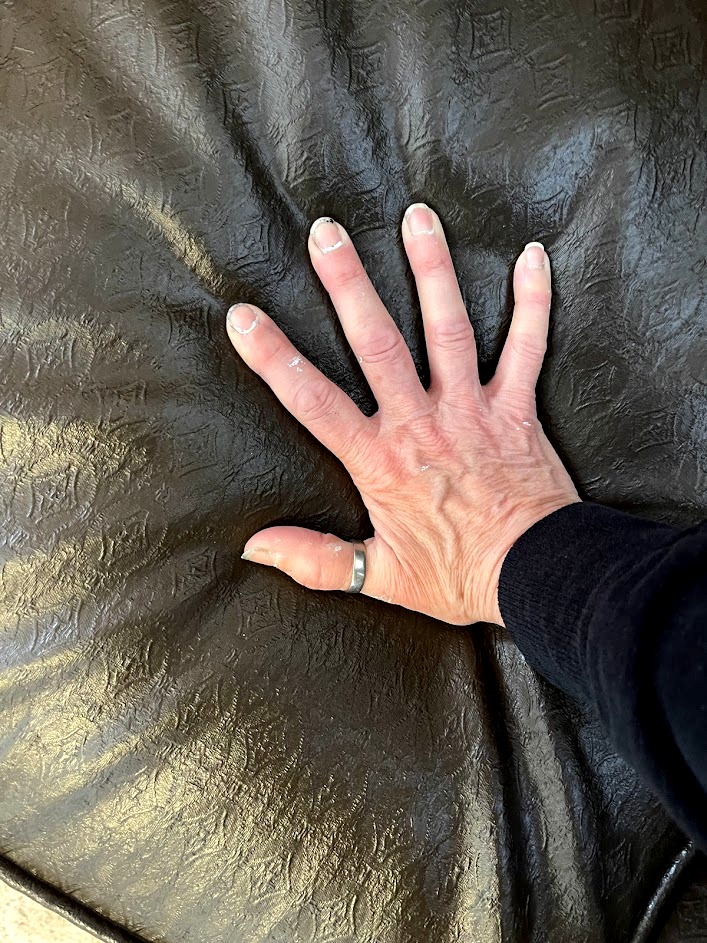
That’s right! The 5th coat is the final coat for this chair! It’s not the end of the process, though, as I decided to attempt to use clear wax on it. But, back to the fifth coat on day 5. I did another really light sanding before starting to paint. I forgot to mention that after each sanding, I wiped down the entire surface with a slightly damp cloth. Since I used only the dark brown yesterday, I mixed up more to use today. After discussing it with hubby, we both thought that using just Brown Velvet was the way to go. When the 5th coat was dry, we both just stood and stared. We could not believe how good it looked! The painted fabric has a good ‘give’ to it when pushed and it no longer looks like fabric. At this point, I could have been finished with the project. It looks good and could pass for leather! However…..

Adding clear wax
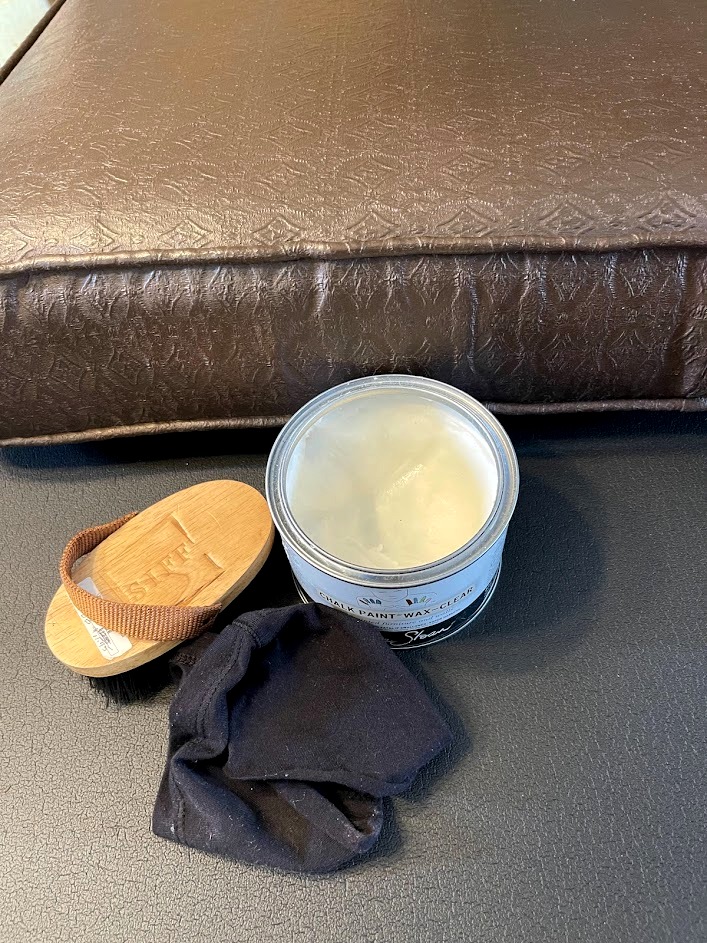
I just had a feeling that adding chalk paint wax would help soften the painted material even more. Now, this step is optional. Or is it? I searched and searched for a video where someone used clear wax after painting upholstery with latex paint (as opposed to chalk paint) and couldn’t find any. I did, though, find one where the guy, who used the chalk paint method, said that even if he had used latex paint, he would still use clear wax on the piece. Ok, whew, now I felt like it was ok to try it. I mean, after all this work, if I added wax and it ruined everything, I’d probably cry.
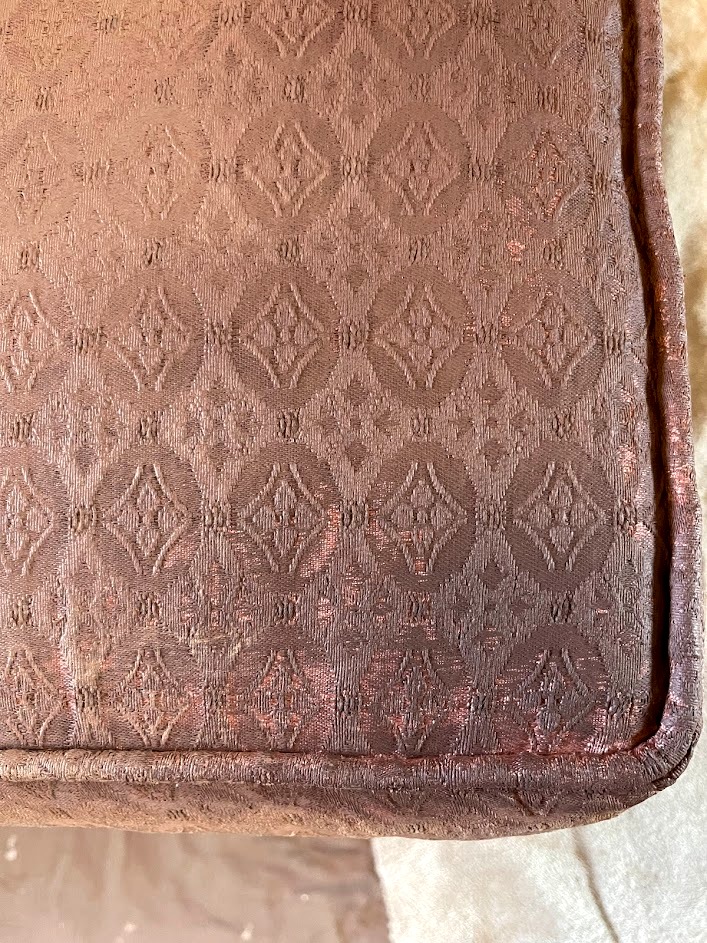
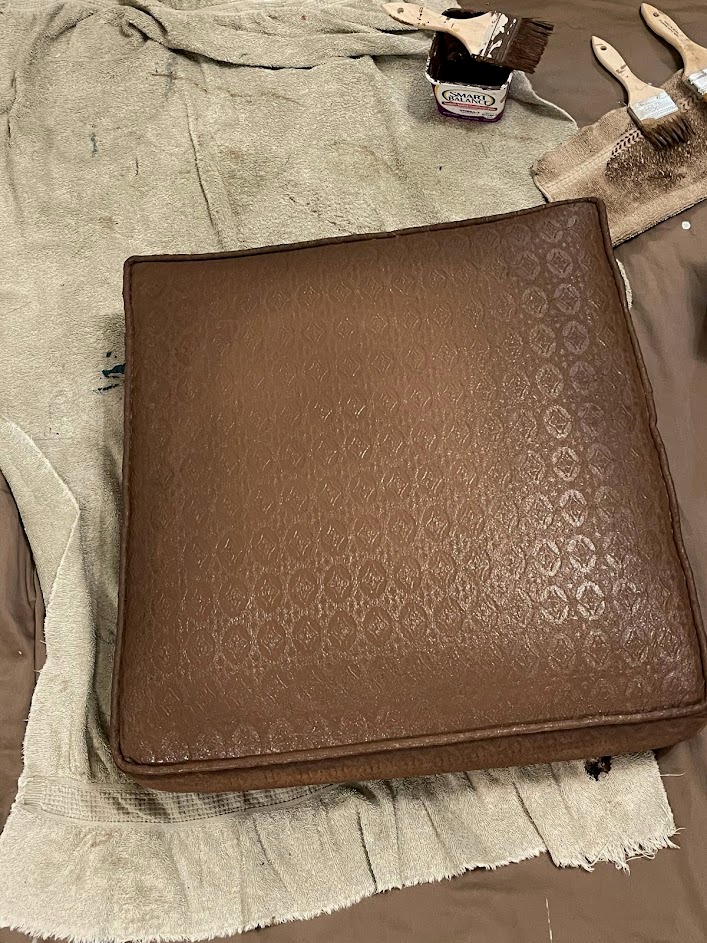
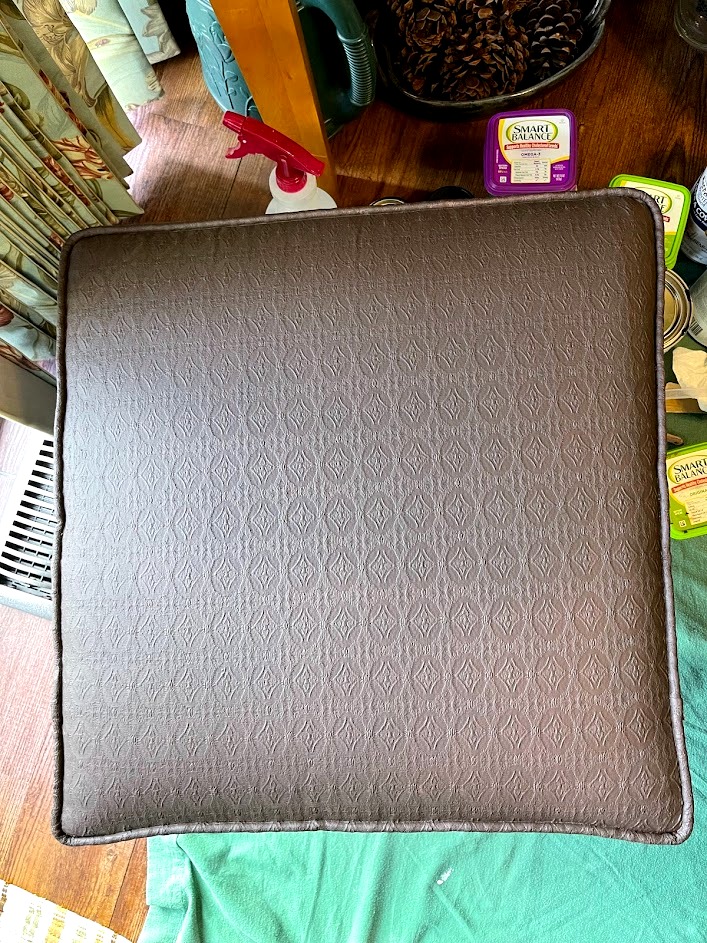
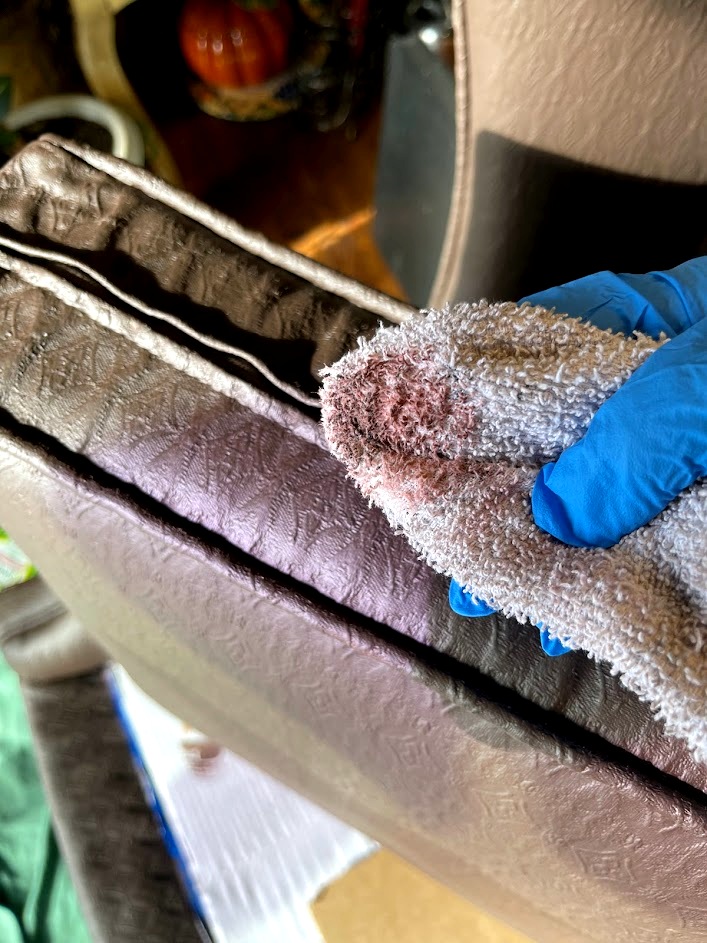
To wax the piece, I used Annie Sloan’s clear wax and a washcloth. As you can see, some of the paint came off on the cloth but I hear that’s normal. Again, I stared with the edge of the cushion so if this didn’t work, no one would see it. After waxing just a few inches, I could tell an immediate difference in the feel of the material. It was so much softer! I continued applying wax to the entire chair, buffing it with both a piece of t-shirt material and a brush. You can see the difference in the picture where the cushion has been waxed but the chair back has not.
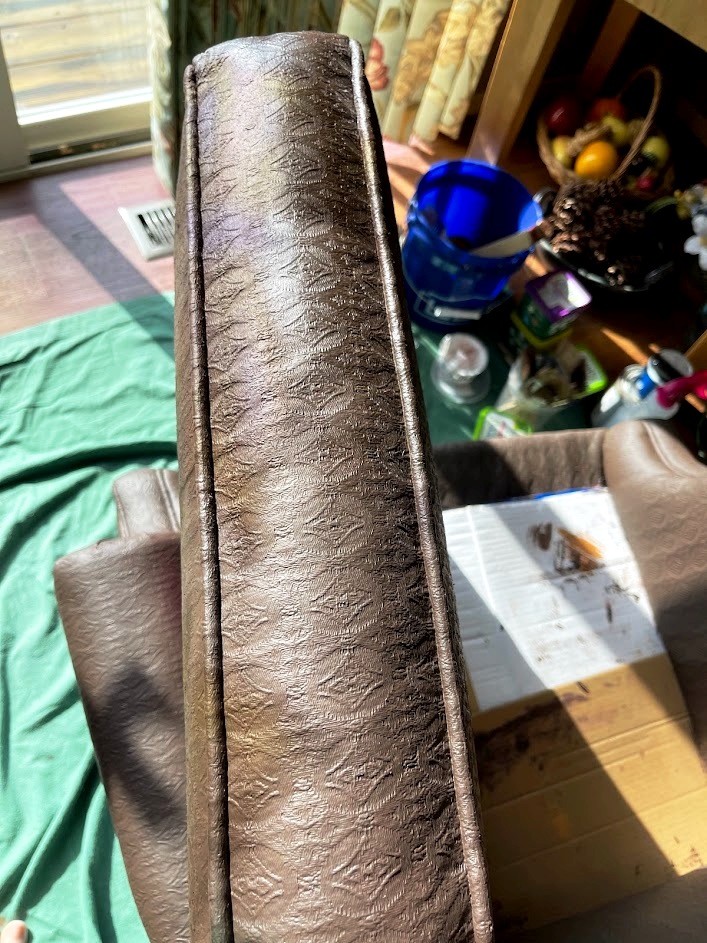
Dark wax
Even though I painted the chair in a solid dark brown color, I wanted to try to add a little ‘aging’ to it. I thought a little dark wax applied around the edges would do that. With a piece of dark t-shirt, I dabbed a little dark wax around the edge of the cushion. It didn’t give it an aged look but it did change the tone of the dark brown color to a richer one. Ooooohhh! I loved it! So, instead of a quick ‘aging’ with the dark wax, this process was going to take a bit longer. I applied the wax everywhere in small sections. After applying a bit of wax, I used the brush and then another piece of a t-shirt to blend in the wax and polish it. In the first 2 pictures, you can see the difference in the color between the left side (with the wax) and the right. The cushion is also the original color. It’s a subtle but dramatic change.
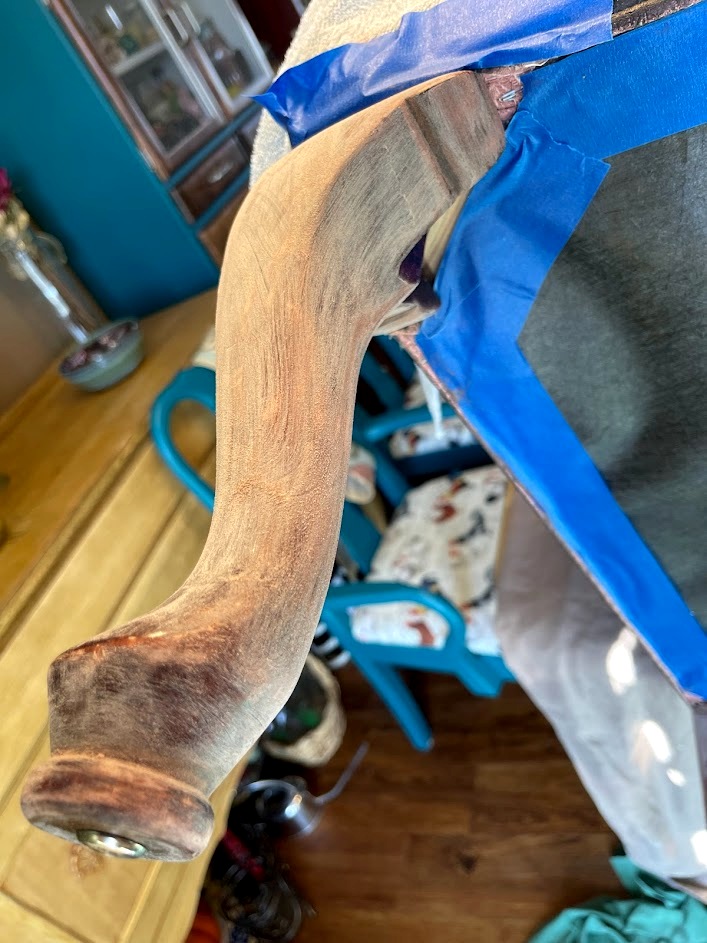
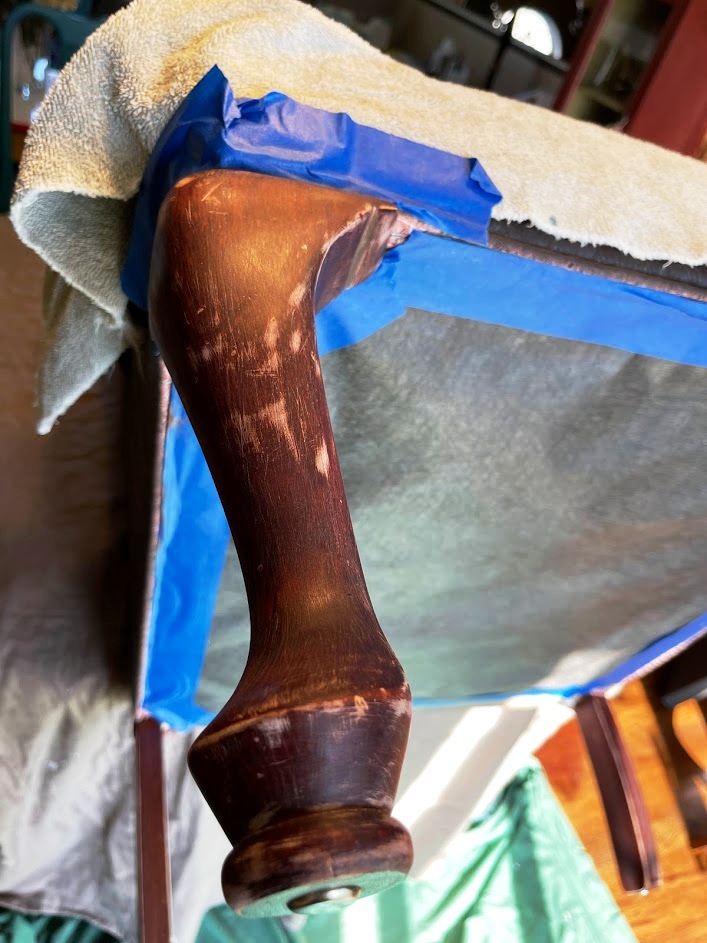
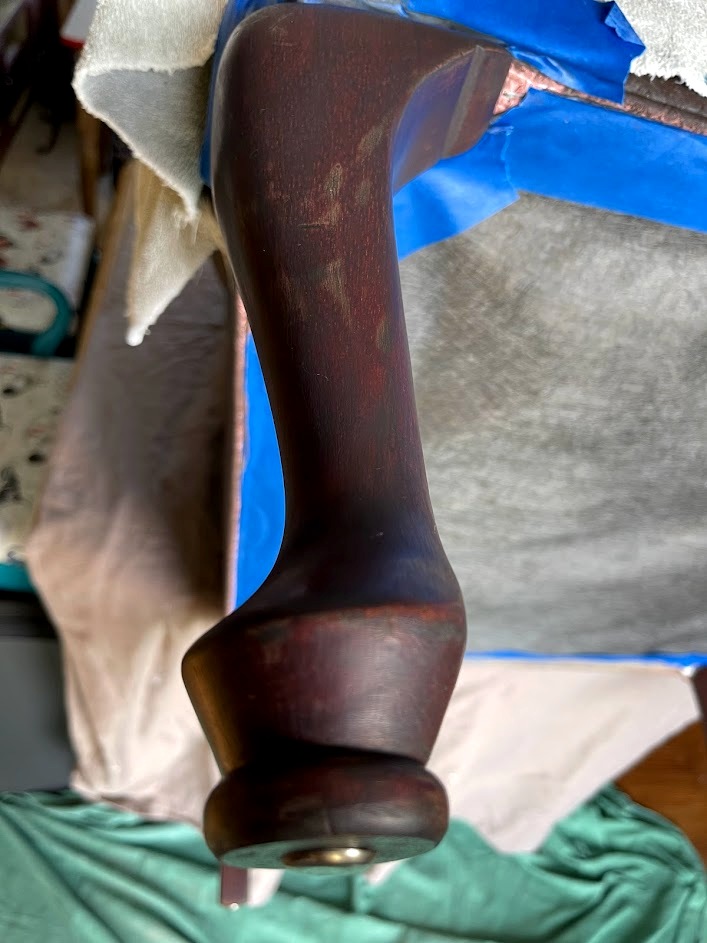
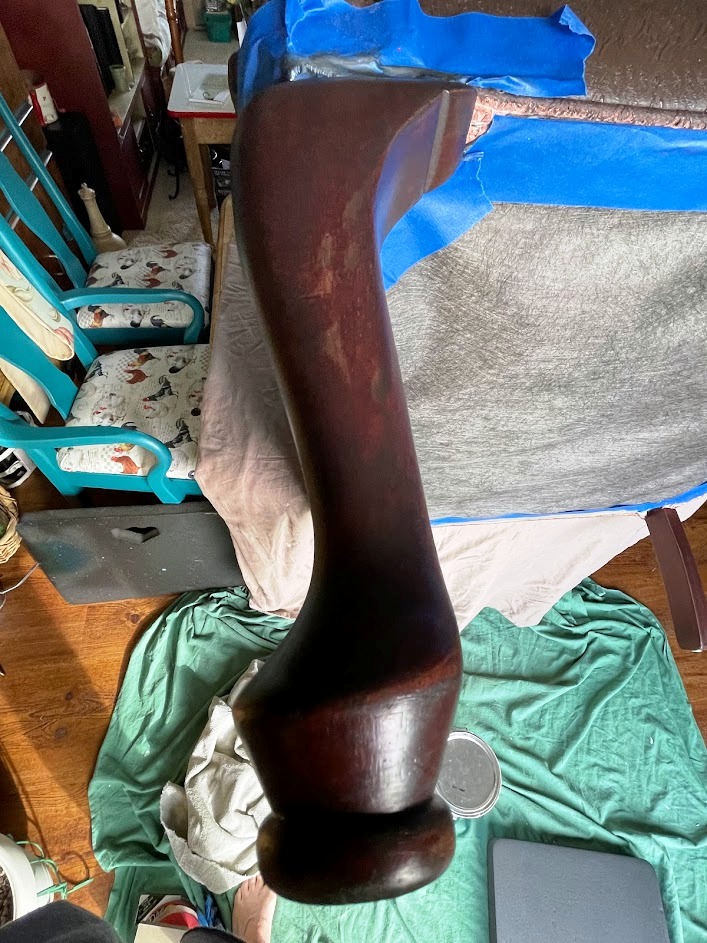
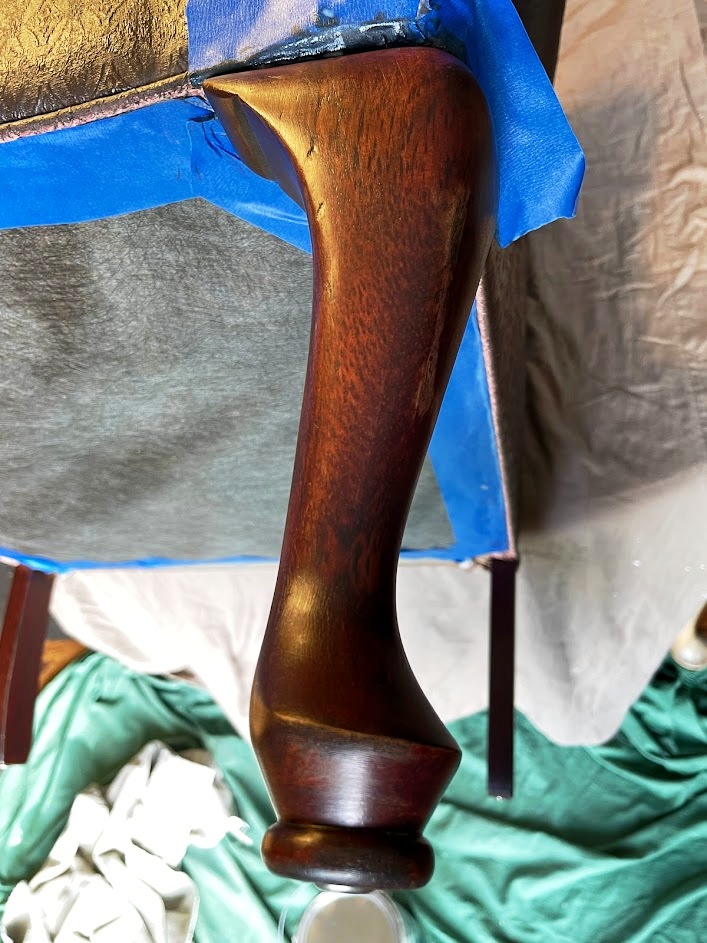
Refinishing the legs
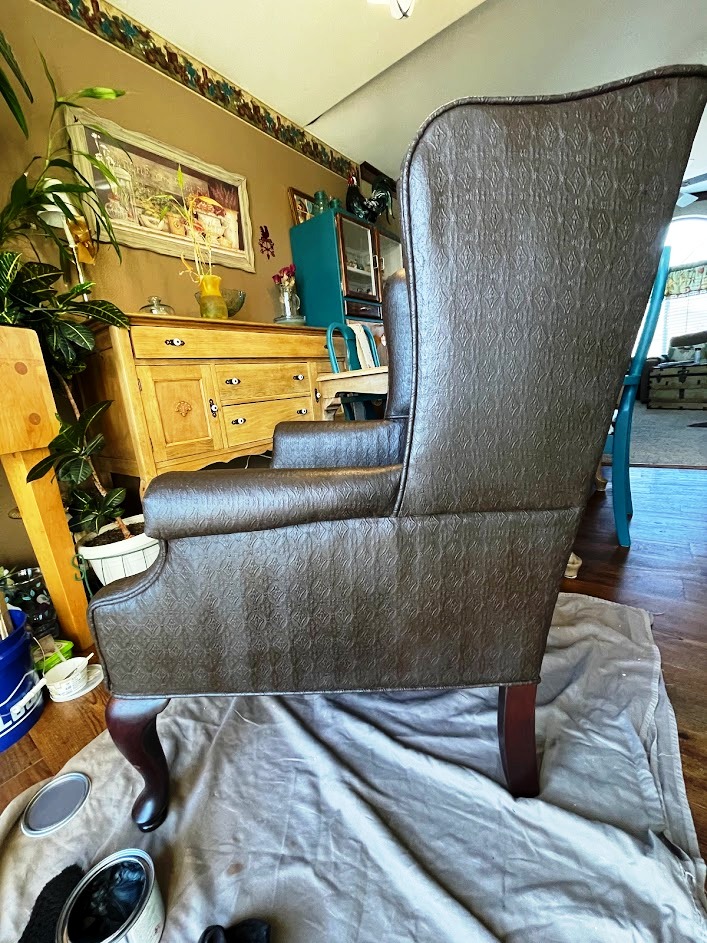
Now that the paint & waxing was done, it was time to refinish the wooded legs. This was a quick process. Using a piece of 120 grit sandpaper, followed by a 180 grit sanding block, I sanded the legs. When I sanded the legs, some of the finish came off more than the rest. Because I was looking to add character to this chair, I left that look. After a quick wipe down with a damp cloth, using a rag, I applied a coat of Behr Jacobean water-based stain. To deepen the color, after allowing the stain to dry for 2 hours, I applied a 2nd coat. When the stain was dry, I applied to coats of Varathayne water-based polyurethane in satin, 1 hr apart. I used a small paintbrush for the application.

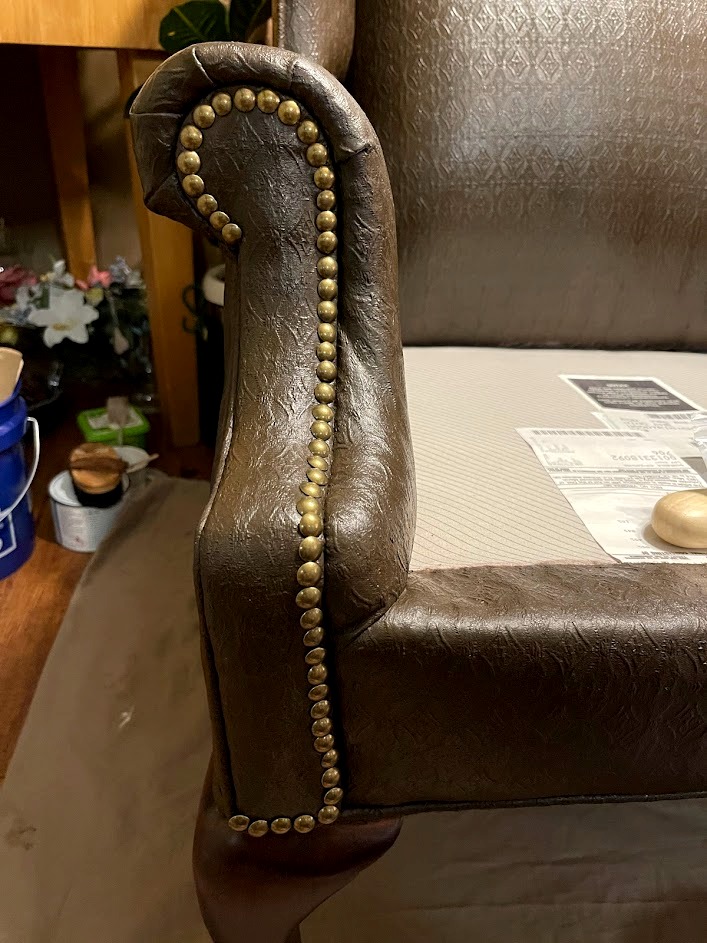
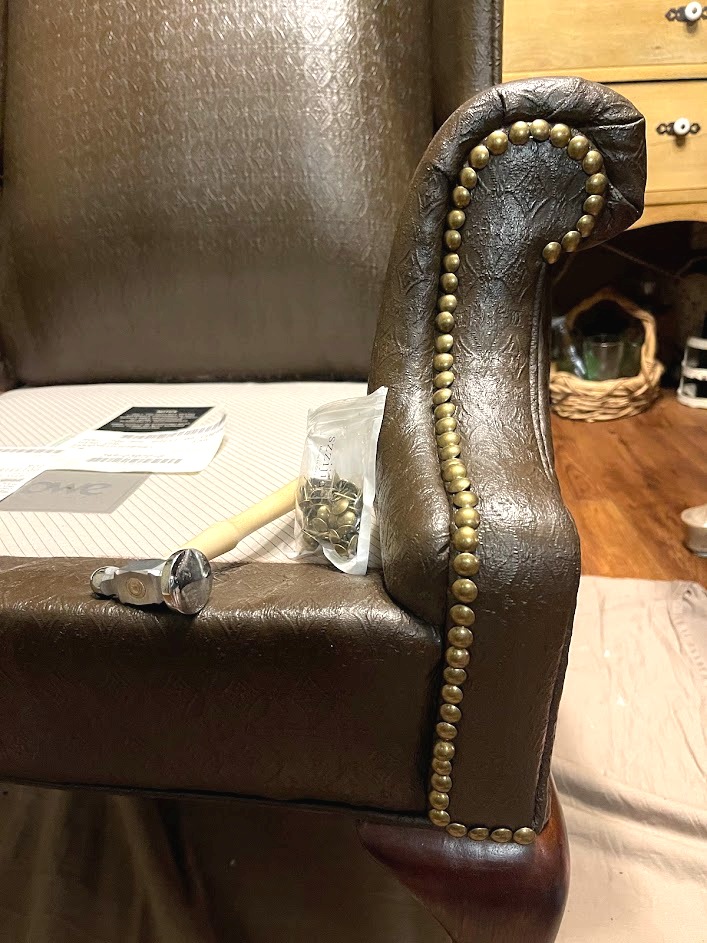
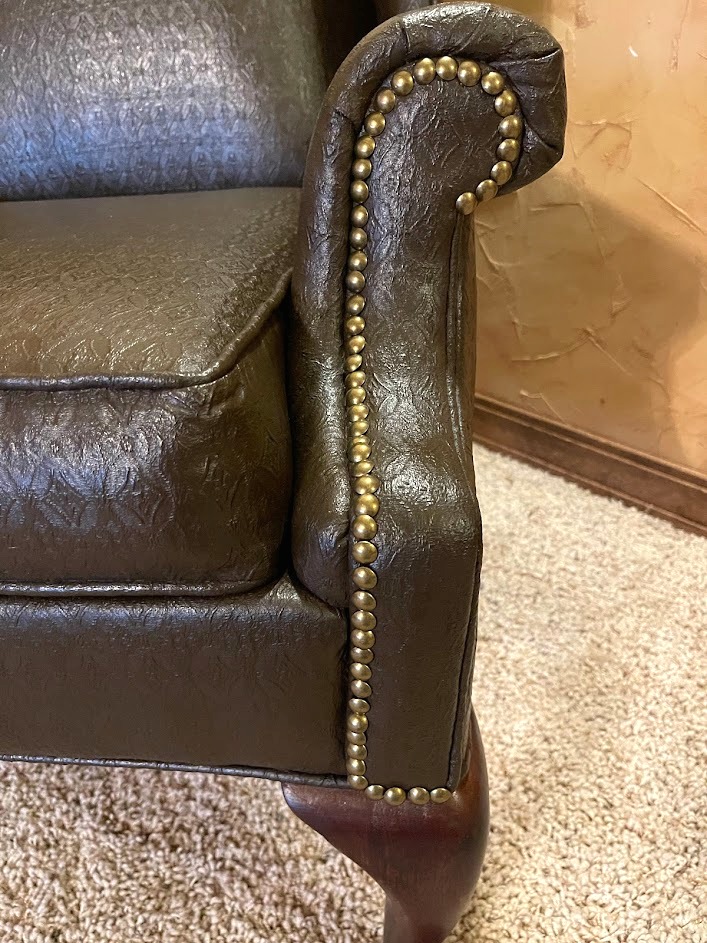
Final Touch
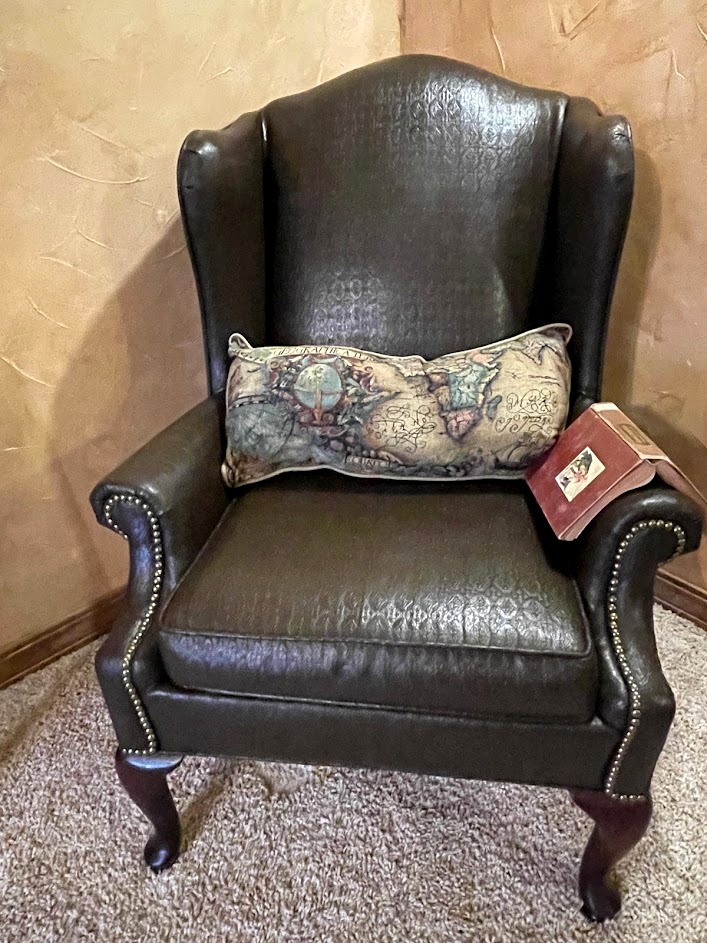
With the legs refinished, I thought I was done with this project. As I was admiring the results of a week of painting, it dawned on me that I had a package of decorative upholstery tacks that were left from a previous project! How great would those look??!! I thought I’d use them to outline the cording along the front of each of the arms but I didn’t have enough to do that unless I spaced them further apart than I wanted to. Hubby asked what I was doing. When I told him I was going to add the tacks to the front of the arms, he asked if I was going to put them from the curve to the bottom? Hmmm.…that might look nice!? I started at the bottom outside edge of the left arm, pushing the tacks into the stitching line. It was amazing how easily they went into the space. When I got to the edge of the curve, I stopped. I had just enough tacks to outline the section of cording that hubby suggested! Using a small hammer, I gently tapped in each tack to make sure it was well-seated. The tacks added the perfect finishing touch to this ‘leather’ chair! Now, I wonder if the son will love it as much as I do?
I started out with several different paint colors but ended up with just one. Other than the dark brown paint & a few paintbrushes, I had all the other supplies on hand. The amount of the supplies used was fairly minimal:
- About 2/3 of a quart of Valspar Brown Velvet in a flat finish
- Probably used a cup of Downey fabric softener
- The amount of stain and poly were minimal on the legs
- A package of 100 decorative tacks
- 3 inexpensive paintbrushes
- A bit of painter’s tape
- Sanding block
- Clear & dark wax
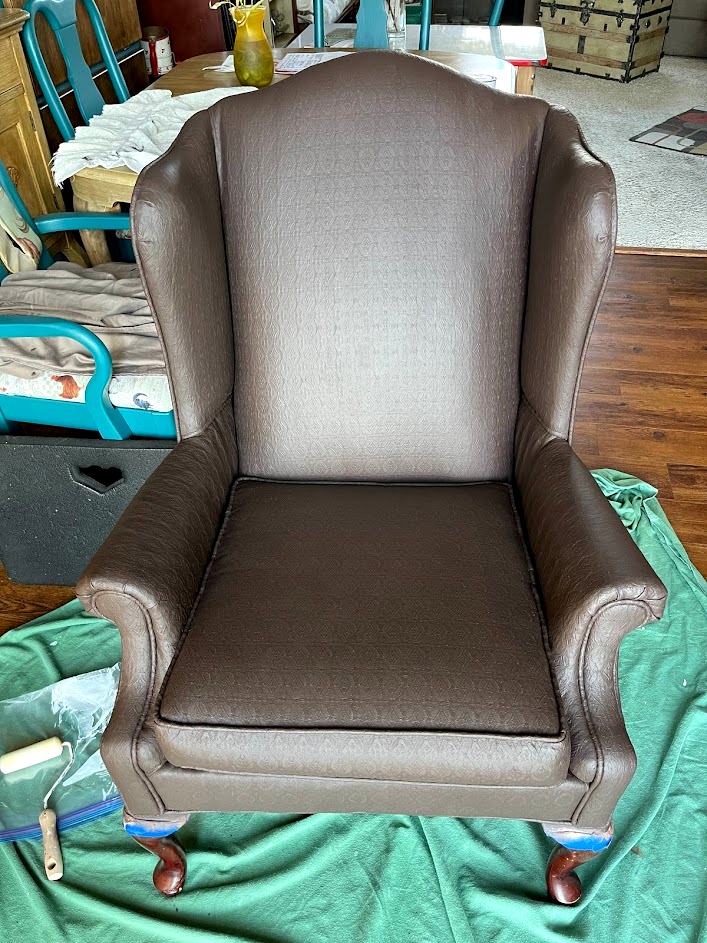
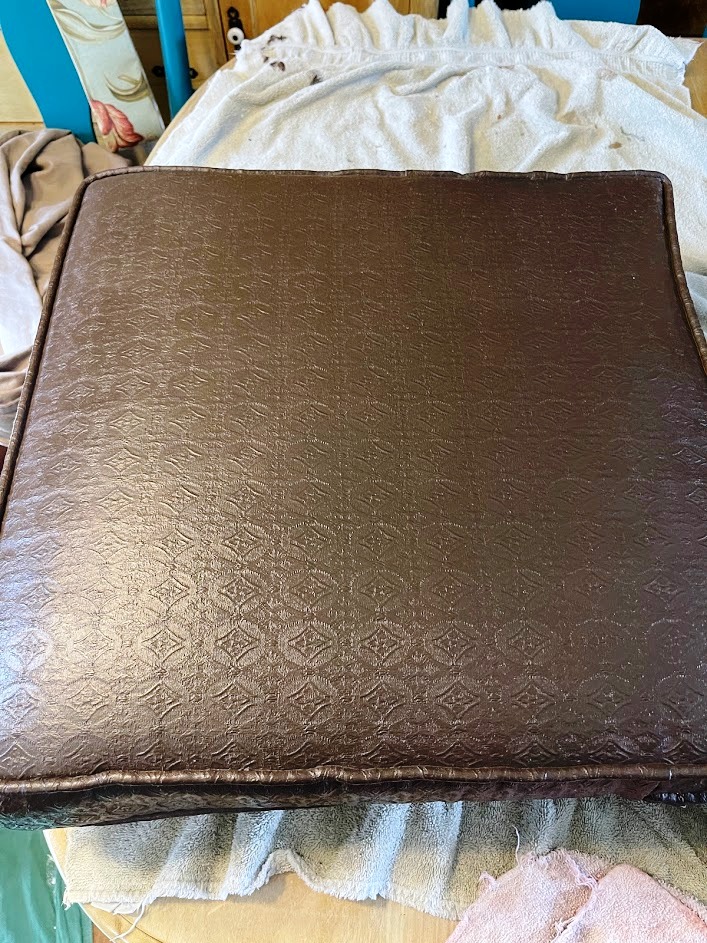
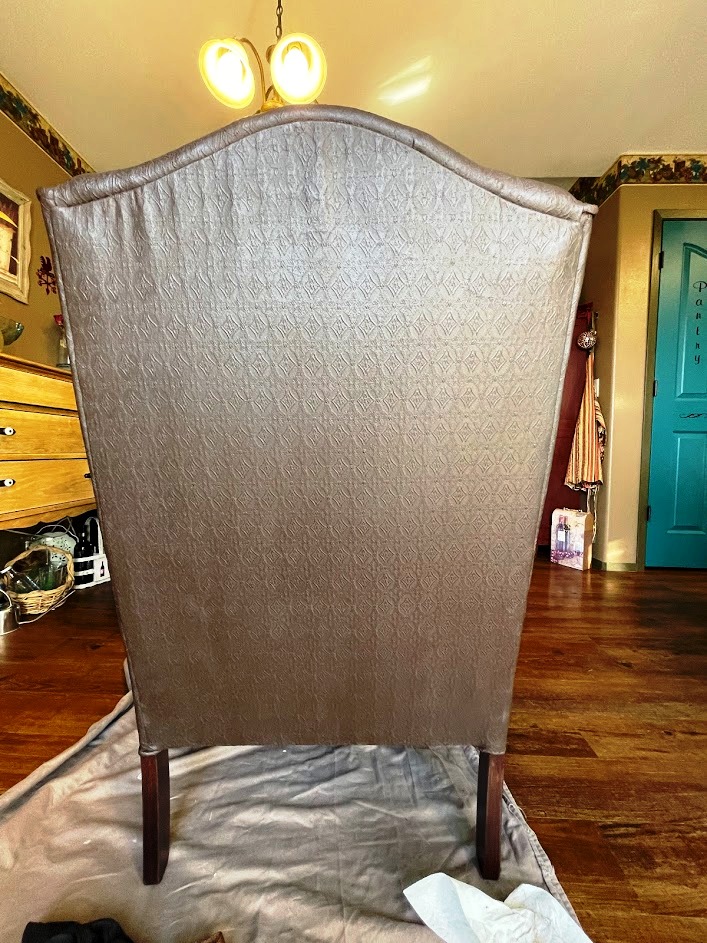
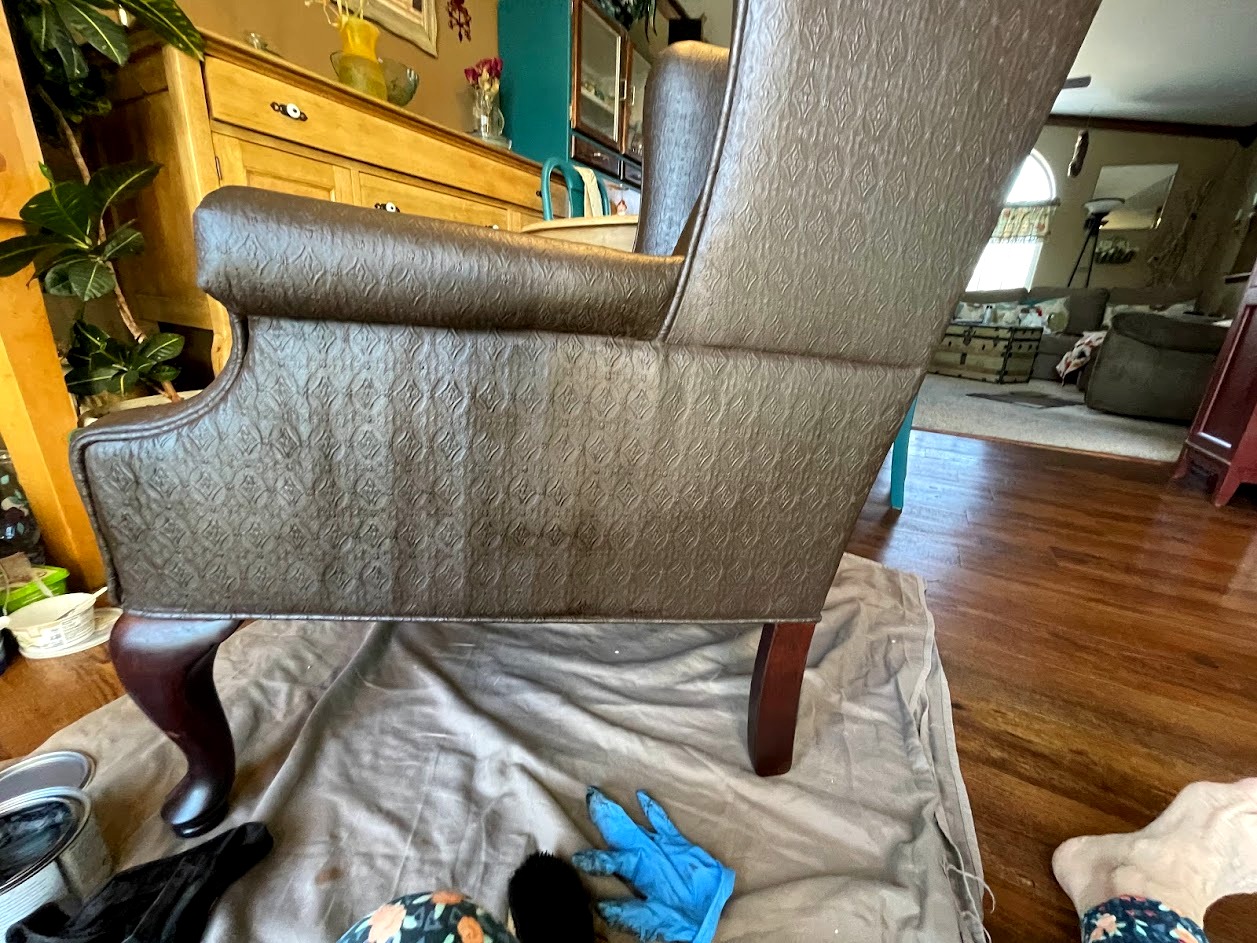
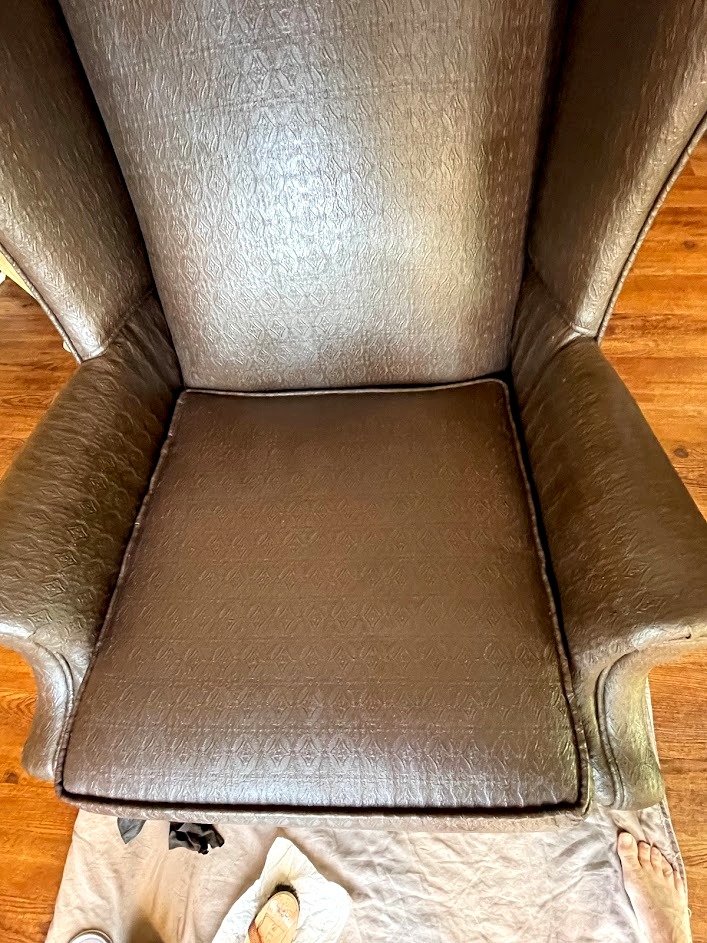
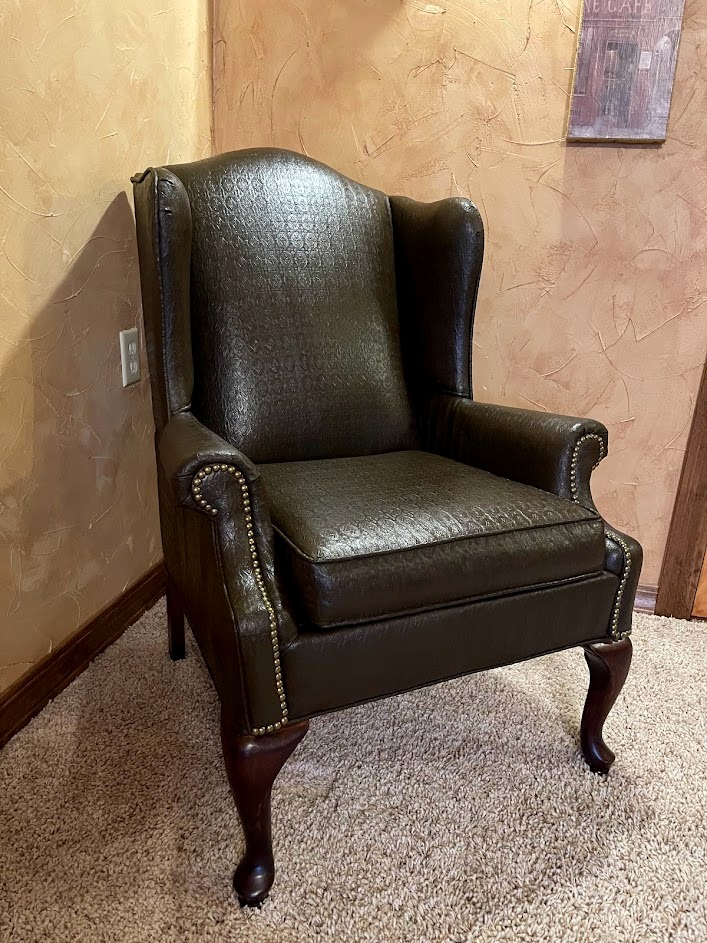
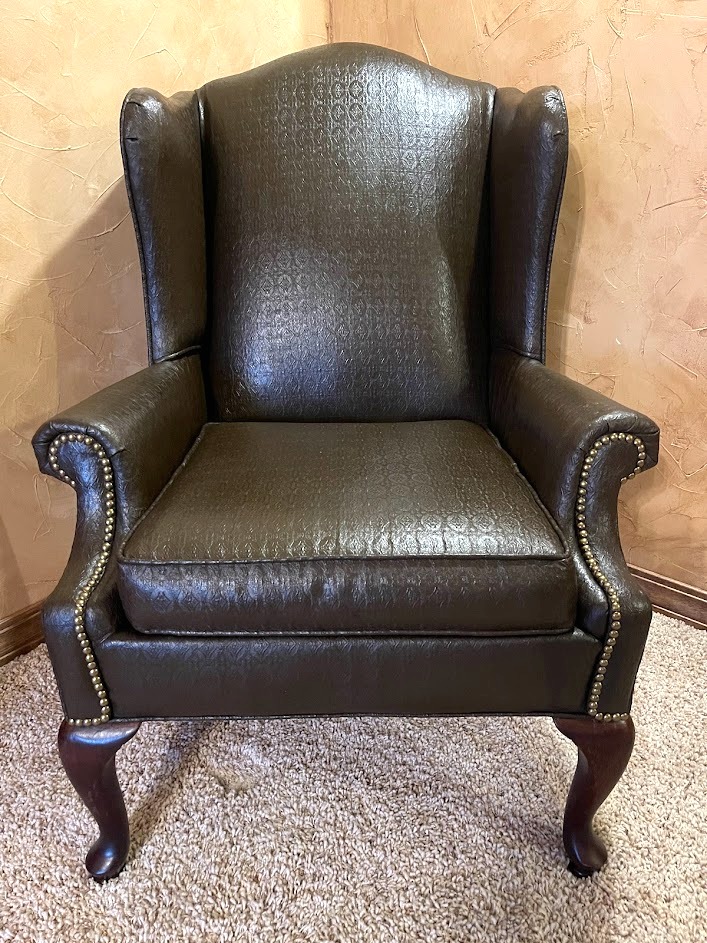
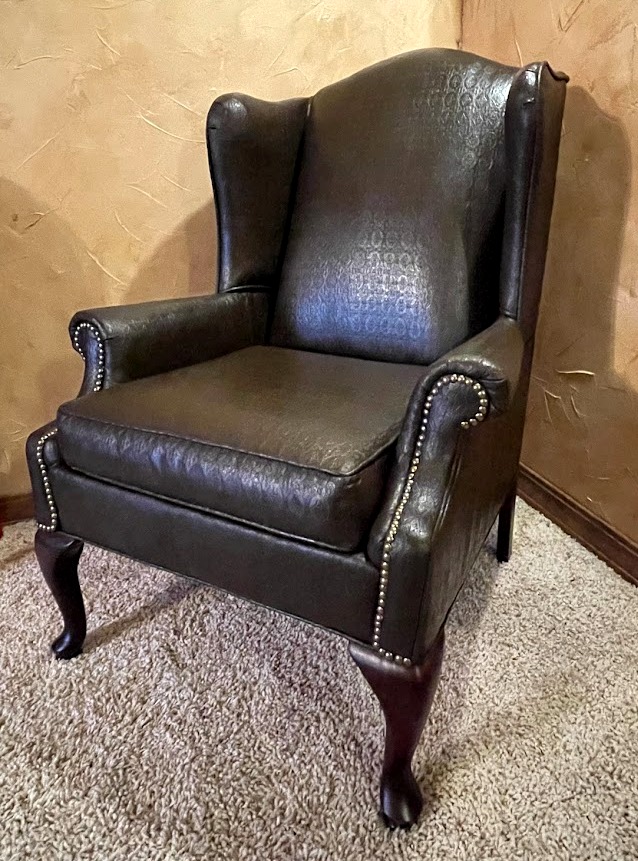
Finished leather chair
Before, During, After
Well? What do you think? Can you even believe this is the same chair?! I took my time on this technique since I had never tried it before. I didn’t want to rush the drying process and alter the results. While there were several times during the project that I was sure it wouldn’t work, I kept telling myself to trust the process. Many of the videos said the same thing – trust the process. Since I had almost all the supplies on hand, this chair transformation cost less than $20! And it was SO much less work than sewing a slipcover!!! Even though this project took a week to complete, I could not be more pleased with the results! You would never know this stunning deep brown wingback chair was once pink fabric!

The son’s reaction
Hubby & I took the chair over to the son’s house while he was gone and placed it in the room that will be the office. I was there when my son came home. When he saw it, he said ‘You bought a new chair?’ I said ‘No, this is your chair.’ He asked what I had covered it with and was surprised when I said that I didn’t recover it, I painted it. He really likes it but wonders, as I do, if the paint will hold up. Time will tell but for now, it’s going to look amazing when the office gets done!
Instructions
- Clean and vaccum upholstery fabric
- In a small container, mix paint with fabric softener
- The ratio will be dependent on the paint you are using
- Start with 3 parts paint to 1 part softener
- Add more softener as needed to make the paint thicker
- The ratio will be dependent on the paint you are using
- Mix fabric softener in water. A 50/50 mix is good
- Spray a small area of fabric with the softener/water mixture
- Tape legs & underneath chair with painters tape
- With an inexpensive paintbrush, start applying a thin layer of the paint mixture to fabric
- Allow paint to dry overnight
- Lightly hand sand the painted material
- Using a damp cloth, wipe down sanded areas
- Apply as many coats of paint as needed to fully cover the fabric
- The material should have a ‘plasticy’ feel
- *Optional* Apply a thin coat of clear chalk wax to the material
- Buff with soft cloth and/or wax brush
- *Optional* Apply dark wax as an accent around the edges of the piece
- Add decorative tacks
- Sand legs
- Wipe with damp cloth
- Apply stain with a rag
- Allow time for stain to dry
- Apply 2 coats of polyurethane
For your convenience
This post contains Amazon affiliate links. If you choose to order through these links, it will be at no extra cost to you


Want more project ideas?

Let’s Stay in Touch!
I’m excited to share more projects with you as well as tips/tricks/freebies! Just enter your email below to be one of my Blog Peeps!

You May Also Like

Let’s Build a Walk-in Shower!

Pallet Potting Bench
