

Let’s Cover the Vertical Blinds!
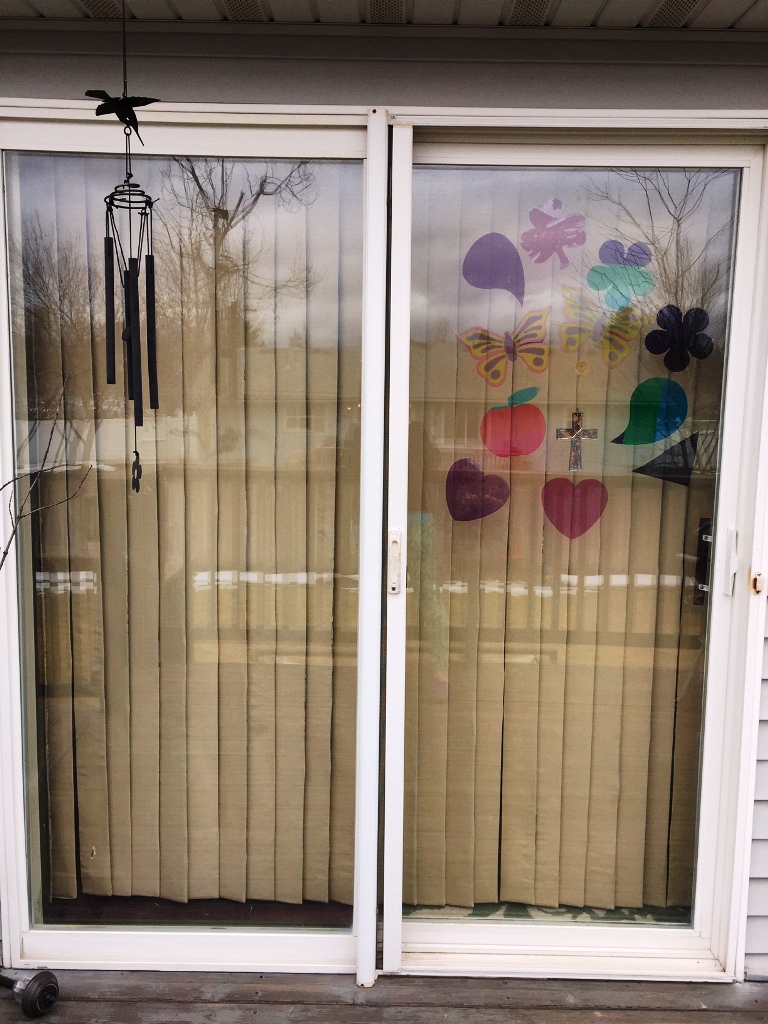
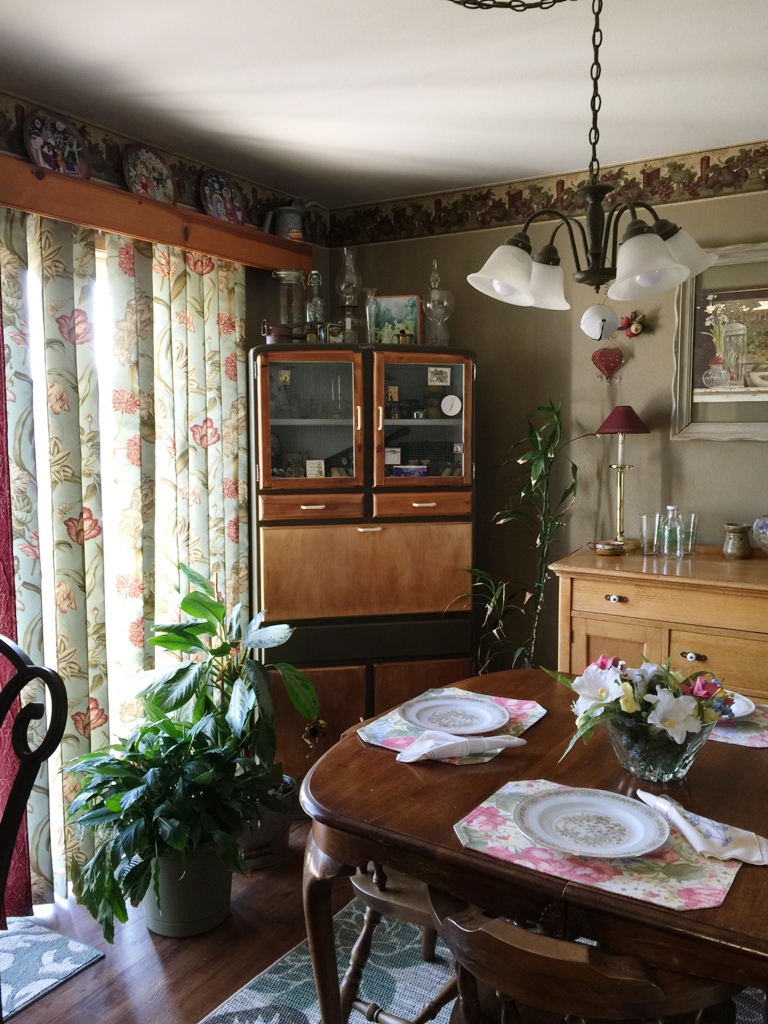
Do you have vertical blinds in your house? Do you like them? I’ve never loved vertical blinds. They have always reminded me of an office and I felt they were too stark for a home. When we moved into our house, the sliding glass door in our dining room had taupe-colored vinyl vertical blinds. While I didn’t love them, I also didn’t want to spend the money to replace them since we had just purchased the house. Now that I have lived with them for almost 19 years, I have grown to love the versatility they offer. You can twist them open a little or a lot to allow the sun to shine in but still retain privacy or, of course, slide them open completely for full sun.
Taupe is a cool color and while I normally love warm colors I decided to work with the taupe for the time being and ‘somewhat‘ decorated around the cooler color. After a few years, I decided to move into a warmer design in the dining room but still wasn’t keen on buying a new window treatment for the sliding glass door. I thought maybe I could change the color by painting the vinyl vertical blinds. With a small paint roller and some wall paint, I painted about 4 inches at the bottom of one of the strips. The paint covered well but once it dried, it made the vinyl stiff and that was not the look I was going for

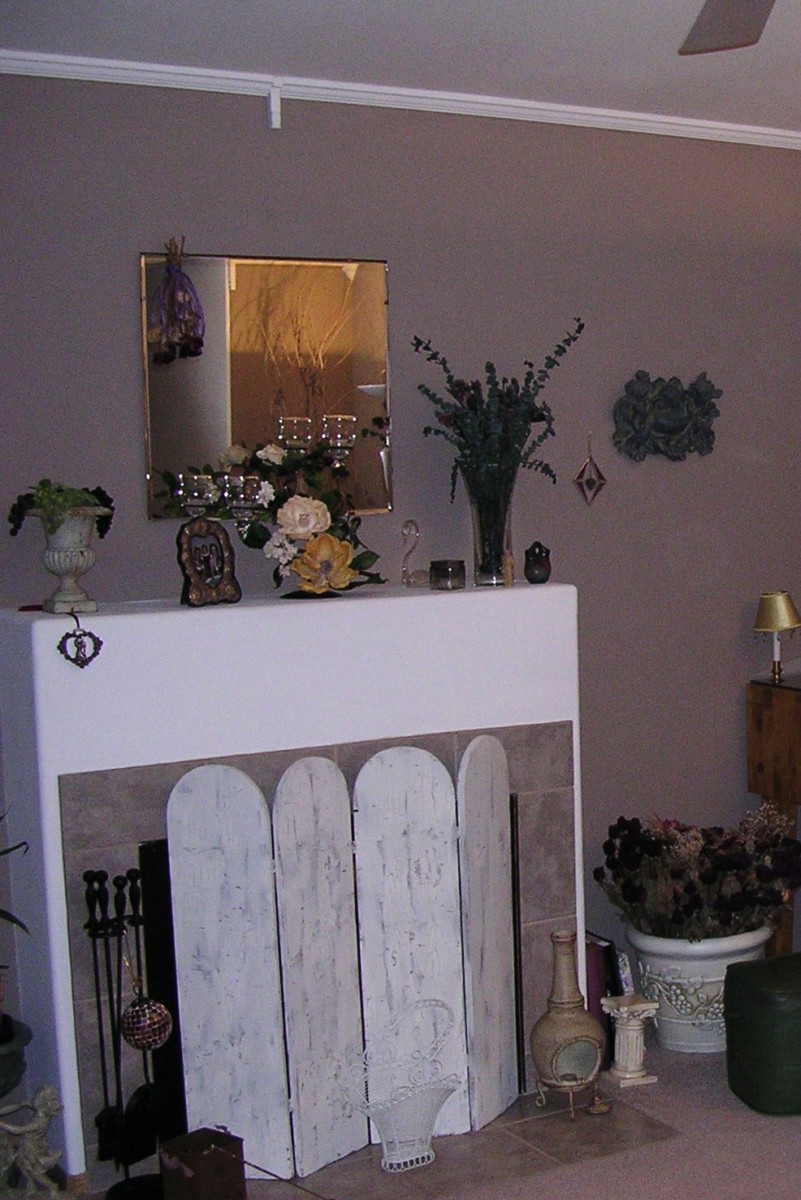
Painted the living room taupe 
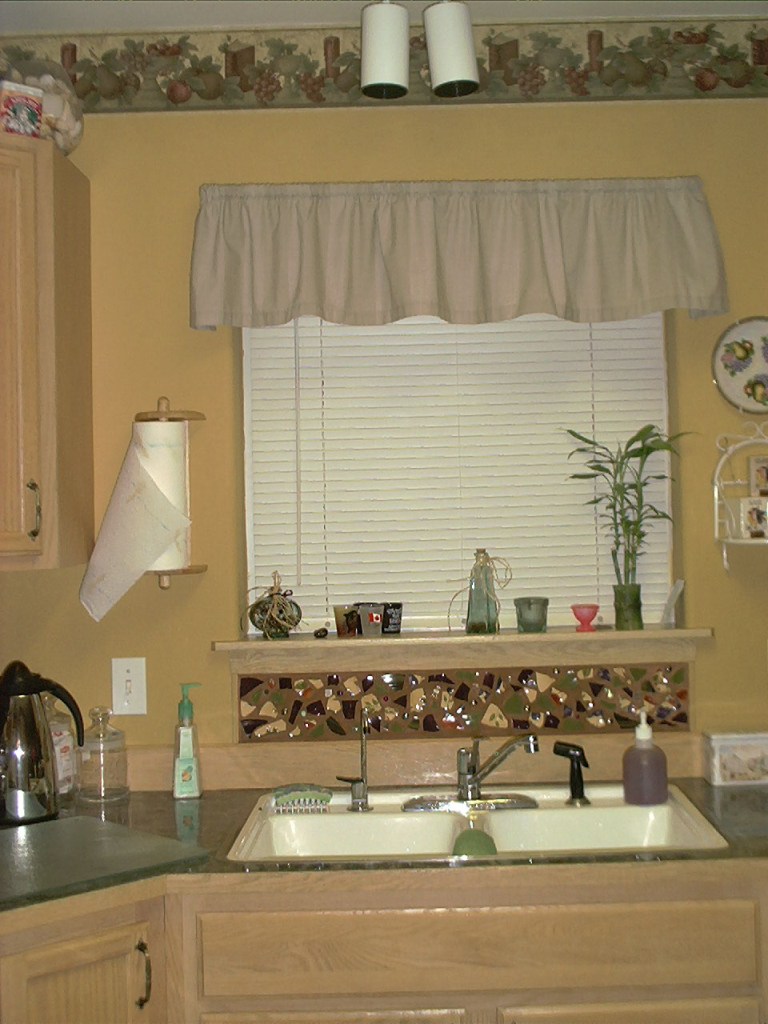
Incorporating taupe into the kitchen
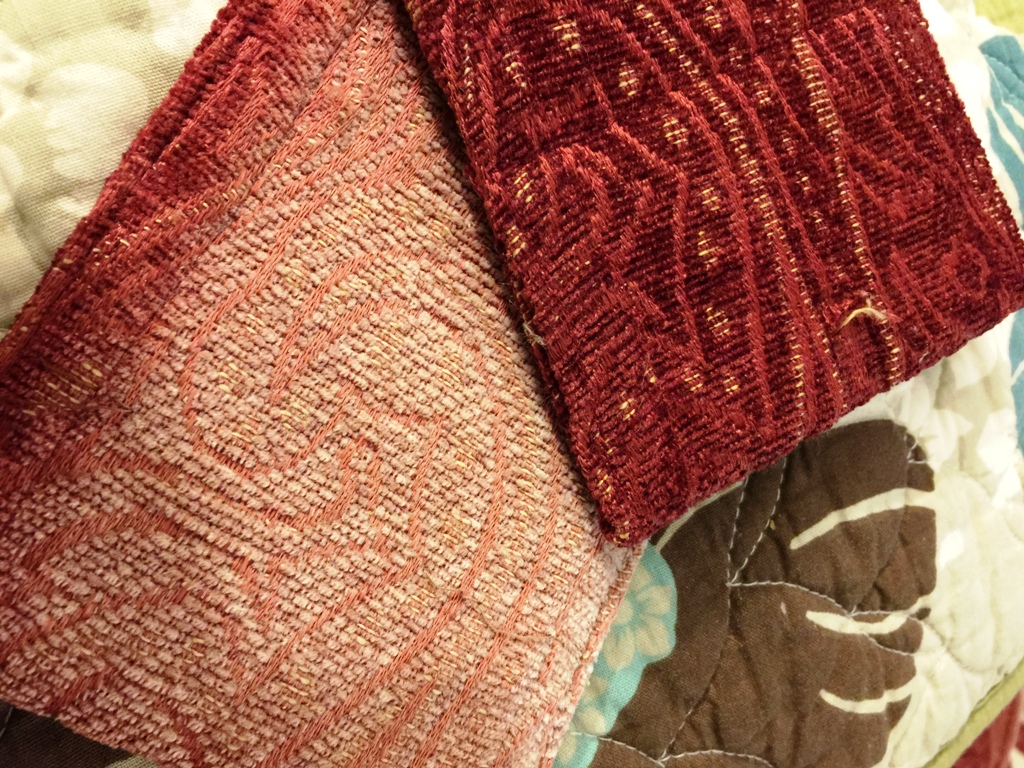
I was telling a friend of mine that I wanted to change the look of the blinds without having to buy a new window treatment and that painting them was not going to work. She suggested covering each strip with fabric. Well, that was an idea! There are 25 strips and it sounded like a lot of work to me but after I thought about it for a while, I decided to give it a try. After all, I had already committed to changing them by putting paint on one of the strips! For the fabric, I bought a couple of curtain panels at Ross. The fabric was velvety, had a soft paisley pattern and was a nice, deep burgundy color.
The vertical blinds are attached to the track with little plastic clips and they are easily removed. To begin the process of covering the blinds, I laid one of the curtain panels wrong side up on the floor and then took one of the blinds down and laid it on top of the curtain so I could cut a strip of the fabric and sew it onto the blind. My plan was to sew the fabric directly to the blind because the vinyl material the blind it was made from was flexible enough to do so. In order to have enough material to sew onto the blind, I allowed an inch on either side of the length and along the top. For the bottom, I allowed an extra 4 inches. The reason I left more room at the bottom is it each blind has a weight that sits in a little pocket and helps them hang straight and I wanted to be able to cover that pocket.
Once I had the first strip of material cut, I started pinning it to the blind. To create a clean finish along the edge, I turned the material over twice before pinning…. a quarter of an inch and then a half an inch. When I had enough pins to hold the fabric to the vinyl, I took the strip to my sewing machine. I was so pleased that sewing the fabric onto the blind went fairly quickly.
I started sewing along one of the sides beginning at the bottom of the blind. When I reached the top of the blind, I sewed across that section and then down the third side.
To cover the little pocket at the bottom of the blind I made a hem, turned the fabric up about 3 inches and then sewed along each of the outer sides to secure to the blind. Once the fabric was sewed to the strip, I used my buttonhole attachment to make a very small buttonhole at the top of the blind where it attaches to the plastic clip on the tracking. Using a seam ripper, I opened a
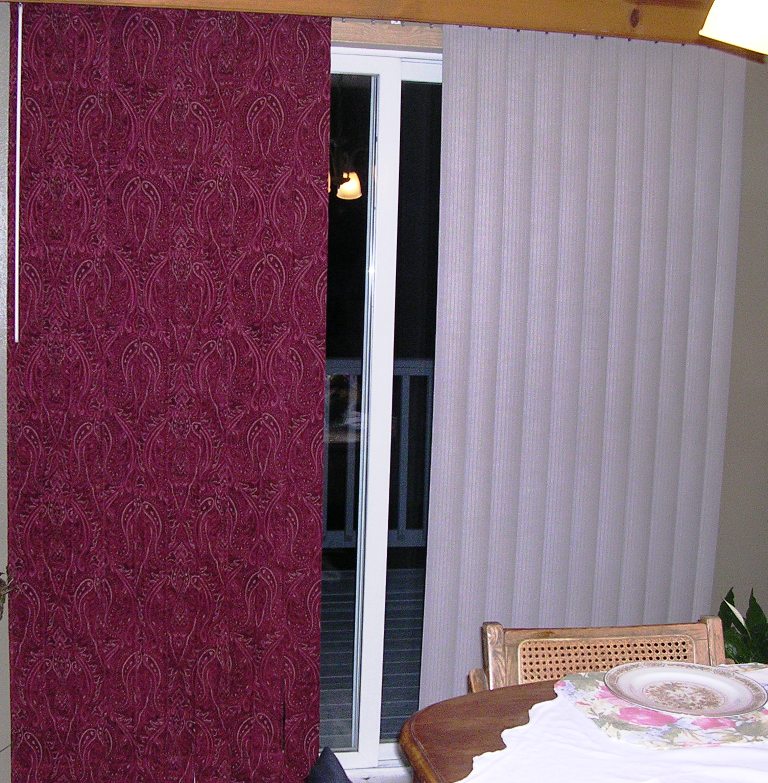
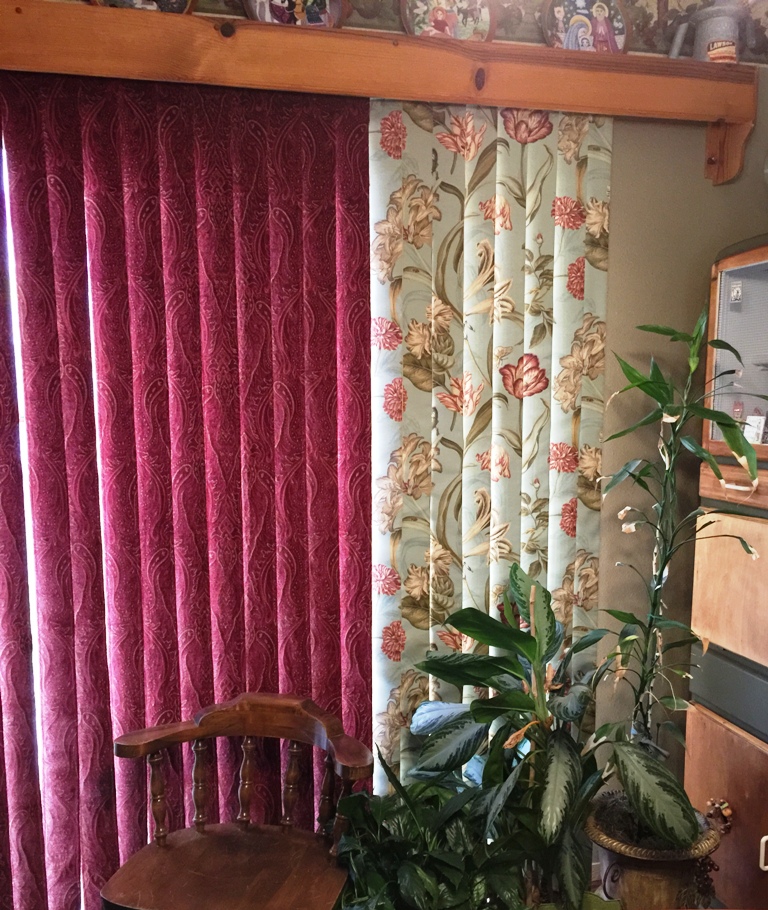
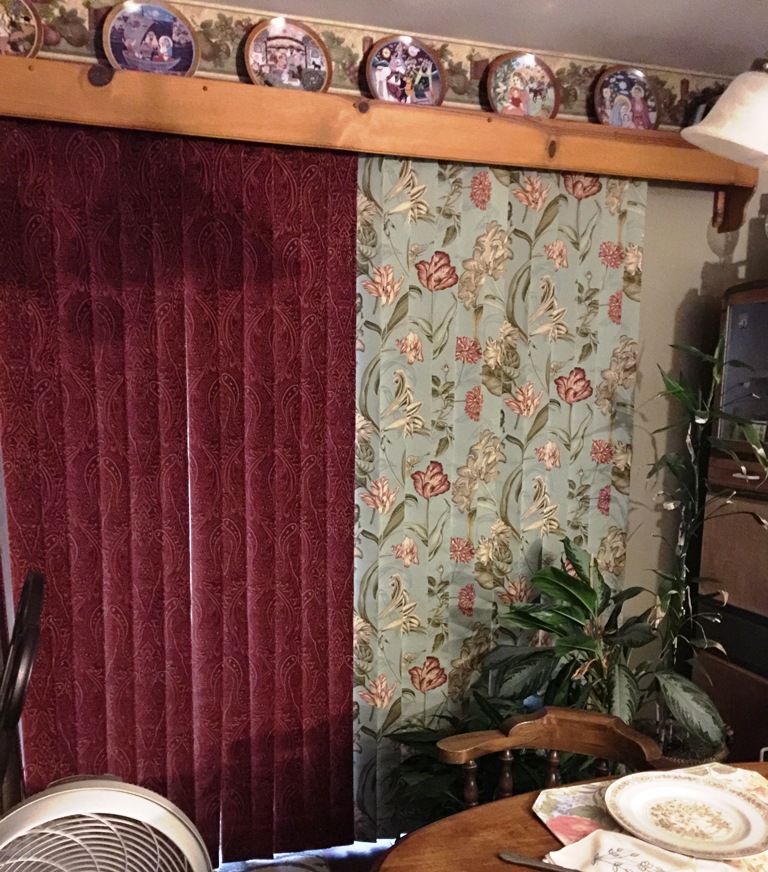
Changing from taupe to burgundy
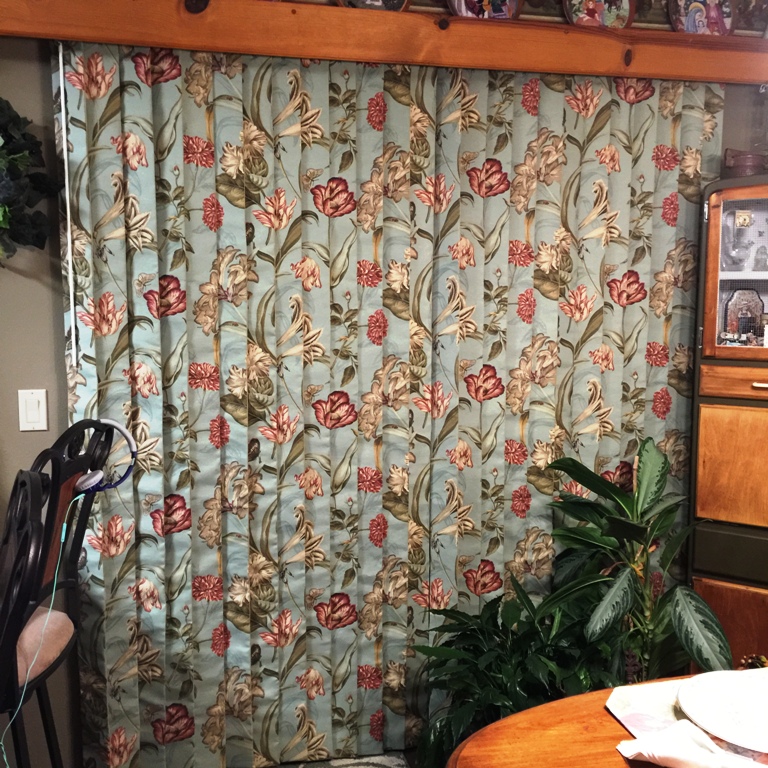
Old and new color New blinds
After a few more years went by, I decided to change the look of the blinds once again but this time I planned to use a different method. Using a seam ripper, I removed the burgundy fabric. The process that I thought would be easier and faster was to make a slipcover for each of the strips. I had made a new curtain for the front room window and wanted to use that same fabric on the blinds. The fabric was upholstery fabric that I had purchased from JoAnn’s Fabrics. Upholstery fabric is pricier than regular cotton fabric because it is thicker and comes in wide widths, usually 54-60”. Each of the blind strips is 3 1/2 inches wide and once I included a seam allowance, I knew I would need 4 to 4 1/2 inches of fabric for each side of the blinds. Since there are 25 strips, that meant I would need a minimum of 100 inches to cover each side of the window treatment. That meant that I would need two lengths of the fabric. The length of the blinds is 80 inches. With a yard of fabric being 36 inches, I would need to buy 10 yards. Even with the 40% off coupon I had, 10 yards of fabric would’ve been pretty expensive! I thought about it and figured that I only needed the pattern on the inside of the blinds. The back could be plain. Since the back is against the window and gets full sun, it fades anyway so no need to let the pattern fade. I bought

Fade on first fabric Back with new fabric
Once I had the fabric washed and dried, I laid the plain fabric on the floor right side up then I placed the printed fabric on top of it right side down. The reason I did this was so I could cut both strips at the same time & once I had them cut, I could pin them together and the slipcover would be ready to sew. Because the printed material has a specific flow to the design, I numbered each strip as I sewed them so once they were hung, the pattern would be continuous. After doing this, I realized that it would be easy to figure it out once I hung the strips 🙂
Since I was making a slipcover, all I had to do was sew down one side, across the bottom and up the second side. There was no need to make a pocket at the bottom this time since the weight could remain in the pocket that is part of the blind. Once each slipcover was sewn together I turned it inside out and pressed it with the iron. It was easy to slip the cover each of the strips. To finish the slipcover, I hand stitched the top of the blind close and made a little buttonhole so it would attach nicely with the clips on the track.
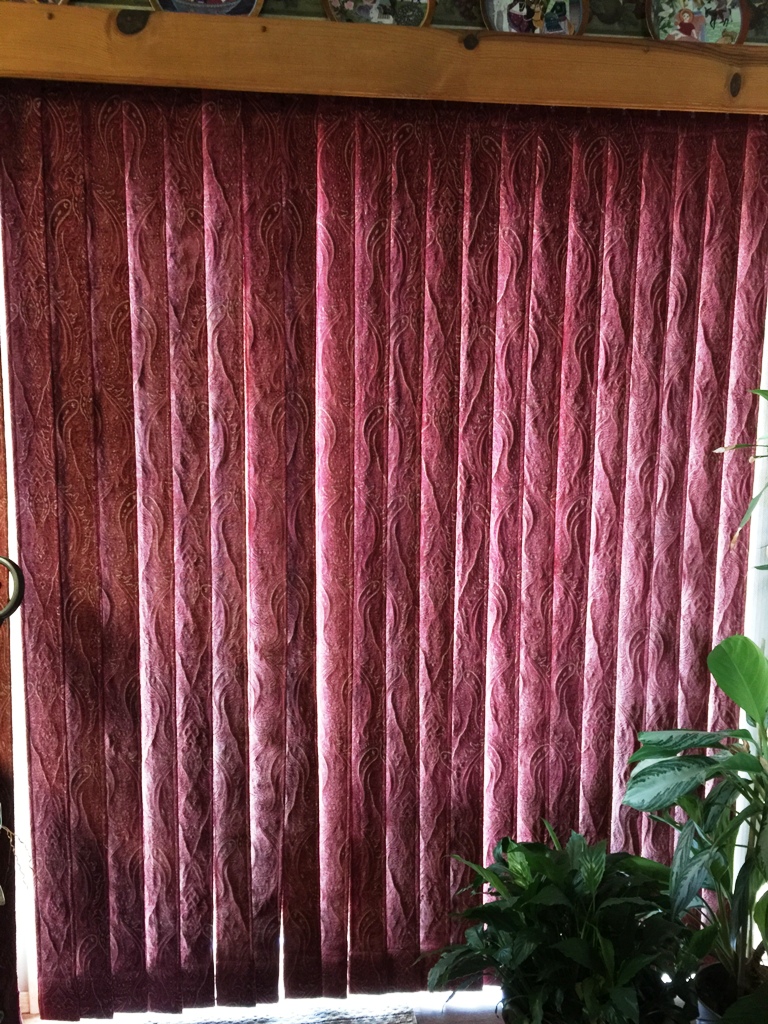
Changing from burgundy to print
Covering your vertical blinds with fabric is a great way to update the look and gives you the opportunity to change it whenever you feel like it. If your vertical blinds are the hard plastic kind, the slipcover technique would work, but you could also paint them or using wallpaper or tissue paper, decoupaging them would be fun! Use your imagination to make your window
One thing to be aware of is the extra weight that material will add to the blinds. I dont know if it’s the age of the track & clips or the extra weight, but if we open the blinds too quickly, one or two will call out of the clip. I imagine it’s a combination of the age & weight but I still prefer the updated look so I’m fine with the need to slip them back in place if needed.
I’m excited to share more projects with you as well
This post may contain Amazon affiliate links. If you choose to order through my links, it will be at no extra cost to you
Scroll down to leave a comment and let me know what you think about this redesign!


2 Comments
Ellison @Vertical Blinds
I appreciate how informative and helpful your blog on vertical blinds is! It’s clear and easy to follow, making it a great resource for anyone looking to understand and choose vertical blinds. Thanks for sharing such valuable insights!
Mike
Nice post!