

Let’s Make a Gazing Ball!
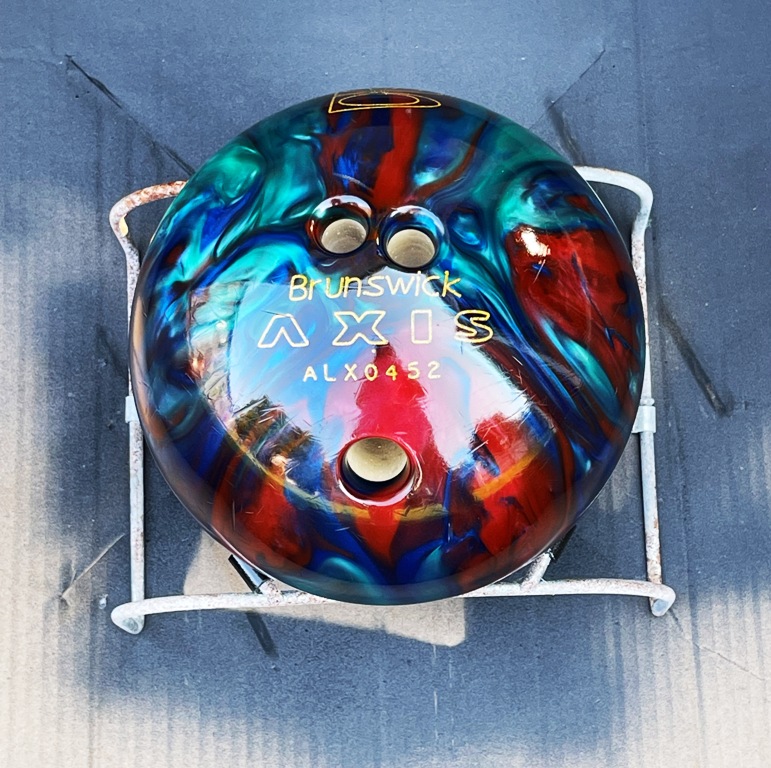
Do you have a gazing ball in your yard? They are a fun garden accent! If you don’t have one but would like one, you are going to LOVE this DIY project! Quite a few years ago, I bought a black bowling ball at the thrift shop. I planned to mosaic it and use it as an accent piece in the garden area. Well, I never got around to doing it so it has just been sitting, as is, in the garden. Recently, I read about a DIY gazing ball made from a bowling ball. Now, that sounded faster and way easier than doing the mosaic technique. Instead of pulling out the black ball from the garden, I went in search of a new ball. I ended up finding two at two different thrift shops so I bought them both. One was $10 & the other $5 – so $7.50 for each.
Supplies Used
- Bowling ball
- Rubbing alcohol
- Washcloth
- Spray sealer
- Stand for gazing ball
- Matte black spray paint
Prepping the bowling balls
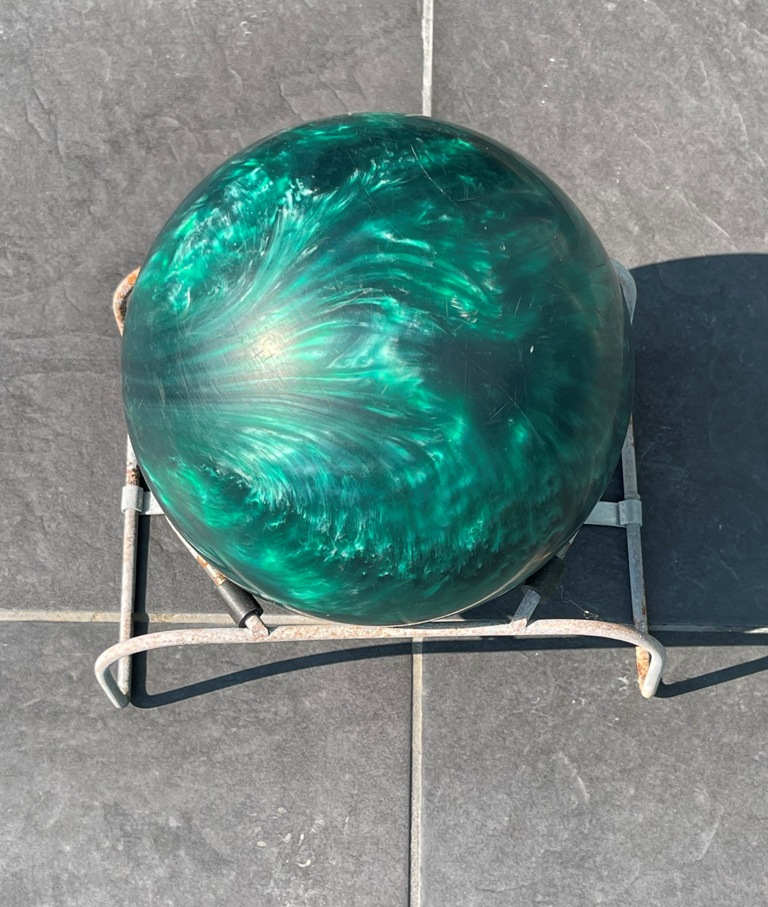
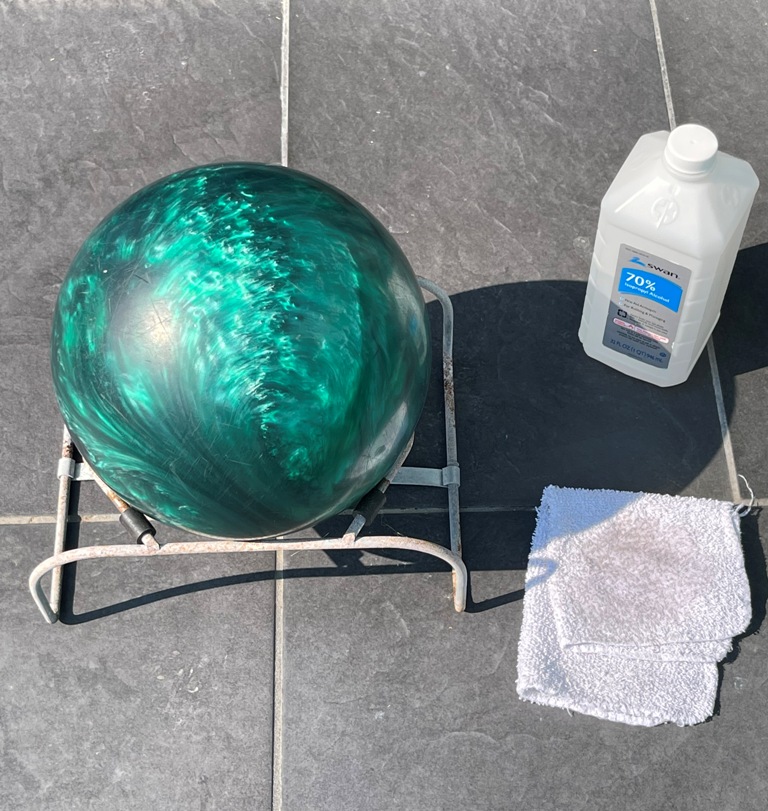
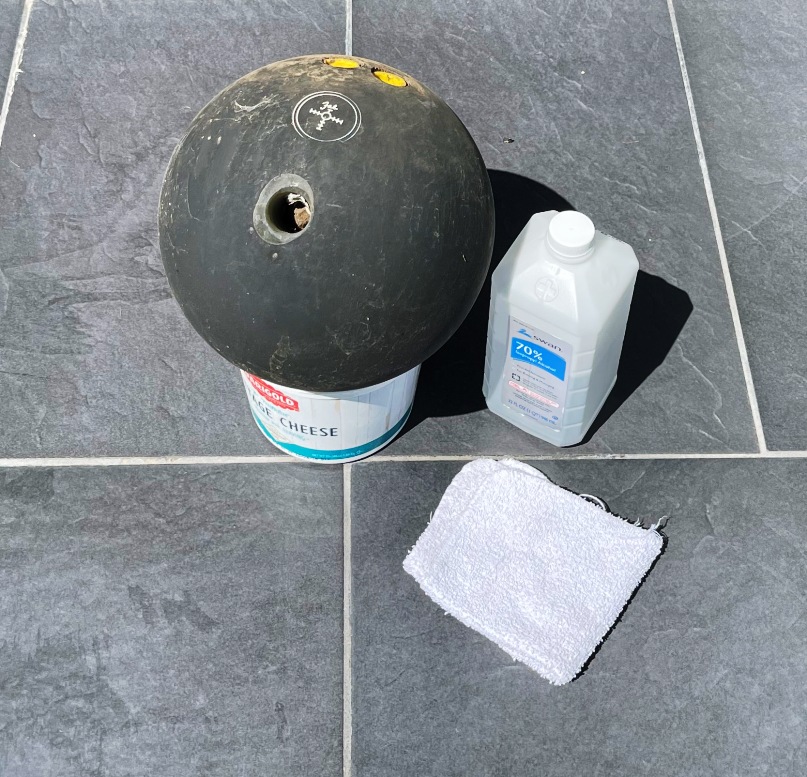
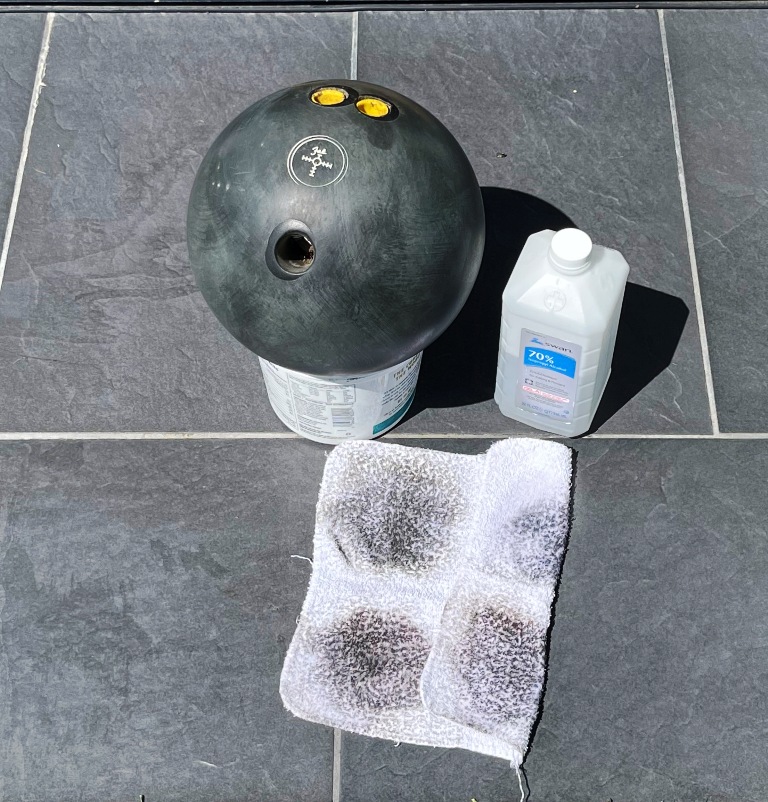
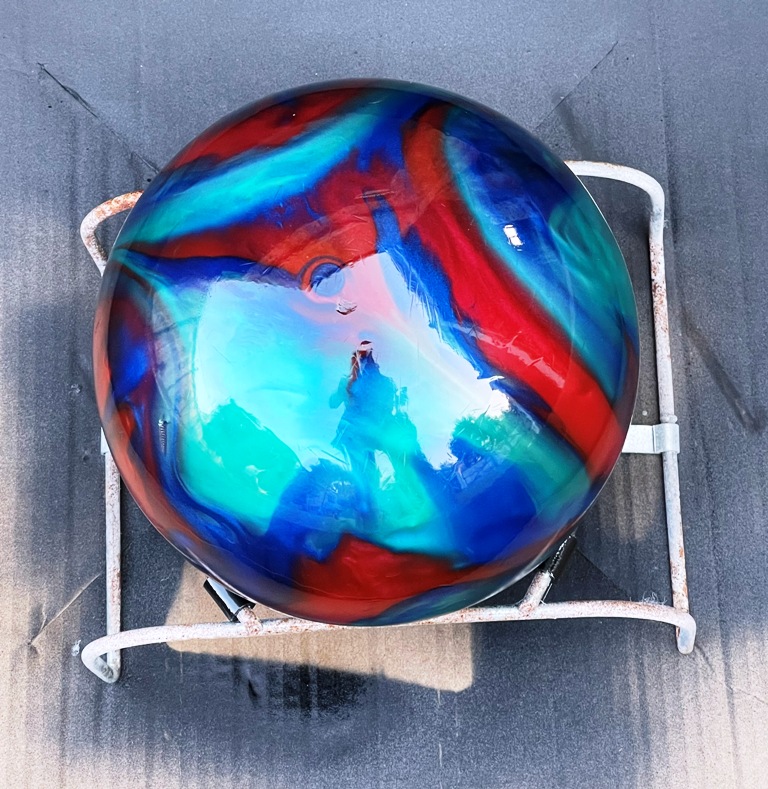
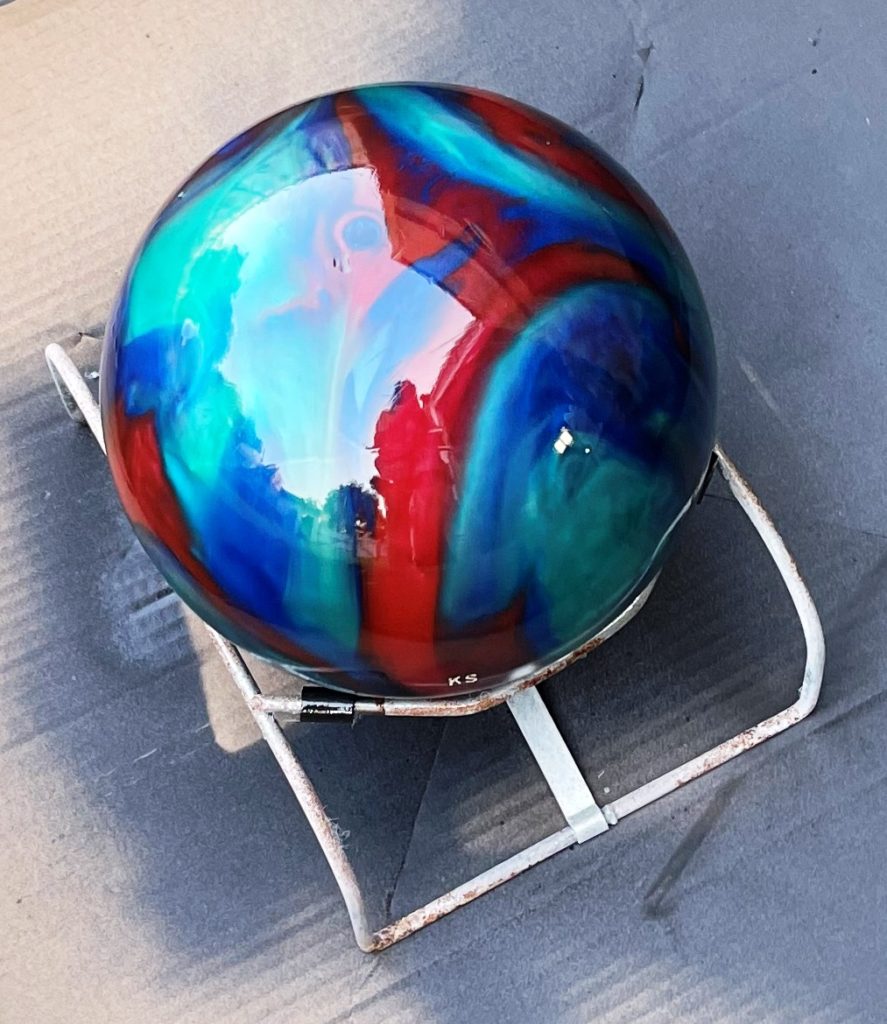
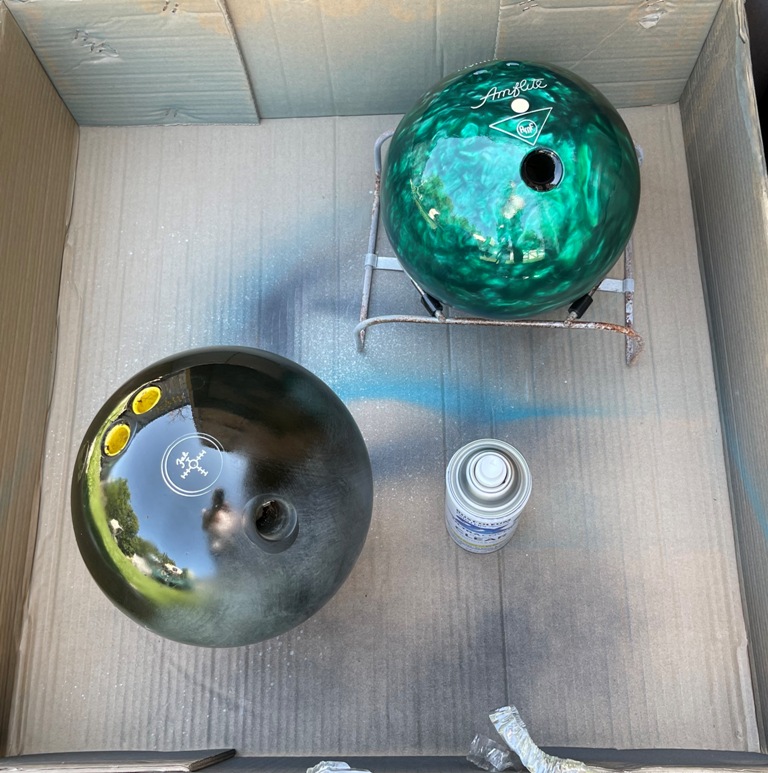
This project is so quick and so satisfying that you’ll want to make several gazing balls! They also make great gifts! Once you have a bowling ball, the first step in the project is to clean it. Since the ball probably has oils from being held, you’ll be using rubbing alcohol for the cleaning. Pour a little bit of the alcohol onto a soft cloth, I used an old washcloth, then wipe down the entire surface of the bowling ball. When it’s wet, you’ll have an idea of what it’ll look like once it’s done. I did decide to grab the black ball from the garden and it was VERY dirty so I wiped it down with soap & water first. Then I used the alcohol. The black ball didn’t shine up with the was as much s the other two. I think that being out in the weather for years made a difference.

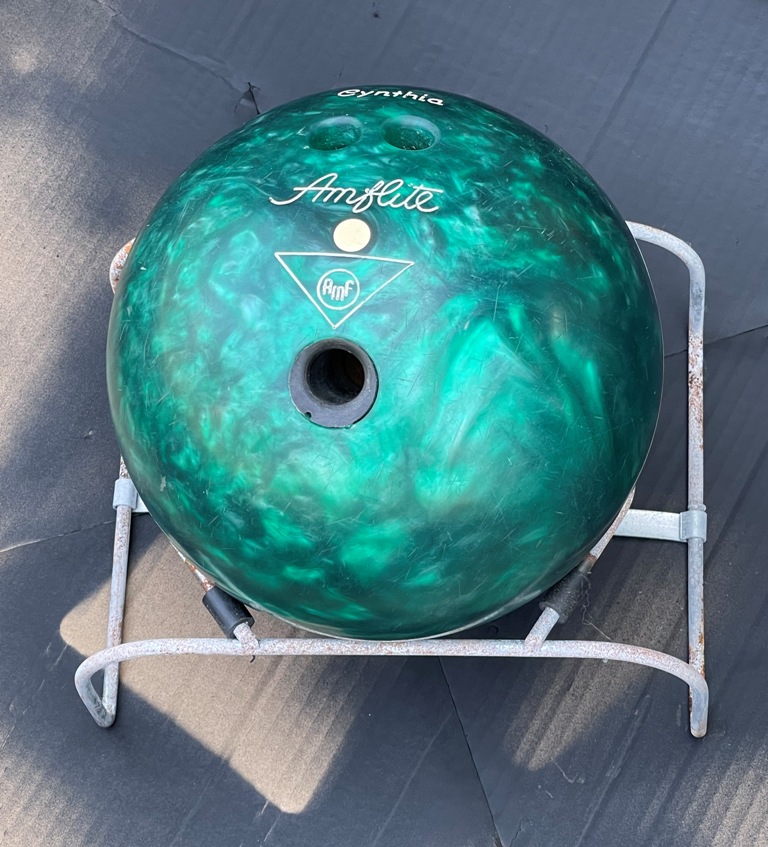
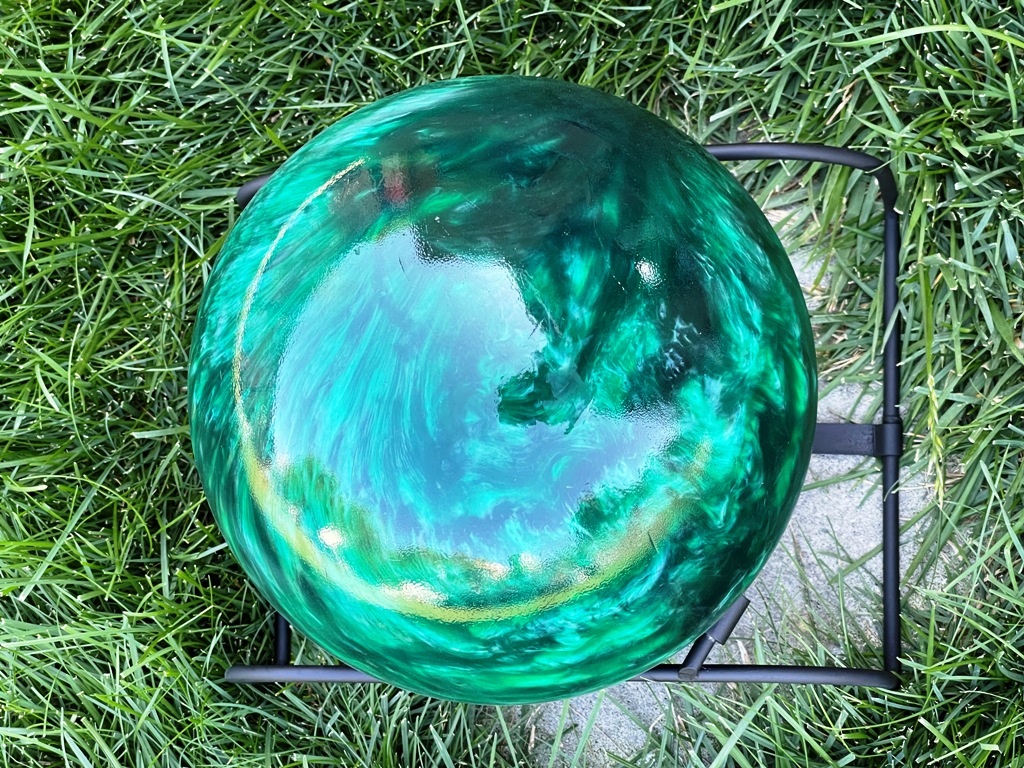
Green ball before washing 
Green ball after washing Swirly ball before washing 
Swirly ball after washing 
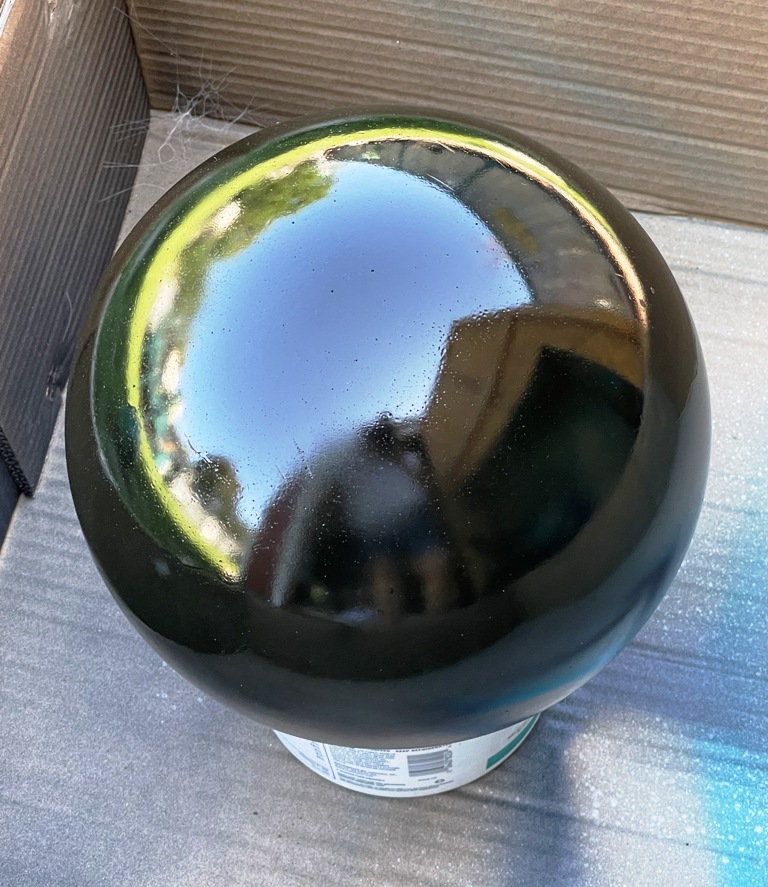
Black ball before washing 
Black ball after washing
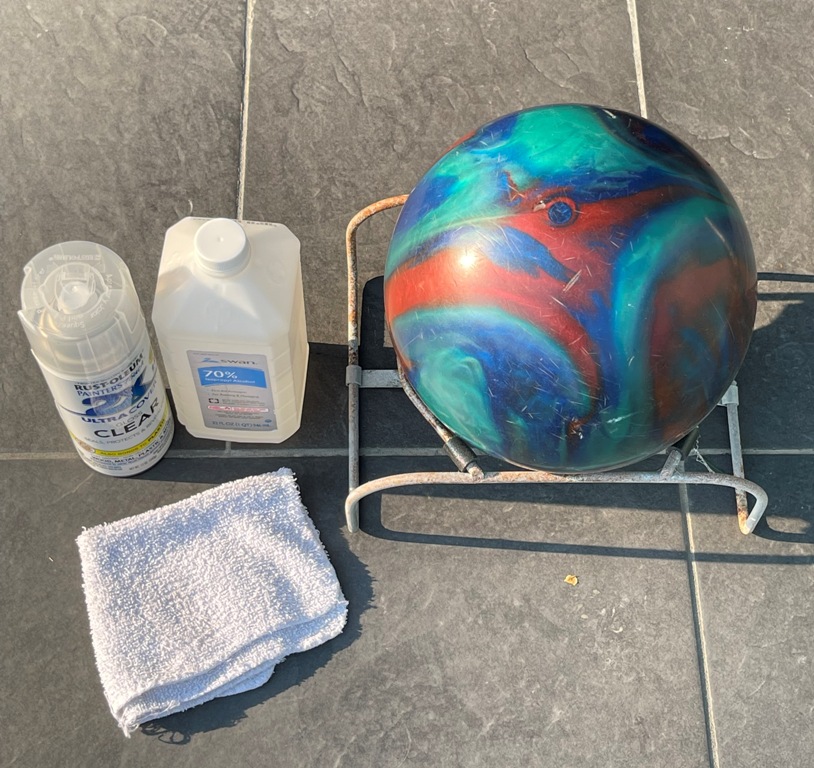
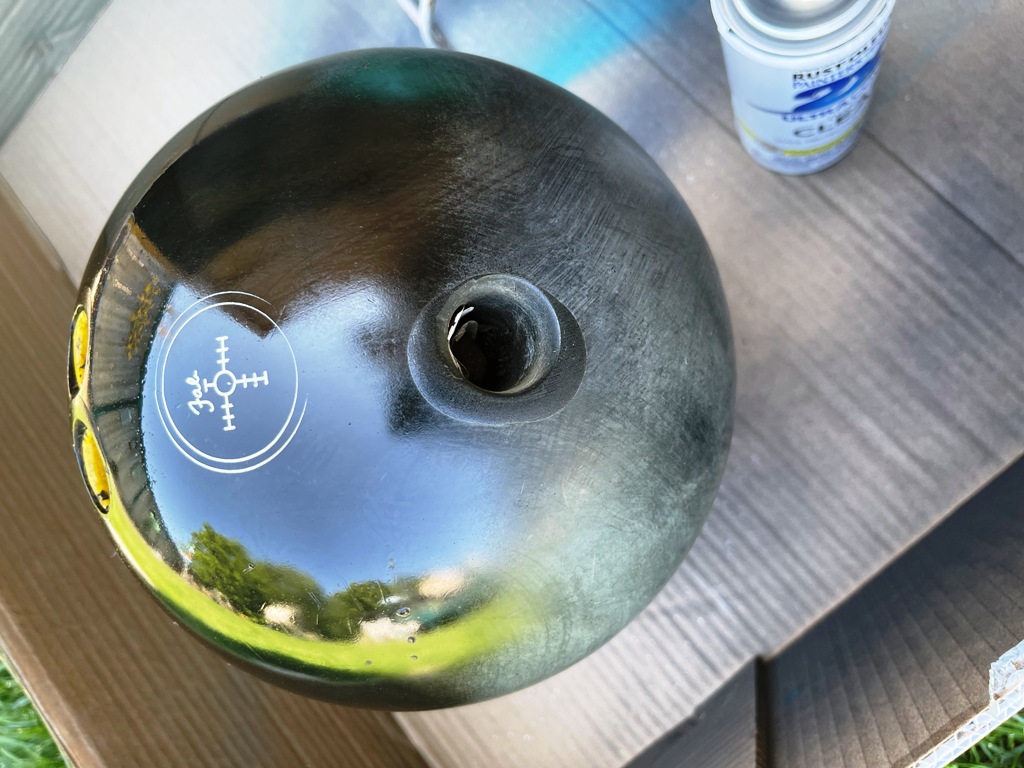
The right sealer
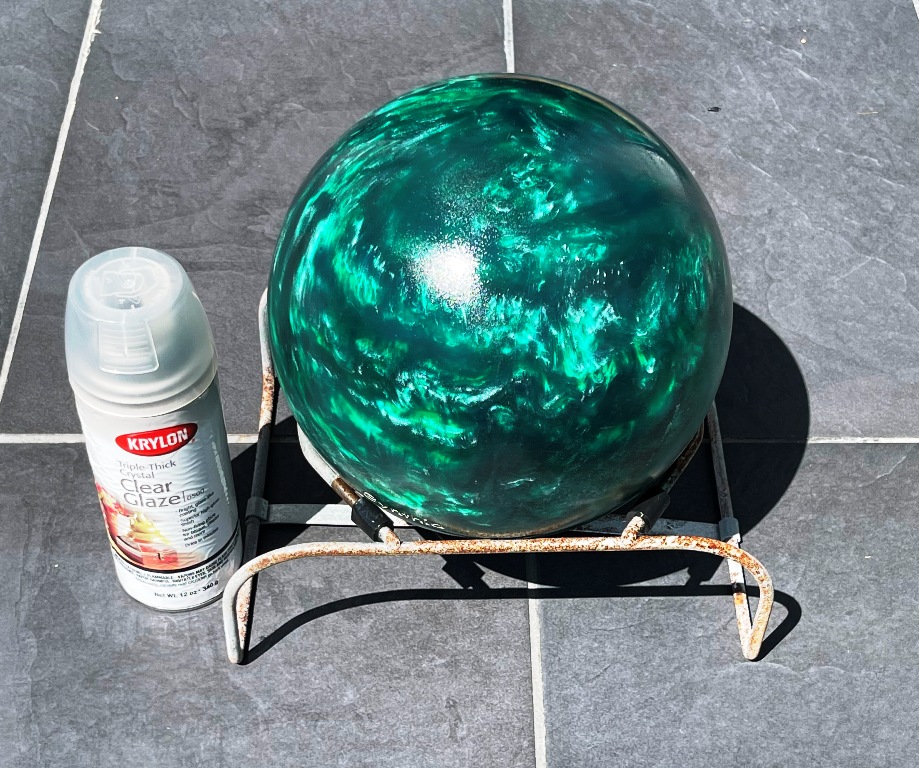
To get a really nice, glossy finish, you’ll want to buy the right brand of sealer – Rust-Oleum 2X Ultra Cover in Clear Gloss. That is the brand that was recommended by My Repurposed Life (https://www.myrepurposedlife.com/diy-gazing-ball-out-of-a-bowling-ball/); however, I had another clear gloss spray on hand, Krylon, so I used it on the first bowling ball. BIG mistake!!! Instead of giving the ball that really nice, glossy look, it came out splotchy. After seeing the results, I went to the hardware store and picked up a can of the right sealer.

Before sealer 
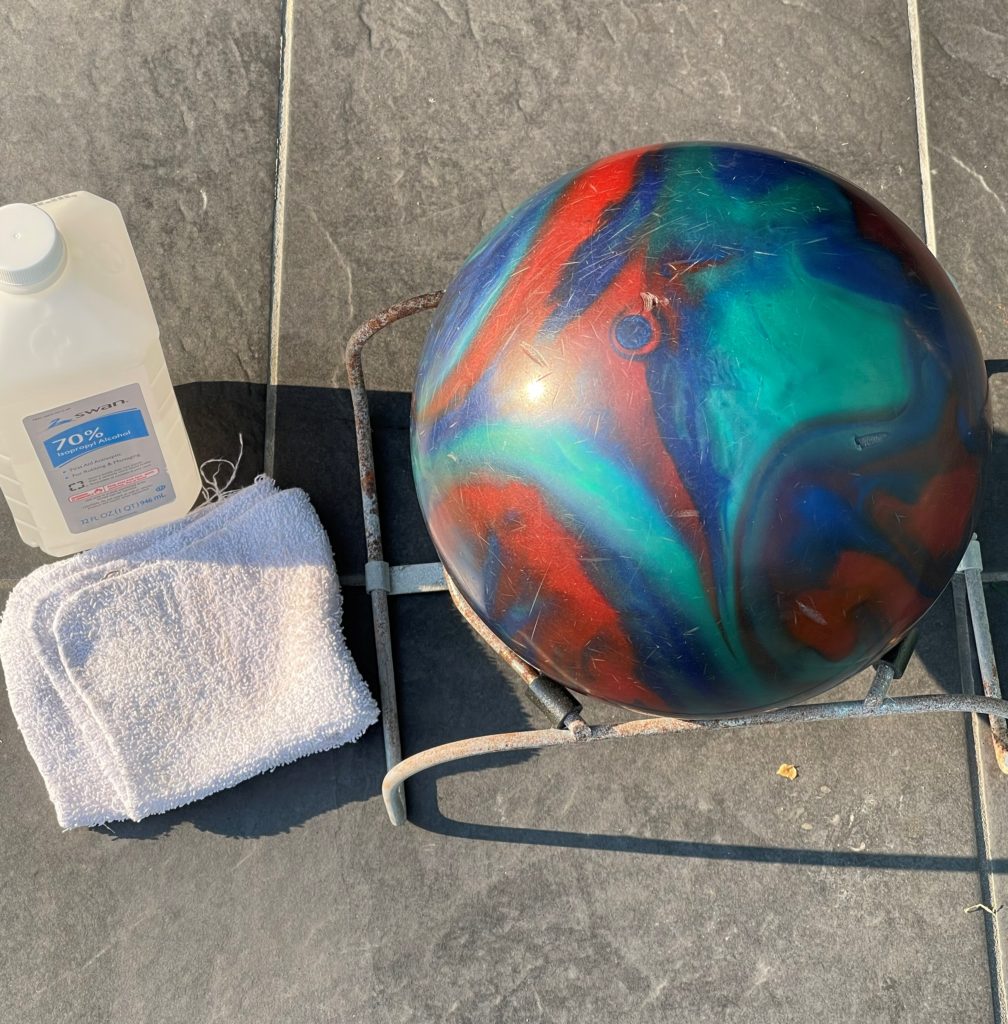
1st coat of sealer 
2nd coat of sealer

Sealing the bowling balls
One of the bowling balls I bought came in a bowling bag. In that bag, there was a metal stand that held the ball. I used the stand to hold the ball in place while applying the sealer. Starting with the side of the ball that has the finger holes, I sprayed a thin coat of the sealer. The directions said to apply a 2nd coat, if wanted, after 30 minutes. Once the 2nd coat was dry, I turned the ball and applied two coats to the top side of the ball. I allowed the ball to dry overnight. Since I had decided add the correct sealer onto the green ball and it was using the bag stand, I needed another way to hold the black one in place. I had some plastic tubs from cottage cheese and one of those worked perfectly! Adding Rustoleum over the Krylon helped but didn’t give the green ball the same glossy effect as the Rustoleum on it’s own did with the other two. You can see the difference on the black ball even with the 1st coat of sealer.

Two coats of sealer on underside 
1st coat of sealer on top side 
2nd coat of sealer on top side 
Ist coat of Rustoleum on green ball 
1/2 of the 1st coat on the black ball
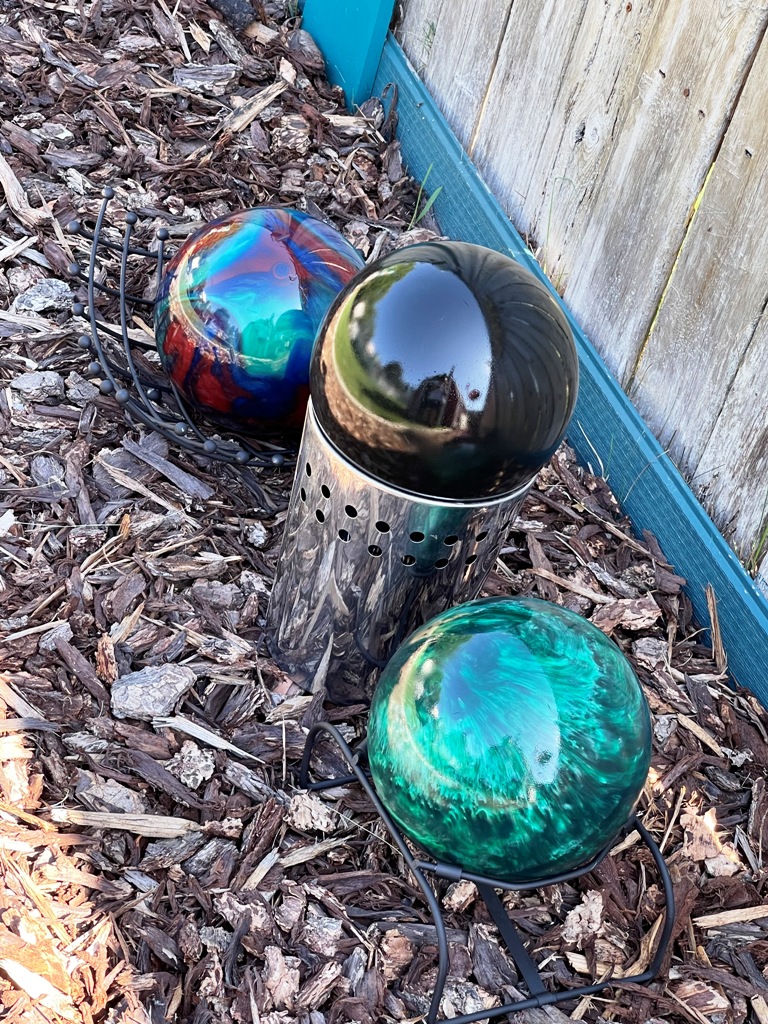
Gazing ball stand
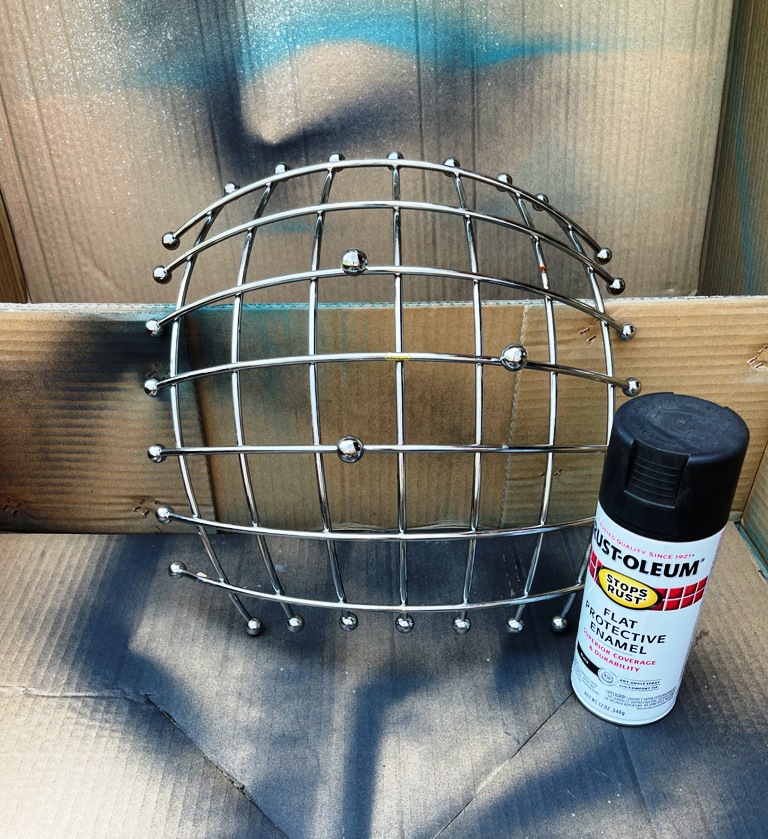
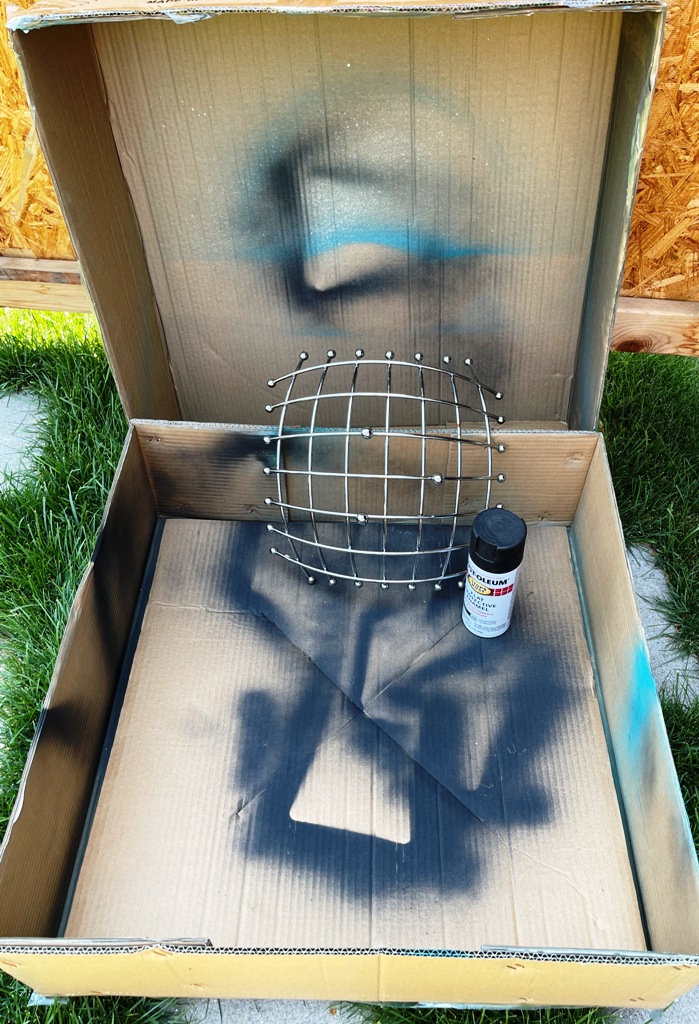
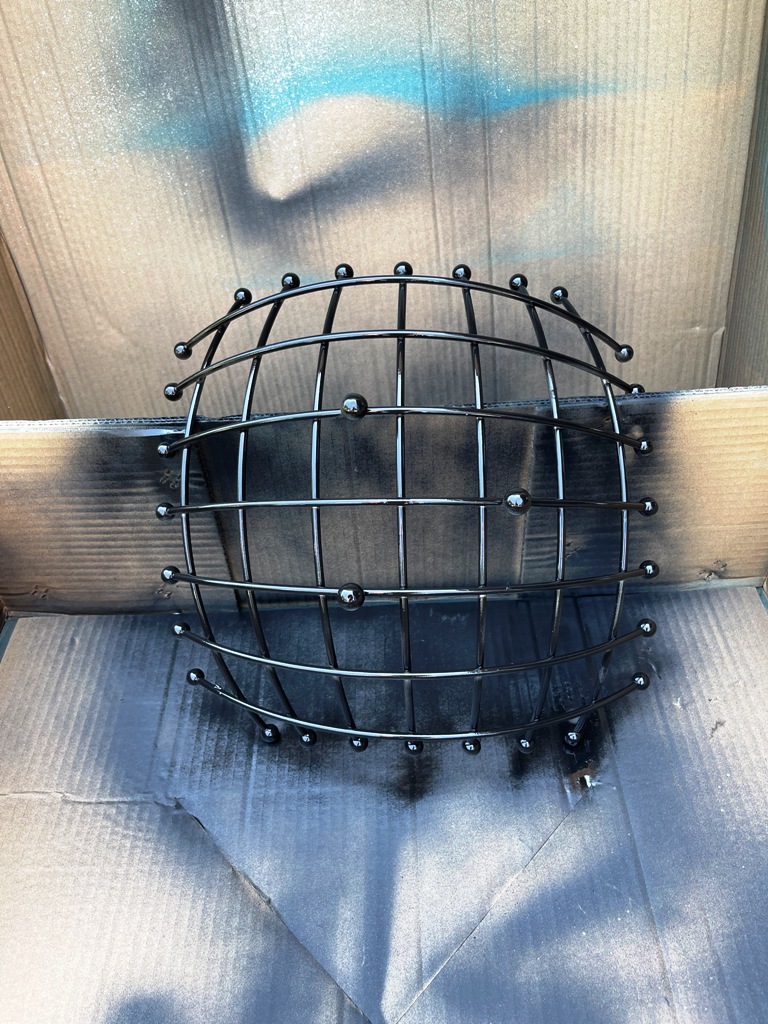
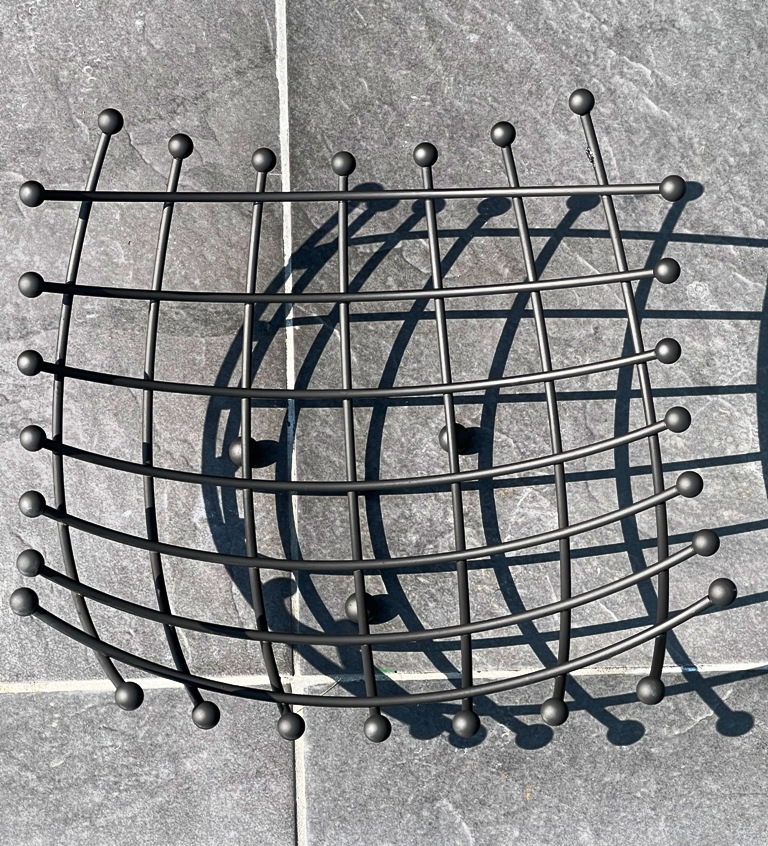
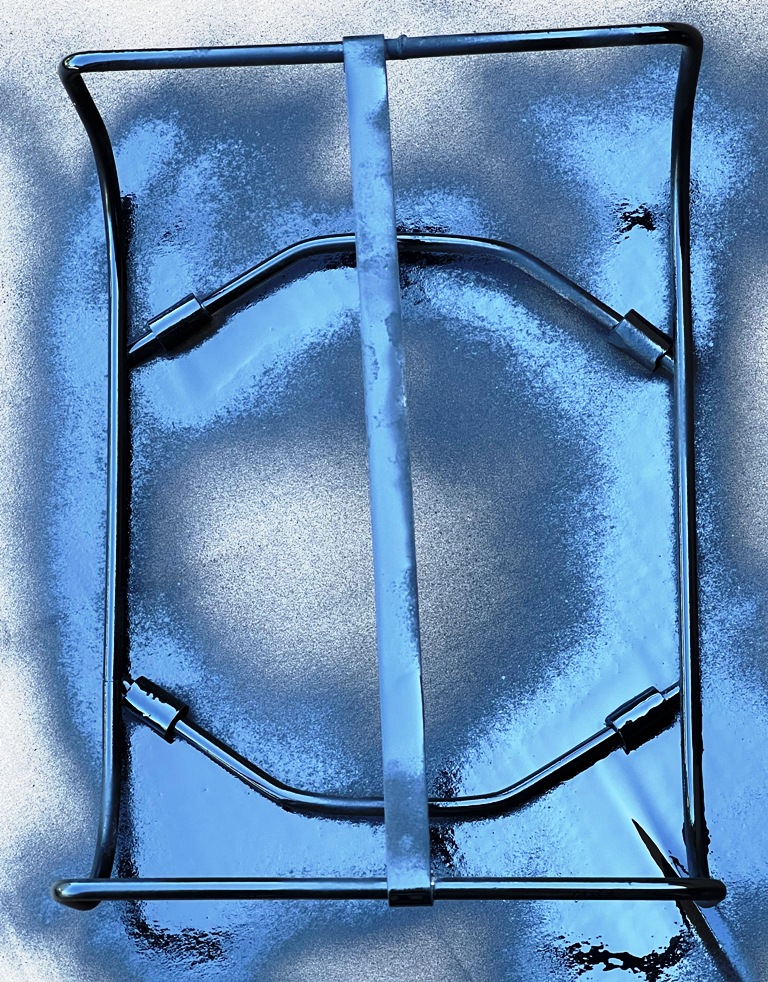
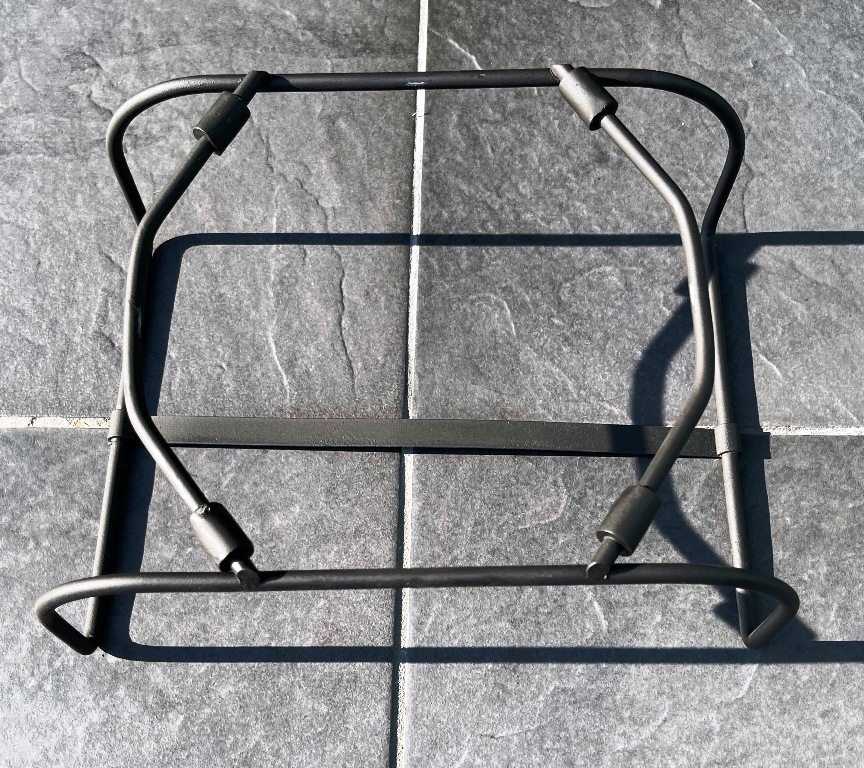
A gazing ball does not need a stand. You can set it directly on the ground. If you prefer a stand, you can get something that will work at the thrift shop like I did. I found a metal basket that I thought would work well, it was $3. Since it was shiny, I thought it would compete with the gaze of the ball so I painted it matte black. Since it was a basket weave, I had to spray it from all sides to get good coverage. For the 2nd ball, I used the stand that came with the bowling bag & also sprayed it with the matte black paint. Since it was rusty, I first scrubbed it down with steel wool. For the black ball, I used a little metal trash can that I already had but wasn’t using.

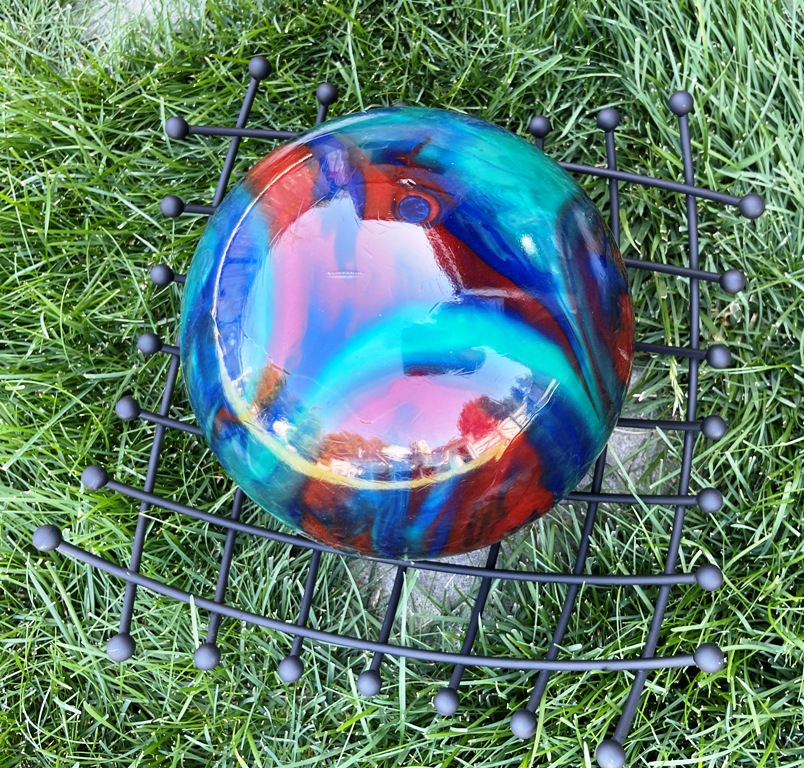
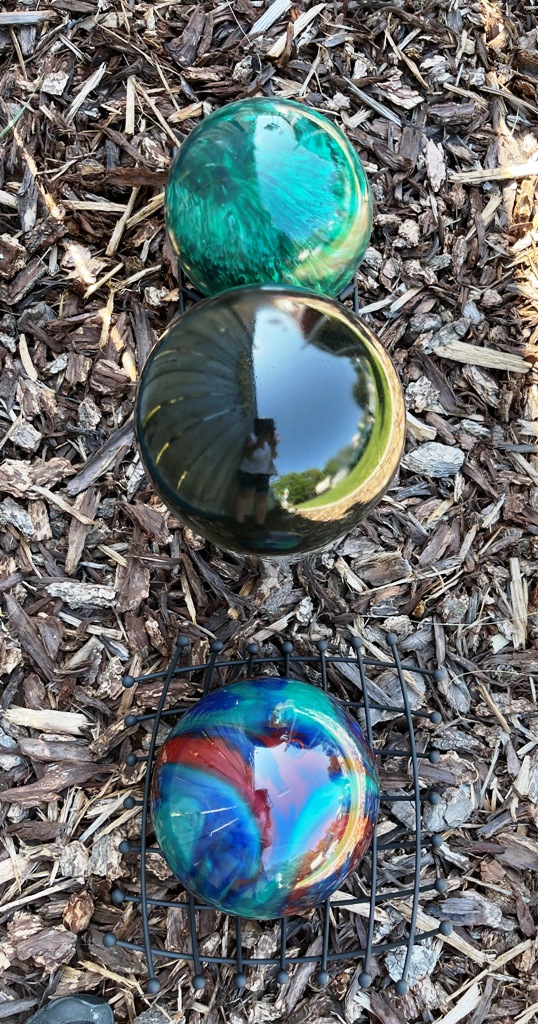
Finished gazing ball
See how fast this project is? I love how much the balls reflect the light, even the green one! They will be a nice addition to the garden areas! The cost for all 3 gazing balls was $27….and I have lots of sealer left to do even more! I had looked for gazing balls and they start around $27 but are usually much more.
Now go have a ball!

Instructions
- Clean bowling ball with soap & water
- Wipe down bowling ball using a soft cloth and rubbing alcohol
- Apply sealer to the side of the bowling ball that has the finger holes
- Allow to dry
- Apply 2nd coat of sealer
- Allow to dry
- Turn ball over and apply sealer to the top side
- Allow to dry
- Apply 2nd coat of sealer
- Allow to dry
If you need supplies
This post contains Amazon affiliate links. If you choose to order through these links, it will be at no extra cost to you


Want more project ideas?

Let’s Stay in Touch!
I’m excited to share more projects with you as well as tips/tricks/freebies! Just enter your email below to be one of my Blog Peeps!


One Comment
Lorraine McCracken
Would love to see what else you have in projects.