

Let’s Build a Path to Nowhere
Last summer was spent updating the landscape in the backyard. One of my goals was to create a division between our lawn and our garden area. My intention for the garden area was to remove or cover the grass and create a seating area. Hubby now refers to this new area as the Park.

Before I started on the Park, I revamped the bark beds in the main section of the backyard. I had just created these bark beds two years ago, but I felt they needed to be updated. For all the details on why I did this and how it came out, you can go here.
- Beginning of the path
- Making the path unique
- Remove sod or not?
- Other landscape projects
- Supplies Used
- Time to lay the path
- Adding paver sand
- Adding rock
- Adding a bridge
- Assembling the bridge
- Applying sealer
- Stabilizing the edge bricks
- Removing sod
- Laying weed barrier
- Finished path
- Instructions
- Project cost
- For your convenience
Beginning of the path

When I initially built the bark beds, I lined them with 8″ x 16″ rectangular bricks. Now that I was updating the look, I no longer needed the bricks, so I decided to use them in the garden area.
Another reason I enlarged this bark bed was because the tree roots were lifting the ring around the tree.

As I worked on this project, I sat the bricks elsewhere around the yard. Some went to the garden area where I would eventually create a seating patio, others went around the tree bench where I would build a platform, and the rest I sat along the line that would become a division between the Park and the lawn.
Making the path unique
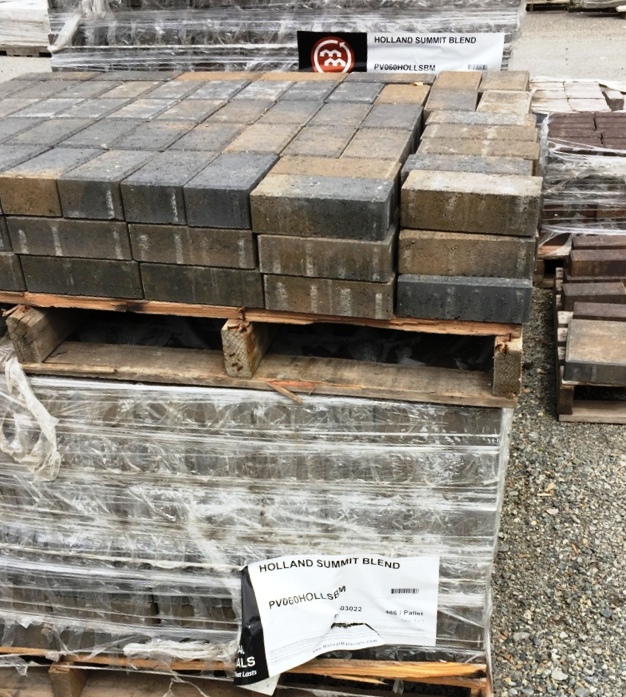
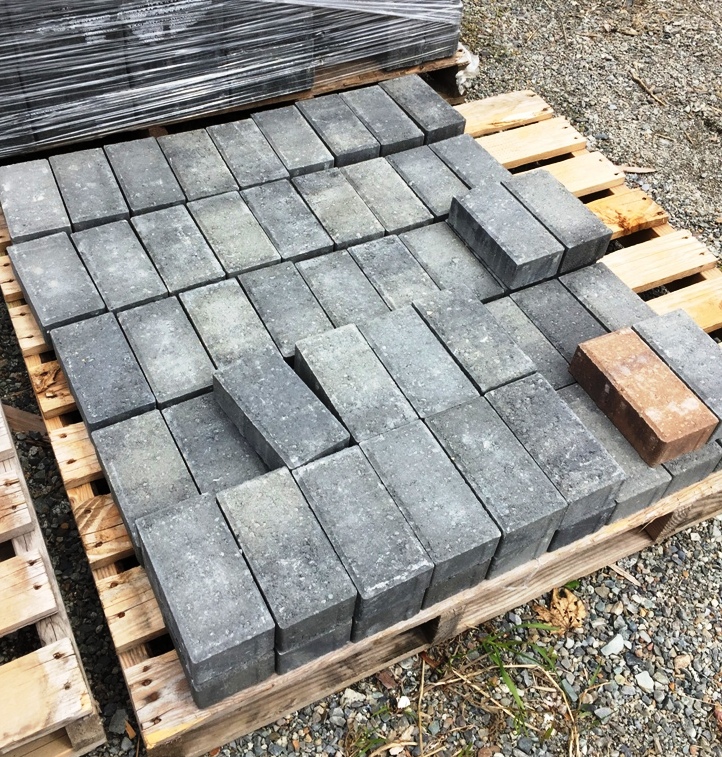
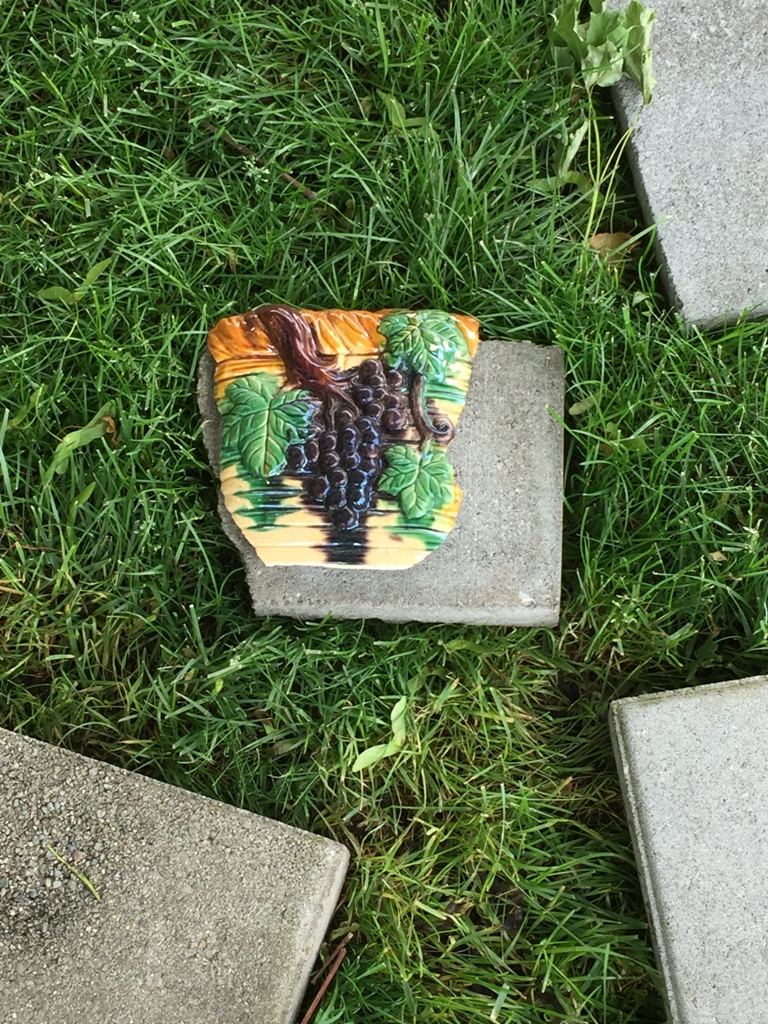
While browsing Pinterest, I found many interesting path styles. When I got ready to work on the path, using that inspiration, I gathered various items from around our yard to go in the path design. There were different shapes & sizes of bricks, along with some flagstone laying around my garden area. I also had some pottery that had once been a planter that I thought I could use in the design. After laying all the various pieces in the ground where the path was going to be, I could tell that I would need to add more to fill it out so I went to my favorite local landscape place to see what they had. I picked up both the bricks that would line the new path & also some to go inside.
Remove sod or not?
Now that I had all the pieces to create the path, I had to make a decision: remove the sod or lay the path on top of the grass. If you’ve had a chance to read about the landscape projects I’ve done over the last two years, you’ll know that I have removed my fair share of sod.
If you haven’t read about my sod removal projects, I have listed the posts below.
Other landscape projects
- Let’s Landscape the Front Yard – Zone 1
- Let’s Landscape the Front Yard – Zone 2
- Let’s Landscape the Front Yard – Zone 3
- Let’s Landscape the Front Yard – Zone 4
- Let’s Create a Rock Garden!
- Let’s Rip Up Some Sod!
It didn’t take me long to decide not to remove sod. Why? Because I just didn’t want to take the time and effort to do so. I know, it was risky but with hope for a good outcome, I forged ahead.
Supplies Used
- Garden wagon
- Shovel
- Small garden rake
- Kneeling pad
- Garden gloves
- Garden clippers
- Landscape cloth & newspaper
- Paver sand & small rock
- Bark
- Bricks
- Rock sealer (*optional)
- Garden sprayer (*optional)
Time to lay the path
Since I wasn’t removing the sod, it was even more important that I lay down a weed barrier. I had been collecting newspapers so I used those. When using newspaper as a weed barrier, you’ll want to use several sheets & wet them down after you’ve laid them on the ground.
It’s a lot less expensive buying pave sand in bulk. I bought 1/4 yard for $9. Paver sand is used to lay under the bricks to give them stability. Since the sand was ‘loose’ I shoveled it into my garden wagon & brought it from the garage out to the path in the backyard.
In order to remember the layout of the path, I picked up a few bricks at a time, laid down the newspaper, wet it good, added a layer of sand then placed the bricks back in place. Since the bricks were of various thicknesses, I used the sand to bring them to the same level. I also used the sand to level the edge bricks as I went.
Adding paver sand
Paver sand 
Ready for rock
Adding rock
With all the bricks in place & leveled, it was easy to add the rock between them. I also bought the small rock in bulk; 1/4 yard was plenty for this path. My garden wagon worked great to bring the rock to the path.
Small rock Installing rock
Adding a bridge
When I planned to build this path, I figured it would be easy to roll my garden wagon over it whenever I wanted. But since I didn’t remove the sod under the path (which would have set the bricks lower in the ground, making it easier to ‘drive’ over it), every time I tried to use the wagon, the edge bricks moved. Ugh! I thought about what options might be available and decided to buy a little bridge!

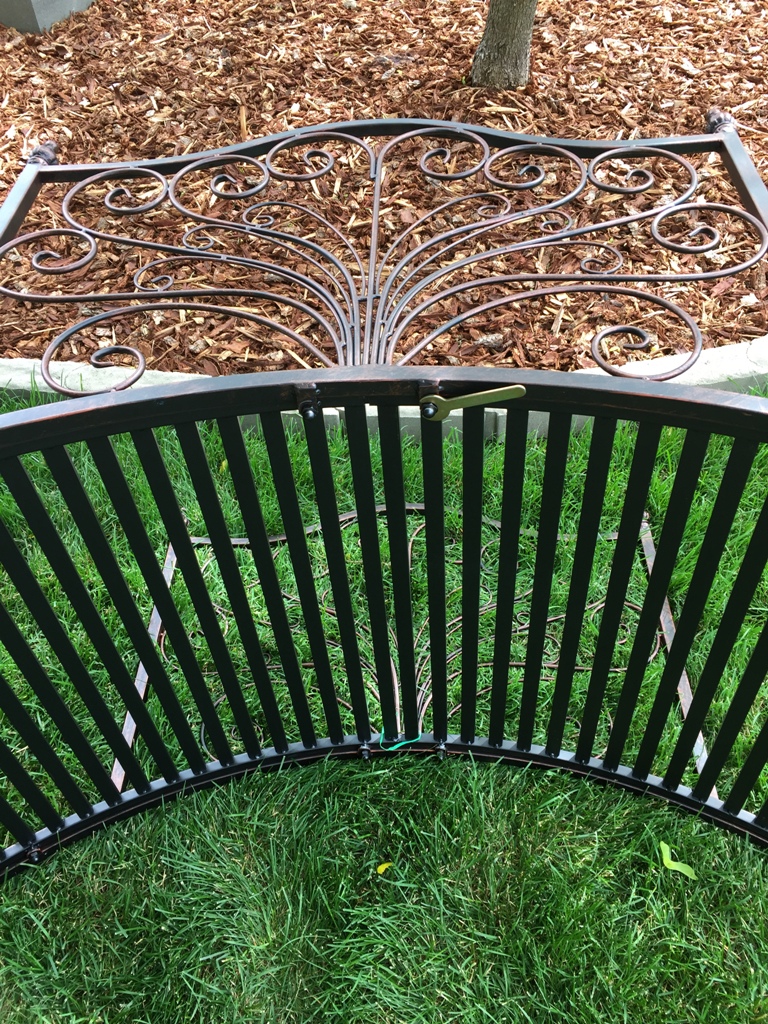
I looked online for garden bridges since I couldn’t find any locally. The first bridges I saw were made of wood but the clearance was too low for them to fit over the path. I then found the cutest metal one! Not only was it cute, but the listing also stated that it will hold up to 450 lbs! I read the reviews then quickly ordered it!
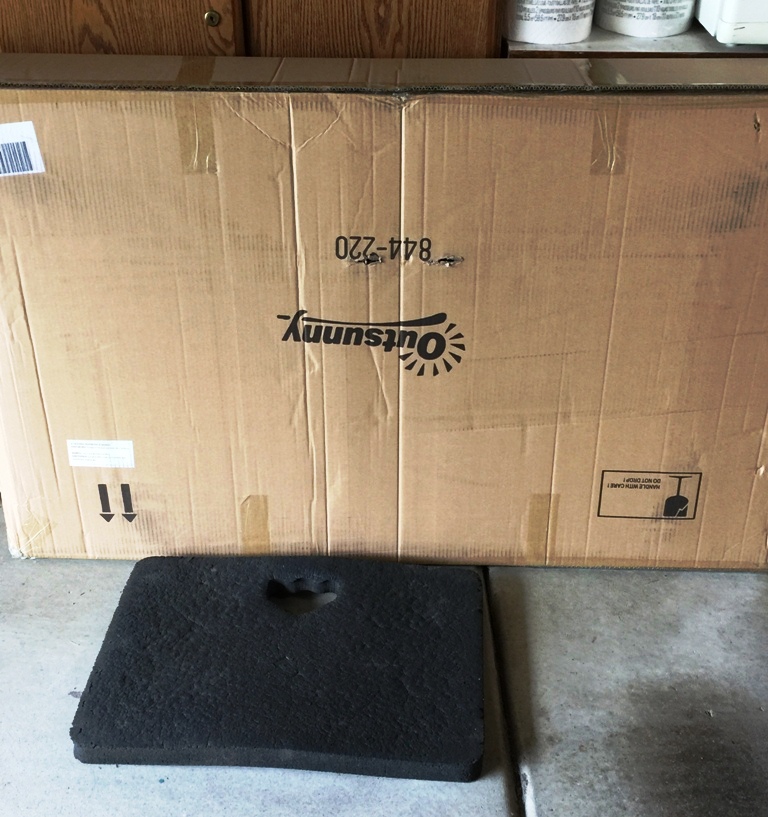
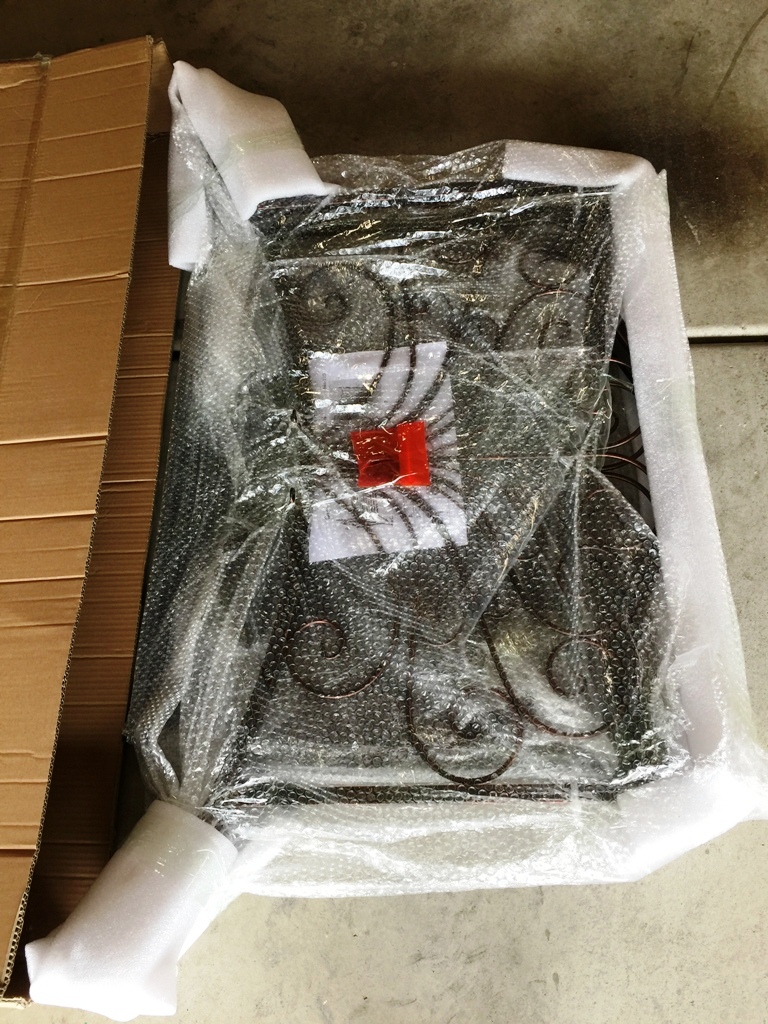
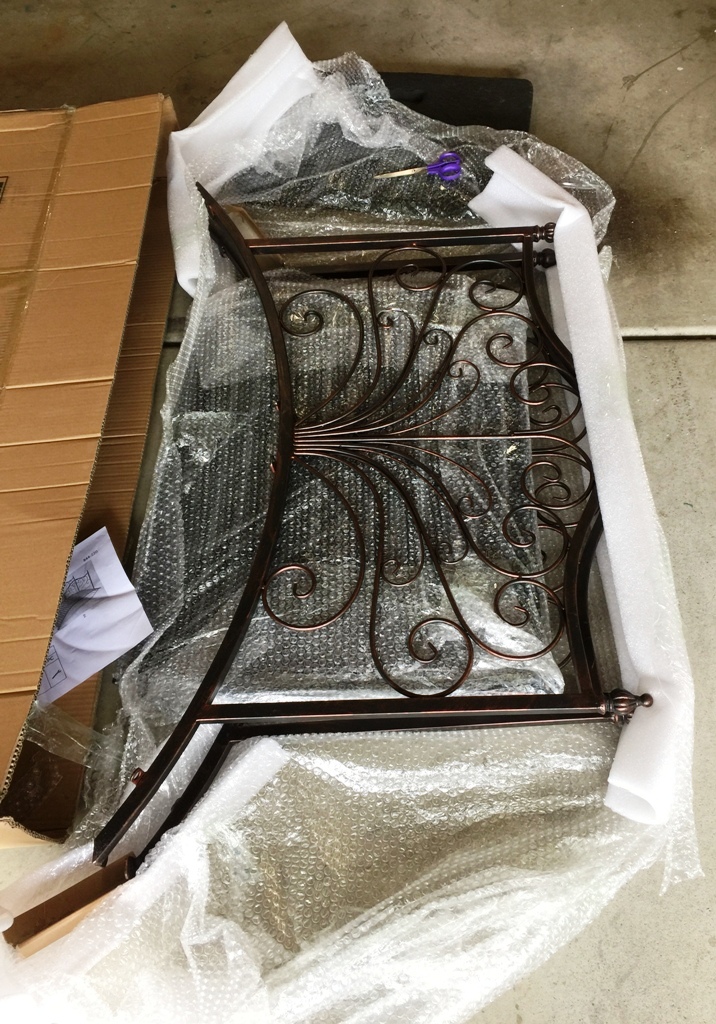
Assembling the bridge
The bridge was delivered in a few days. The reviews I read said that the bridge is easy to assemble. The arch is in two pieces & I just had to slide one piece into the other and attach the sides. There are 4 cap nuts that screw onto the bolts that are already attached to each side of the bridge. I estimate that it took me 15 minutes to assemble the bridge. So fast & easy!


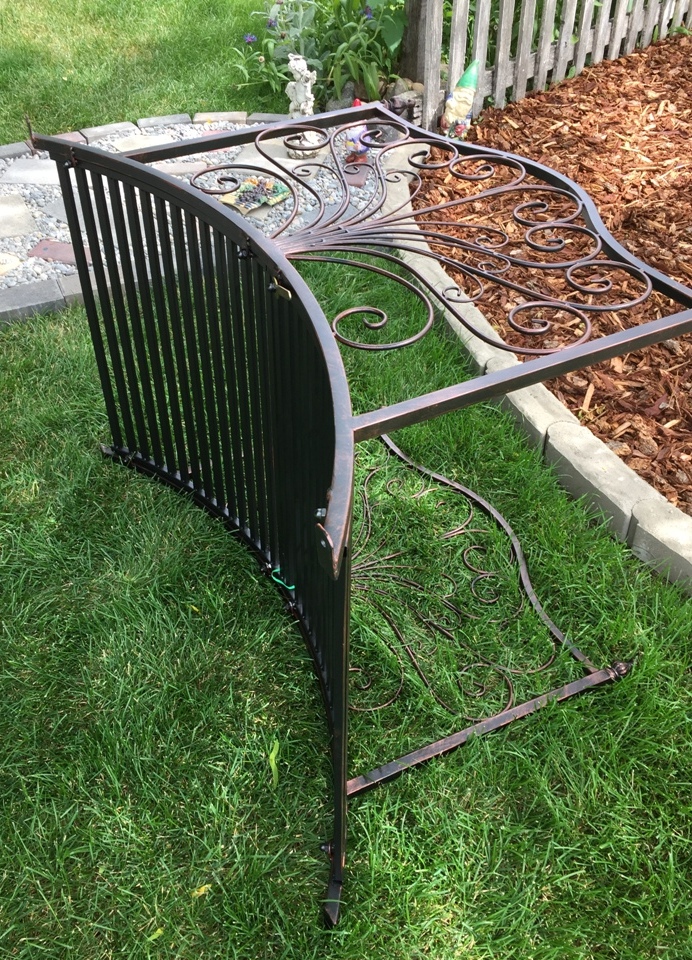
I bought six 12″ x 12″ cement blocks to set under the legs. The blocks raised the bridge so that it was level with the edge bricks.
Since the sides of the bridge are low & hubby has some balance issues, I also bought two metal poles from Lowes @$10 each and zip-tied them to one side of the bridge. Now when hubby walks over the bridge, he has something to hold onto if he feels the need. I have also used these poles when pulling a heavy wagon load over the bridge.
Applying sealer
With the bridge in place, I applied a glossy sealer to the small rocks between the bricks in the path. This step is optional but I like the wet look it gives to the path. I’ve also found that it also sorta ‘glues’ the little rocks to each other, preventing them from shifting as much if someone walks on them. I step on the large bricks to walk over the path but I know not everyone will do so.

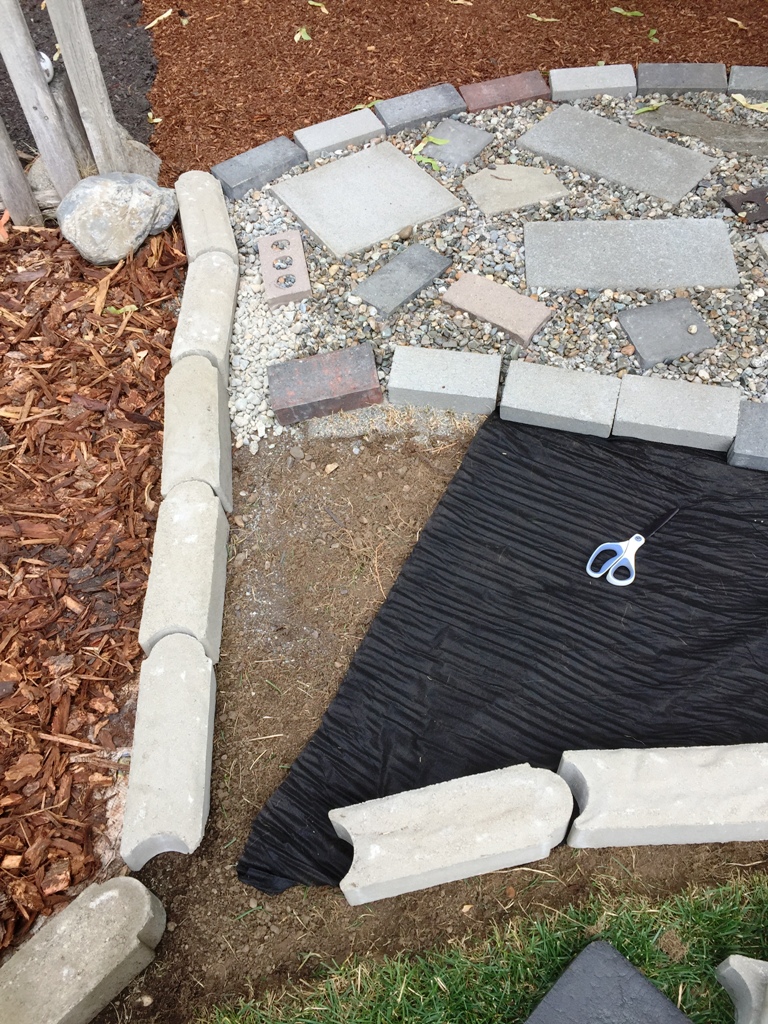
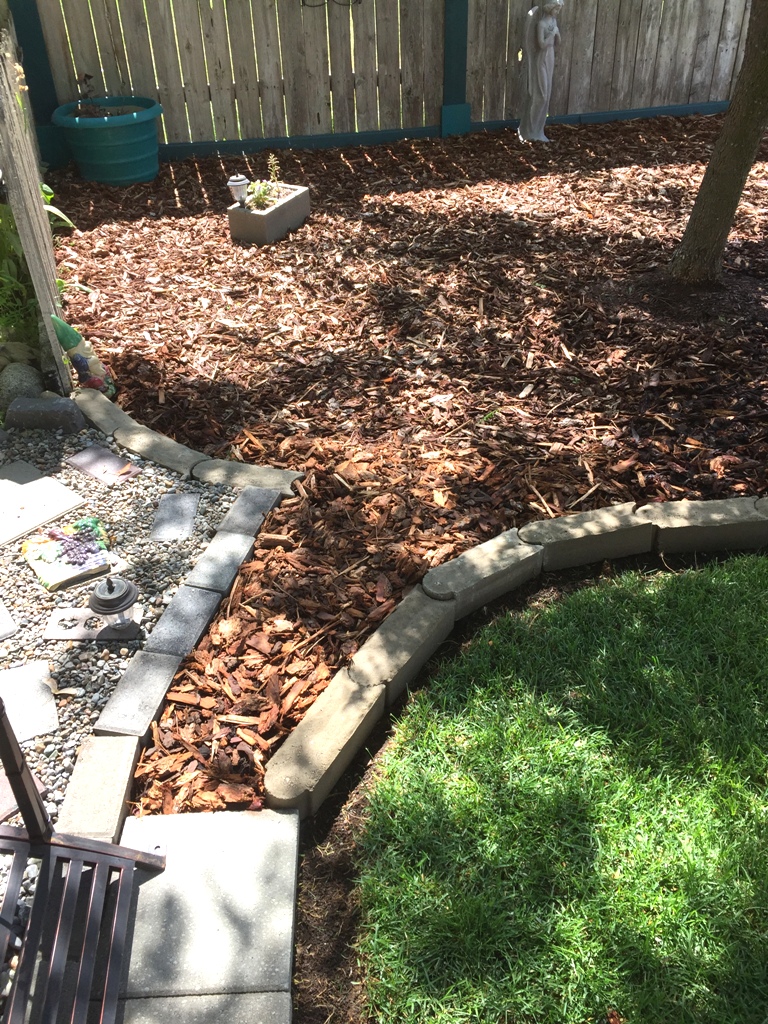
Stabilizing the edge bricks
The decision to place the path on to of the grass worked out very well as far as the center of the path was concerned. The large bricks, rock, and edging bricks closest to the garden area stayed in place. However, even though I was careful, the back wheel on the lawnmower would tap a brick or two and knock them out of place. While my intent when creating this path was not to have to remove any more sod, I had to admit that those edging bricks were not going to ‘settle’ and I needed to take corrective action.
Hubby thought it would be a good idea to create a border to the path and fill it with rock or bark. Adding that border would mean that I would be removing sod but it sounded like a good plan to fix the moving bricks along the ege of the path. So, I bought some of the bullet bricks like I had used to line the bark beds this year and set them on the grass about 18″ from the edge bricks. I liked the look and now needed to decide if I wanted to add more rock or bark. Hmmmm…
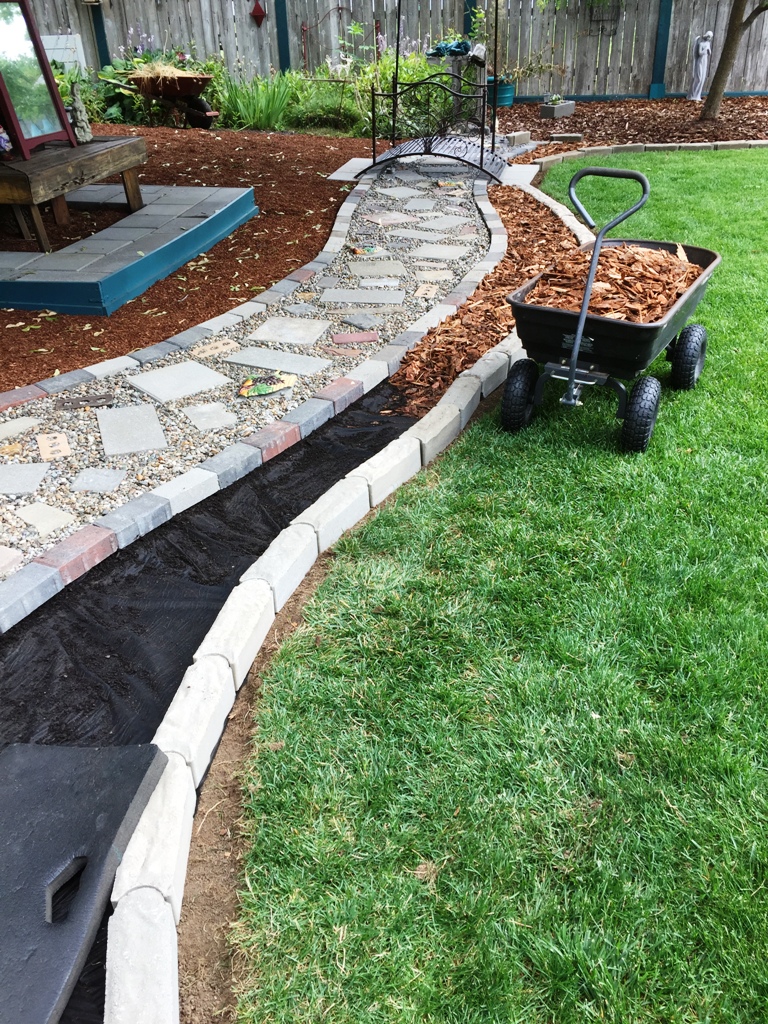
Then, I thought, why not use bark? I needed to buy more bark anyway to add behind the shed.
With the new plan in mind, I began pulling up sod. This sod would go to a friend’s property. It would be the 5th time I have taken sod to her and all the previous sod has rooted well and grown nicely.
Removing sod
Since this section was small, it only took a couple of hours to remove the sod. I made sure to allow an extra 4″ on the outside of the bullet bricks for the wheels of the lawnmower to ride.
I ended up with a large wheelbarrow full to take to Linda’s. We ‘planted’ it when I delivered it to her and I hear that it is growing nicely.
To remove the sod, I use a garden shovel to cut along the outer edge of the area. I then use the garden shovel to cut small sections of sod which makes it easier to remove. Using a kneeling pad & wearing gloves, I peel back the smaller sections of sod with a small garden rake. I clip small roots that are attached to the sod with garden clippers.
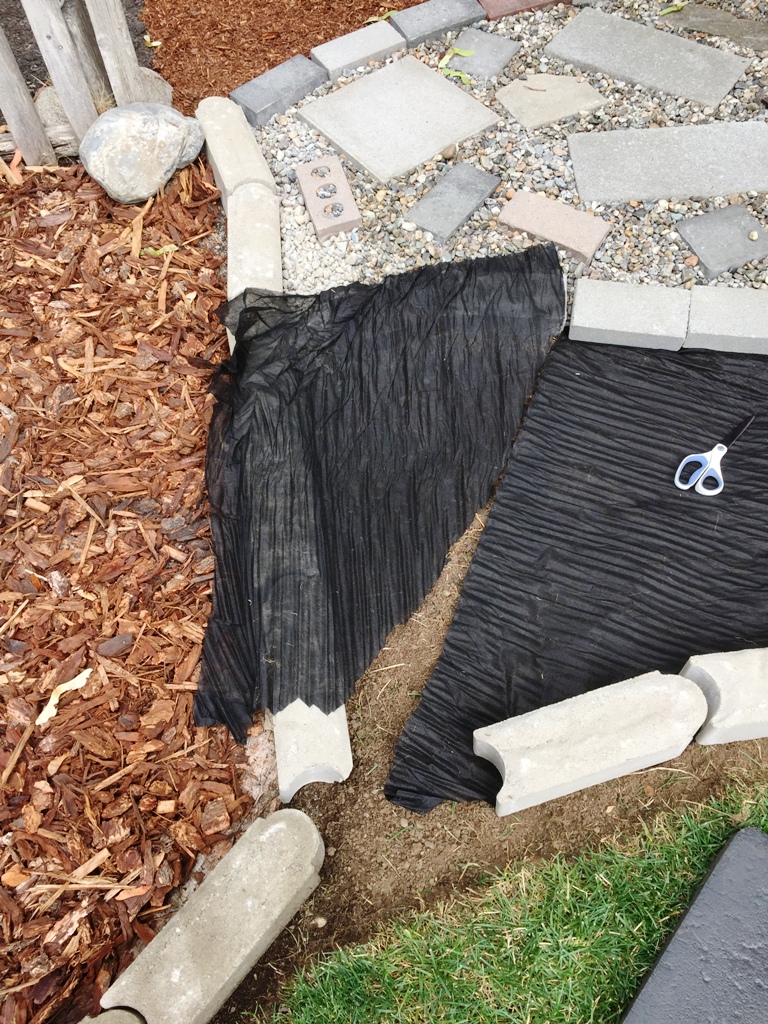
Laying weed barrier
When the sod was removed, I laid down landscape cloth (I had run out of newspaper) I ended up with exactly enough landscape cloth for this section of the project. Then it was time to add bark. As I added bark, I leveled each of the edge bricks as needed with paver sand. To create a flow between the new area & the bark beds, I removed the bricks at either end of the new section.
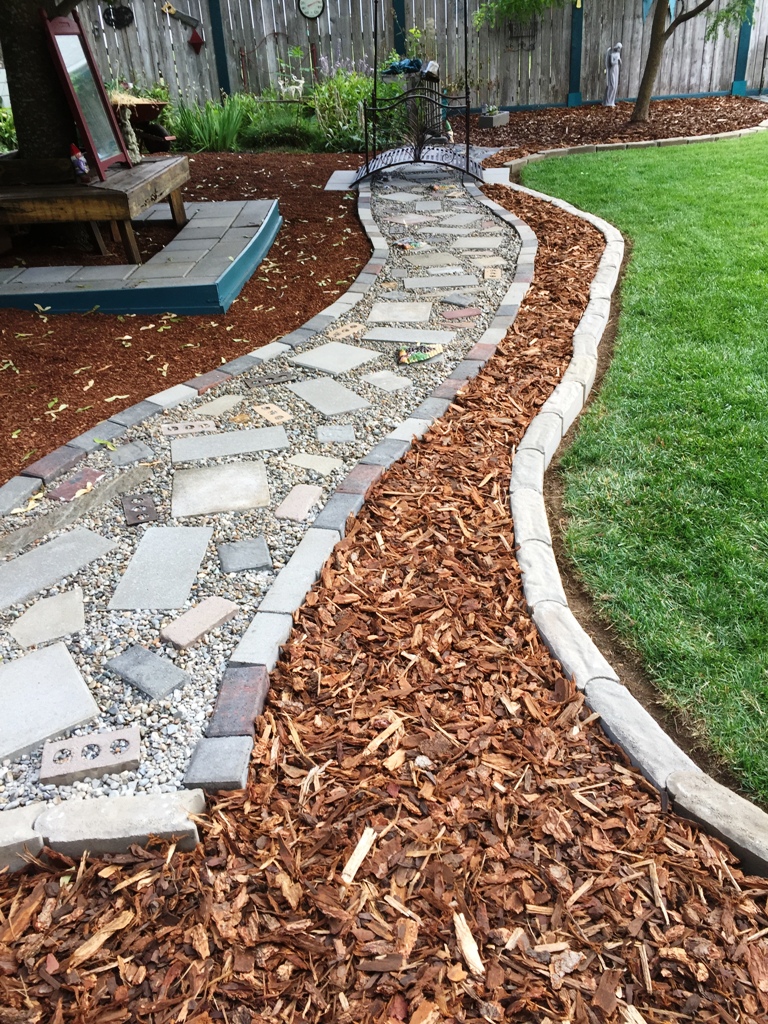
Finished path
I have to admit, hubby had a great idea! It looks really nice and keeps the edging bricks in place! Whether I call this is a path to nowhere, a dry river bed, or a brick divider between lawn and park, it’s a beautiful addition to our back yard!

Instructions
- If removing sod:
- Using a garden shovel, cut through sod along your perimeter line
- Section off small pieces of sod with the shovel to make removal easier
- Wearing garden gloves & using a kneeling pad, use a small hand rake, remove each section of sod
- If not removing sod, skip this section
- Lay down weed barrier such as landscape cloth/newspaper/brown paper bags
- If using newspaper or paper bags, wet them after laying them on the ground
- Set bricks on top of landscape cloth/newspaper/brown paper bags
- Using paver sand, lift bricks to put sand underneath, level bricks as needed
- Fill in the area between the bricks with a thin layer of paver sand
- Add small rock to fill in the area between the bricks
- Using a garden sprayer, apply the sealer to the small rock (*optional)
Project cost
I had all the tools for this project as well as the rock sealer, so my out of pocket cost for this project was $361. Without the bridge, it was $131. Here is the cost breakdown of what I bought:
- 26 bullet bricks = $37
- 1/2 yd bark = $17
- 1/4 yd paver sand = $9
- 1/4 yd small rock = $9
- Landscape cloth = $12
- Edging & accent bricks = $47
- Bridge = $230 (*currently on sale for $209!)
- Total: $361
For your convenience
For your convenience, I have added the supplies I used here. These are links that will take you to where you can get what you need. The other materials: sand, bark, rock, bricks can be purchased at a local landscape place.
This post contains Amazon affiliate links. If you choose to order through these links, it will be at no extra cost to you


Let’s Stay in Touch!
I’m excited to share more projects with you as well as tips/tricks/freebies! Just enter your email below to be one of my Blog Peeps!


6 Comments
Pingback:
Pingback:
Mary
I love it! I’m inspired! 🤠
Jeanne
Thanks, Mary! It looks great in our yard!
Susan Mercurio
I use a spade, not a rounded shovel, to cut through sod. Makes a cleaner cut.
Jeanne
I had heard that using a spade is better. I should get one 🙂