

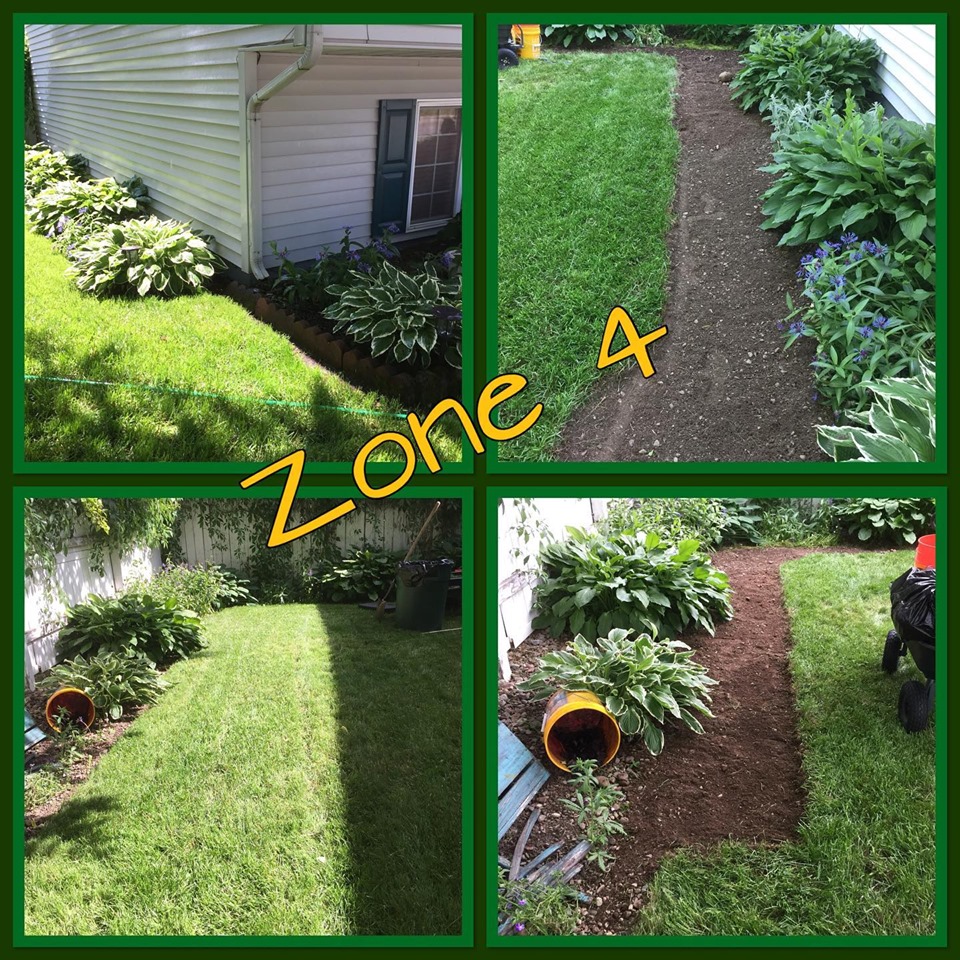
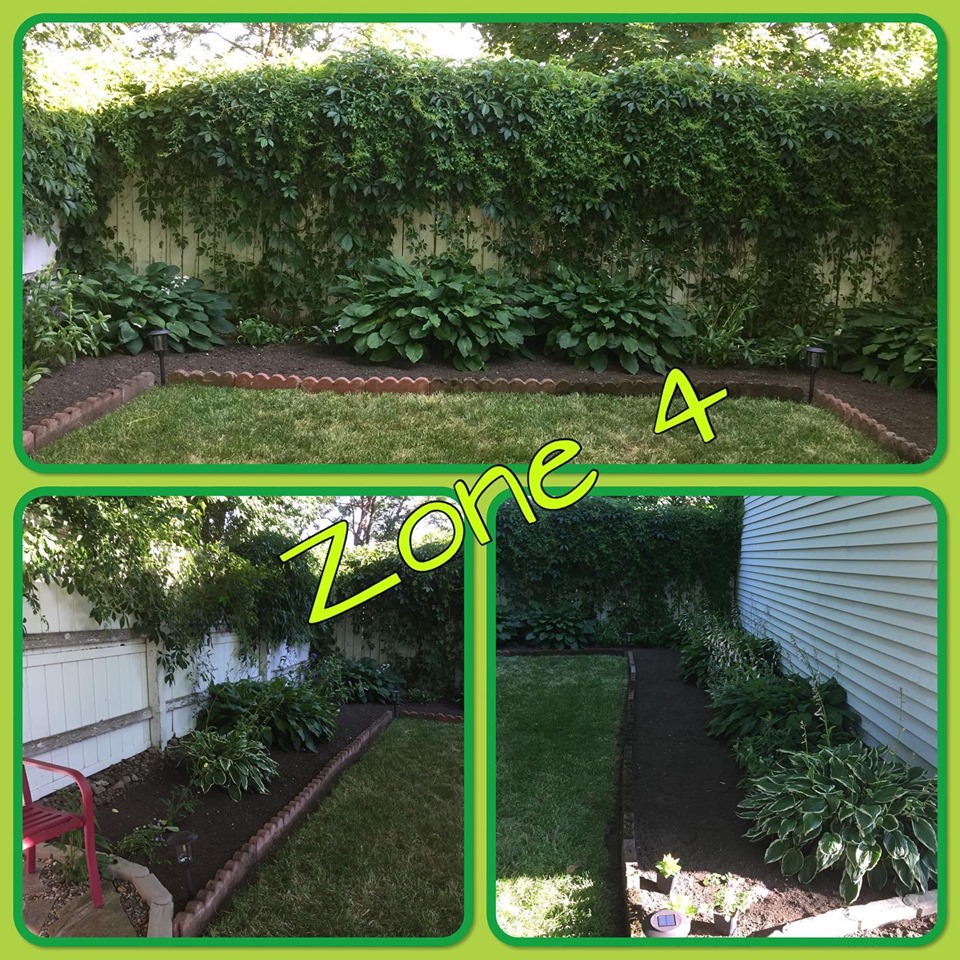
Let’s Landscape the Front Yard! Zone 4
If you’ve been following the progress so far, you know that this year is the year of revamping the landscape in the front yard. Zone 1, Zone 2 & Zone 3 detail the project so far. If you have read those, you know that what started out as a simple enlargement of one flower bed, morphed into a full-on Front Yard Refab! It all began when we decided to enlarge the area around the Hosta plants that are planted by the sidewalk in front of our house. Then, when that project was done, well, actually, while I was working on that section
Before pictures of Zone 1, Zone 2, Zone 3

Hostas 
The tree on the hill 
Neighbor’s walnut tree
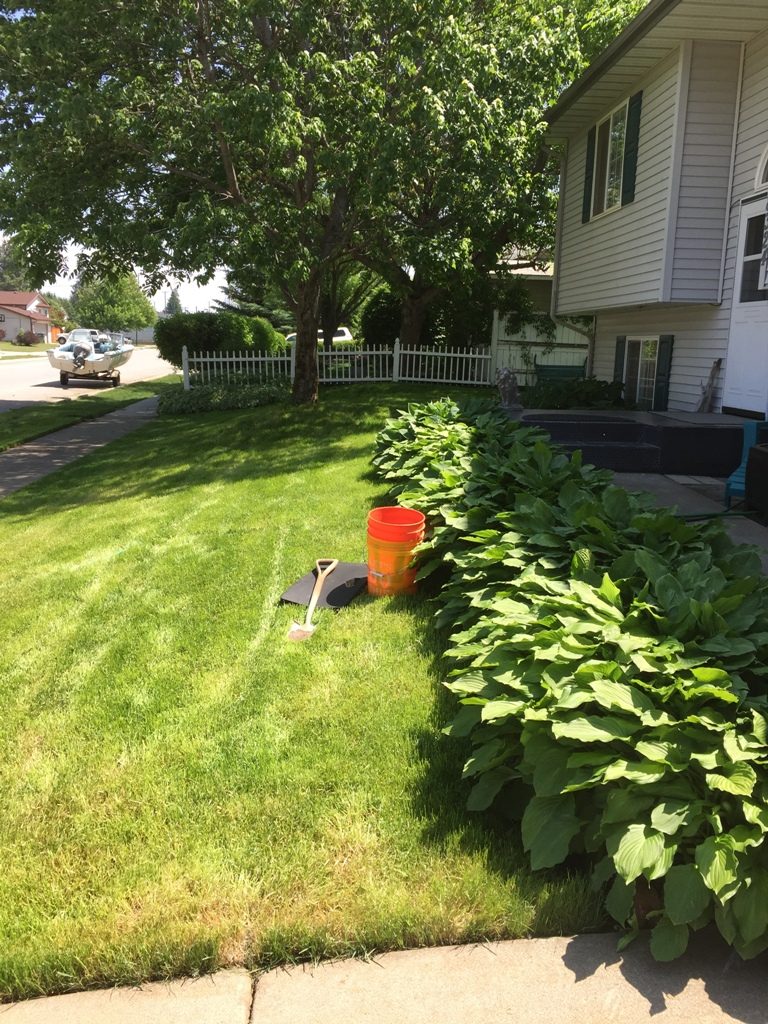
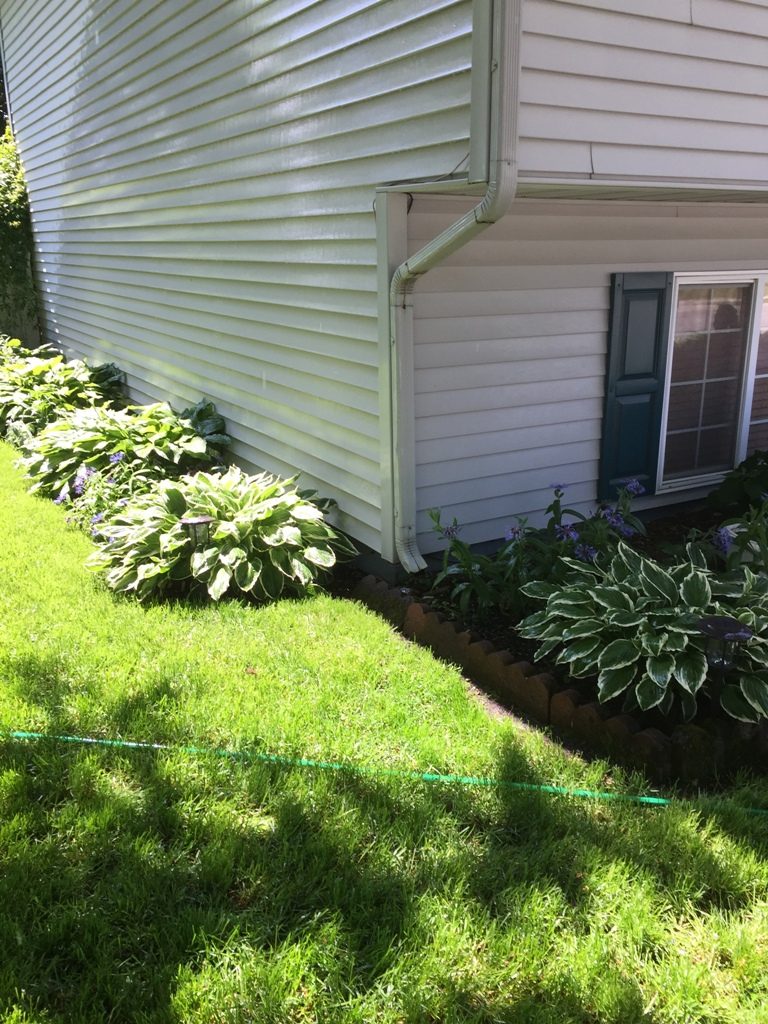
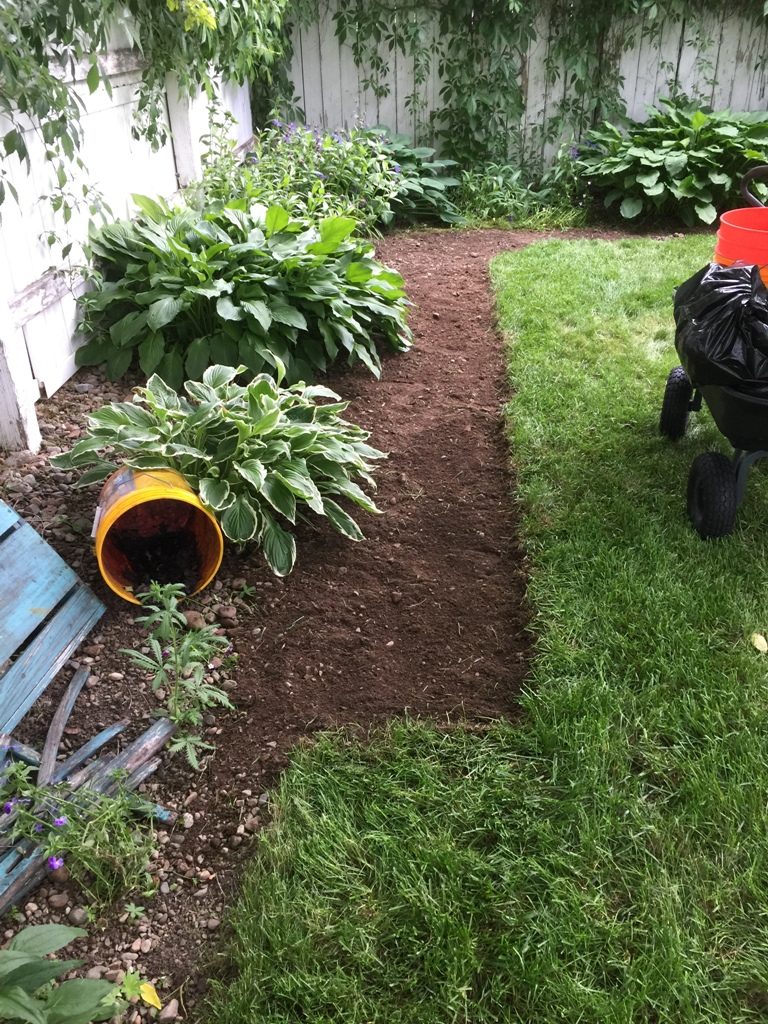
While I was pulling up sod in the front yard – to give the Hosta plants more room, add flagstone around the front tree, and create the rock garden, it just made sense to also pull up sod to enlarge the East garden where those Hostas also needed more room. I created this flower bed years ago by removing
Deciding how much sod to remove was easy since I was basically continuing the front flower at this point. To keep the same width as the section of that bed, I would be enlarging the East flower bed by 3 feet. That turned out to be a nice measurement as the Hostas in that bed are even larger than the ones by the front sidewalk. The next step was to remove the sod.

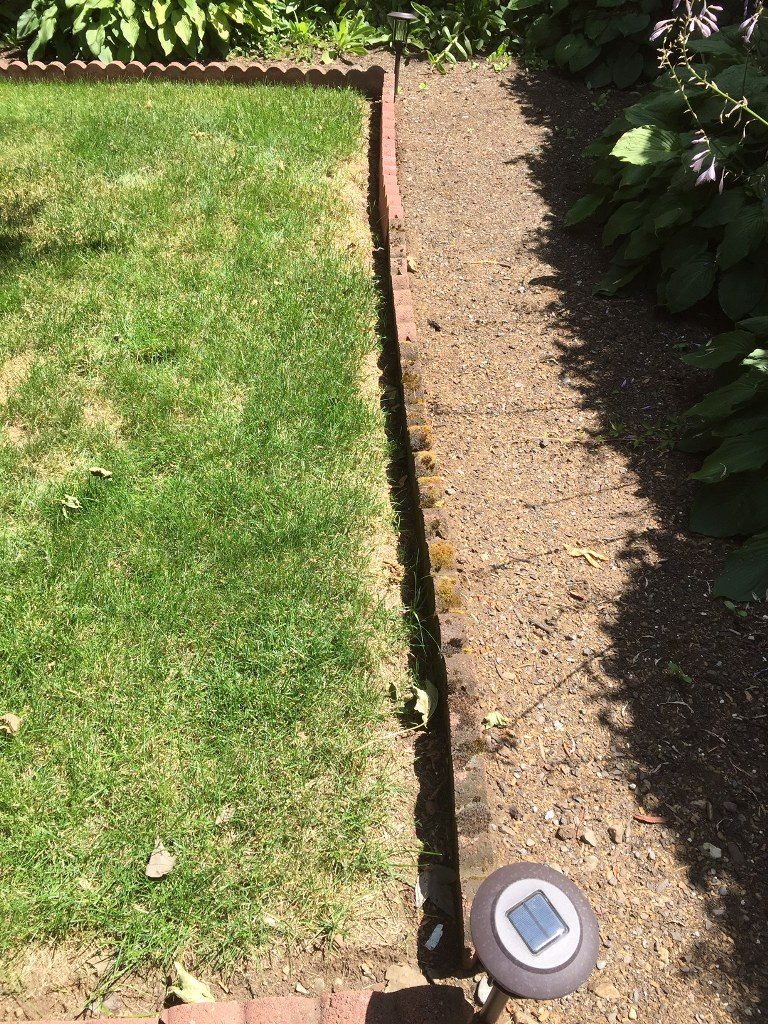
East Hosta bed 
East Hosta bed

There are sod cutters you can rent but I’ve always just pulled the sod up by hand. Sometimes the sod comes up pretty easy and other times, it’s a bit of a struggle. I’ve found that if the grass and dirt are a bit moist, the job is easier. If there are trees close by and you run into small roots that are intertwined with the soil, it is more difficult. I keep a small garden cutting tool with me to cut those
For your convenience, I have created a free printable with pics, Supply List & Instructions for you!

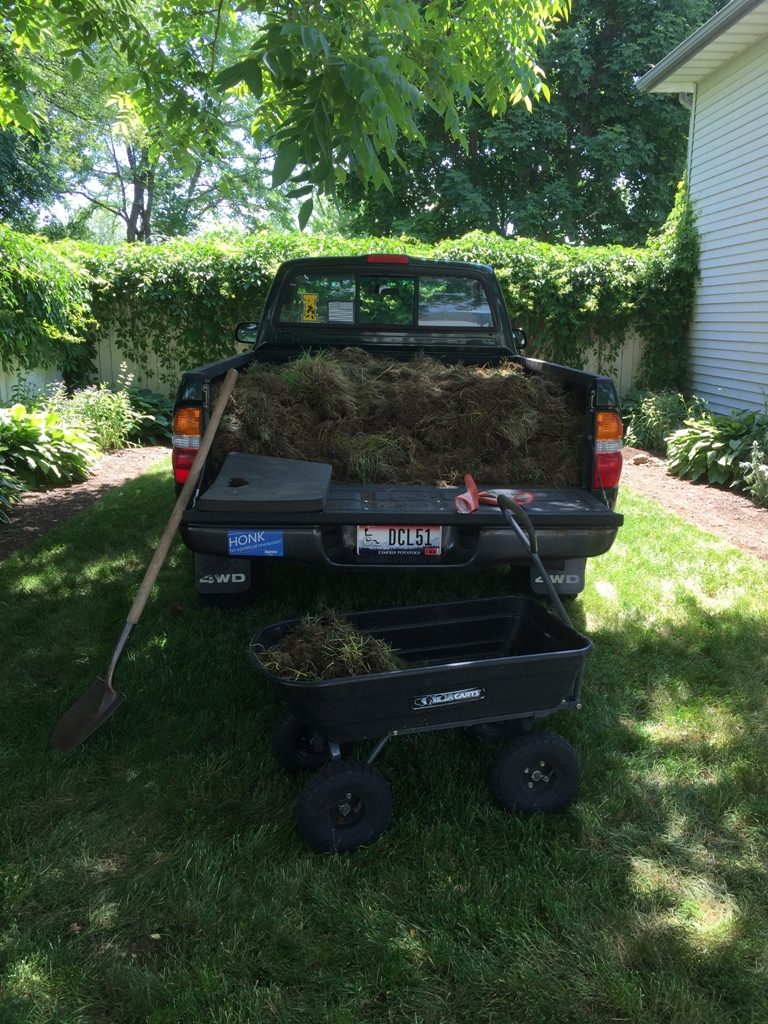
Now that I knew what size the area would be, to begin the process of removing the sod, I grabbed my a garden shovel and started cutting through the sod to the soil, making that cut about 2″ deep. Once that was done, I used the shovel to cut the sod into smaller sections; doing so creates pieces that are easy to remove and use in a new location. To remove the sod, I used a garden knee pad, got down on my knees and used a small garden rake to pry the sod from the ground. As each piece was loose, I placed it in my garden wagon and when the wagon was full, I took it to where I was storing the sod from Zones 1, 2, 3 until it was time to load it in the truck and take it to a friend to use.

Storing sod 
Loaded and ready for delivery

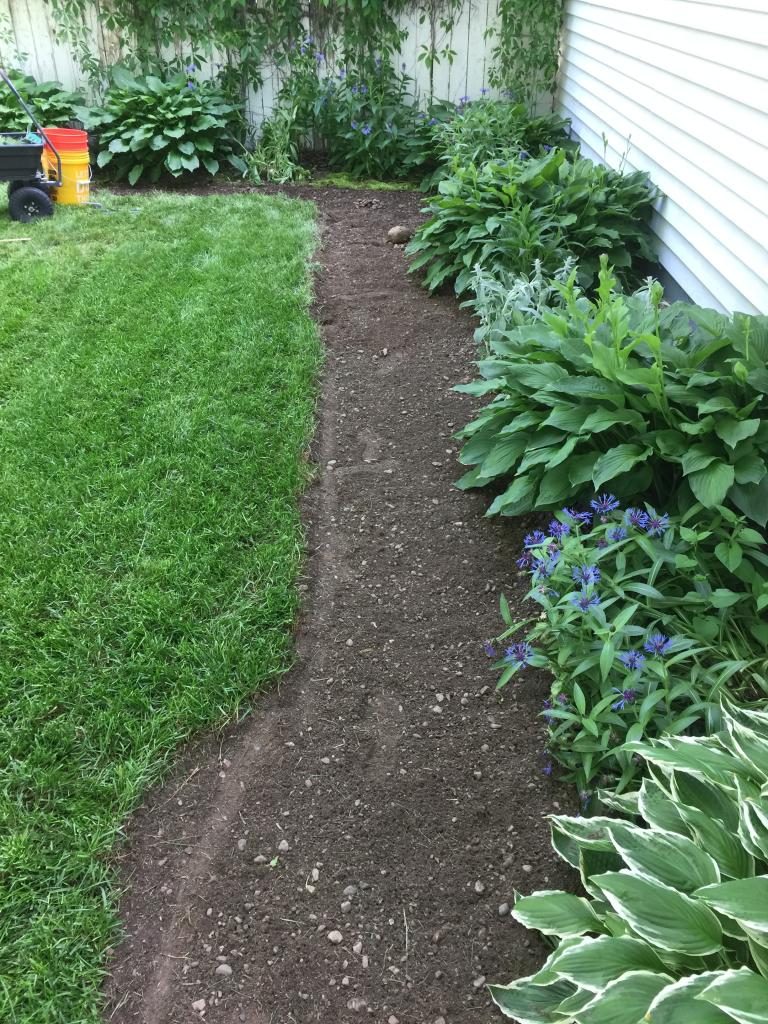
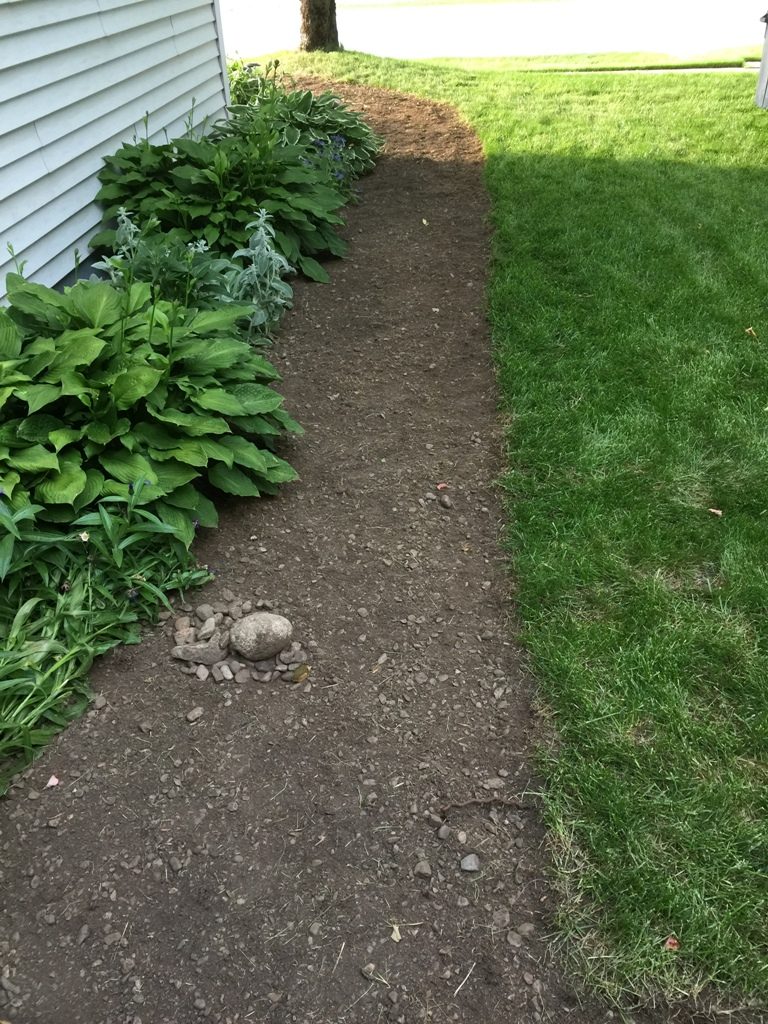
The section where the roots were was about 4 feet, after that, the sod from the East garden bed came up so much easier than the previous sections of the yard which was SO nice!
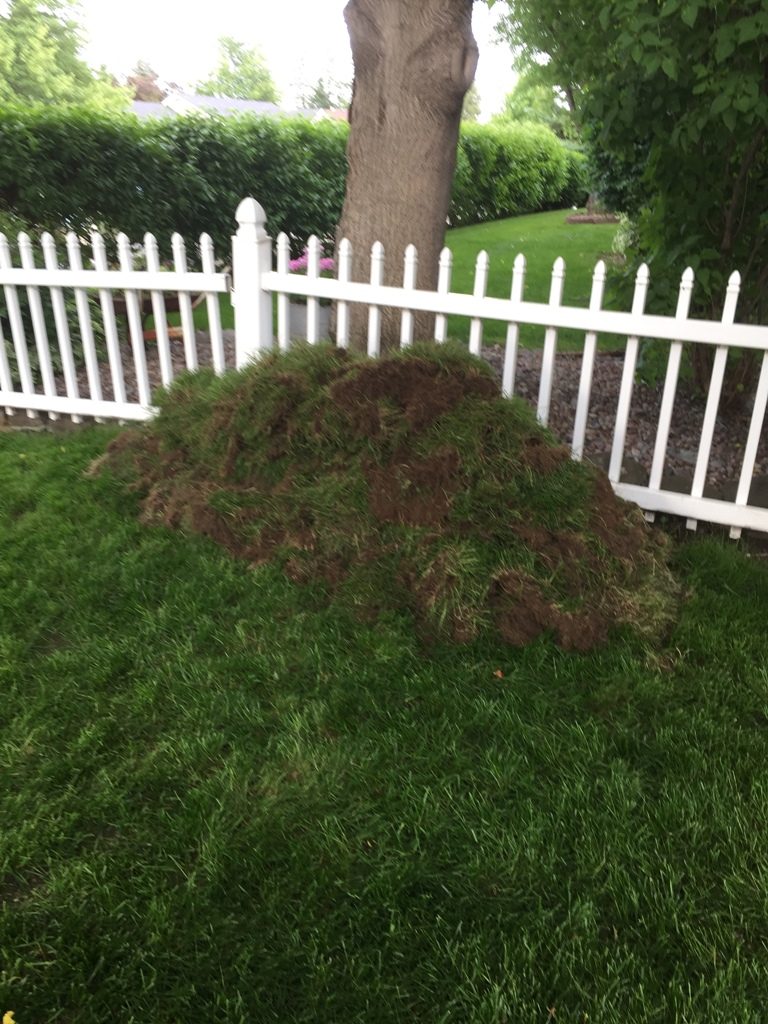
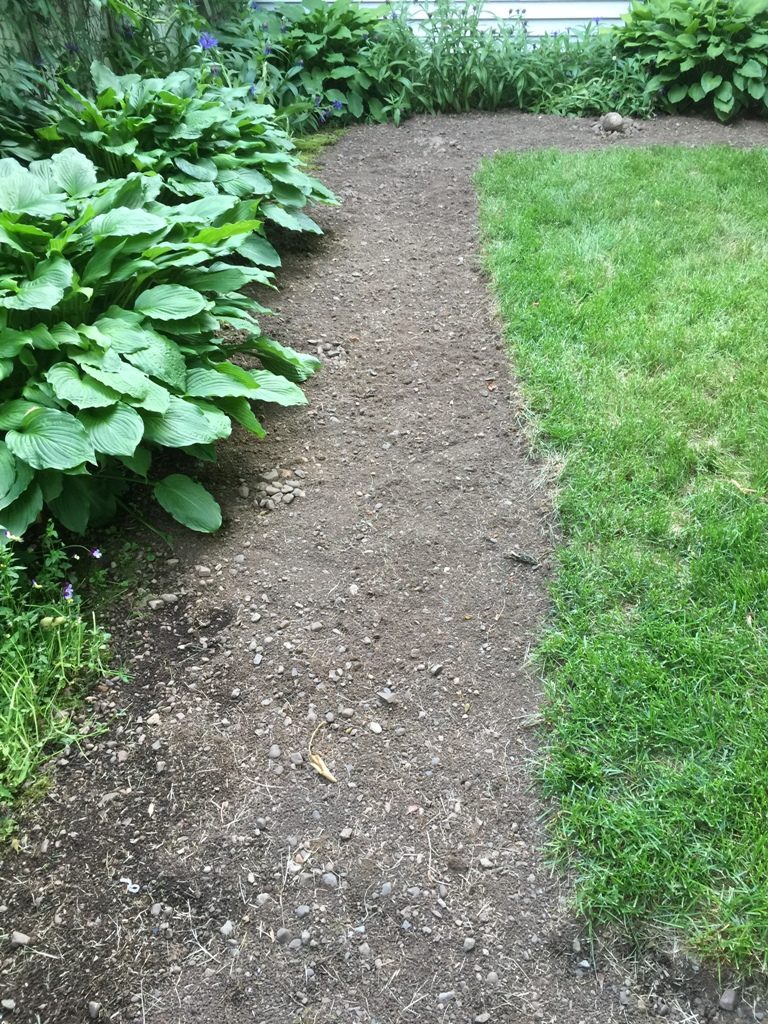
Removing sod from East flower bed
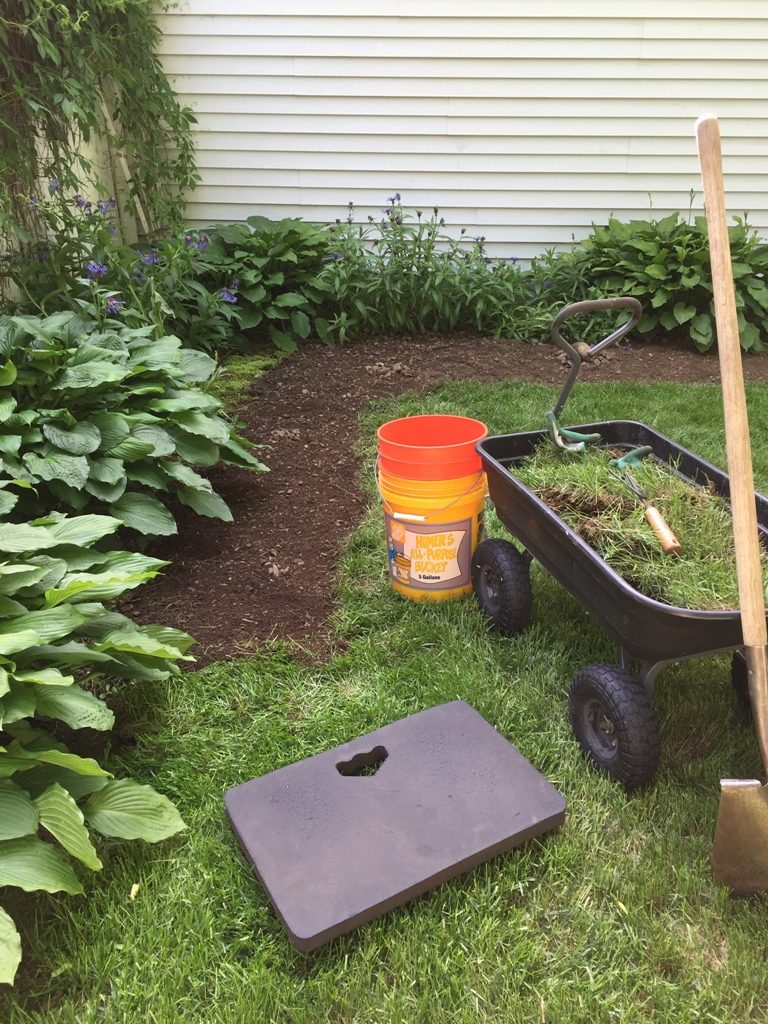
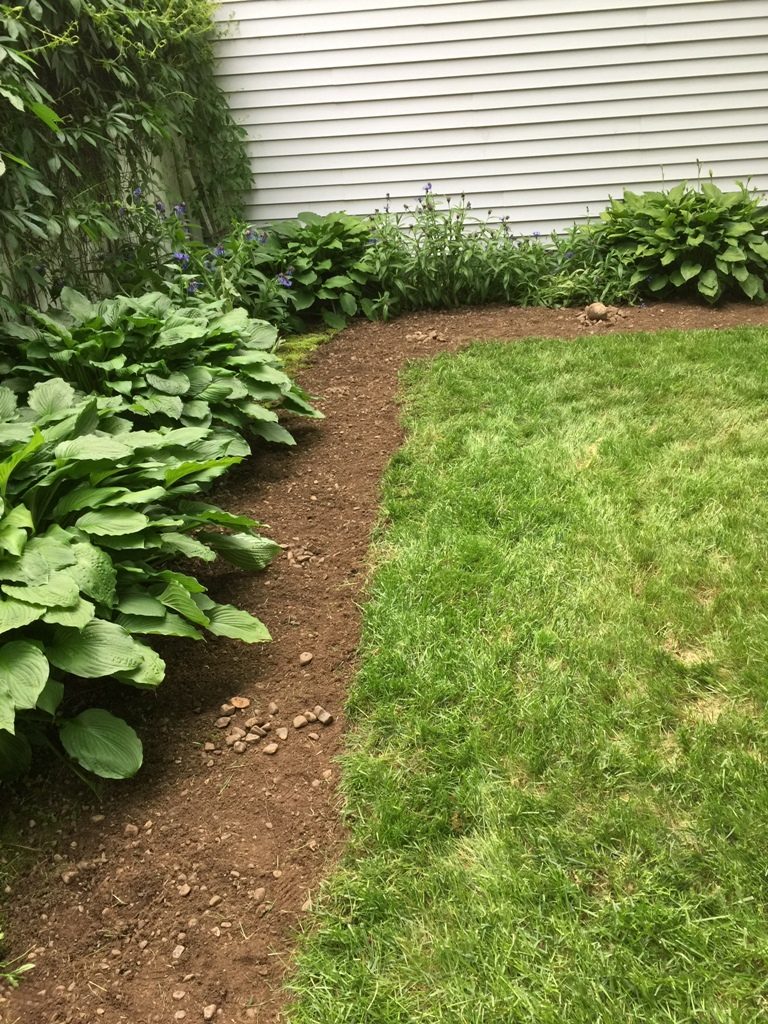
Once I had all the sod removed, I figured I was done with this flower bed. When I first created it, I didn’t use any type of edging and it has always looked fine. However, my neighbor and I were chatting one day, over the picket fence and she asked if I had planned to add edging. Well, no, I hadn’t, I replied. But, her question got me thinking….should I?
At this point, the front yard landscape refab had morphed into a much bigger project and expense that I had planned on so I wasn’t keen on buying more bricks to edge this flower bed. THEN, I remembered the red brick edging I had removed from the front flower bed. Did I have enough?! Hmmm!!! I wasn’t sure. Did I measure to see? Nope. I just loaded up my little garden wagon and started bringing them from under the deck in the backyard BACK to the front yard 9 at a time (those little suckers are heavy and that was the max I could haul in each load). I do enjoy the free exercise I get from hauling bricks, cement & rock!

Red scallop brick @ $1.39
As I brought them to the front, I started edging the new space. When I had finished installing all 34 bricks, I was just a few feet short of having enough. No biggie, I could buy 5 more bricks. As I returned the wagon to the back yard through the garage, out of the corner of my eye, behind the garage door, I saw some red bricks! Turns out, we had extras! 5 extras! EXACTLY enough to finish this project! Woopie!!!
After the edging was complete, I added several bags of top
Brick edging

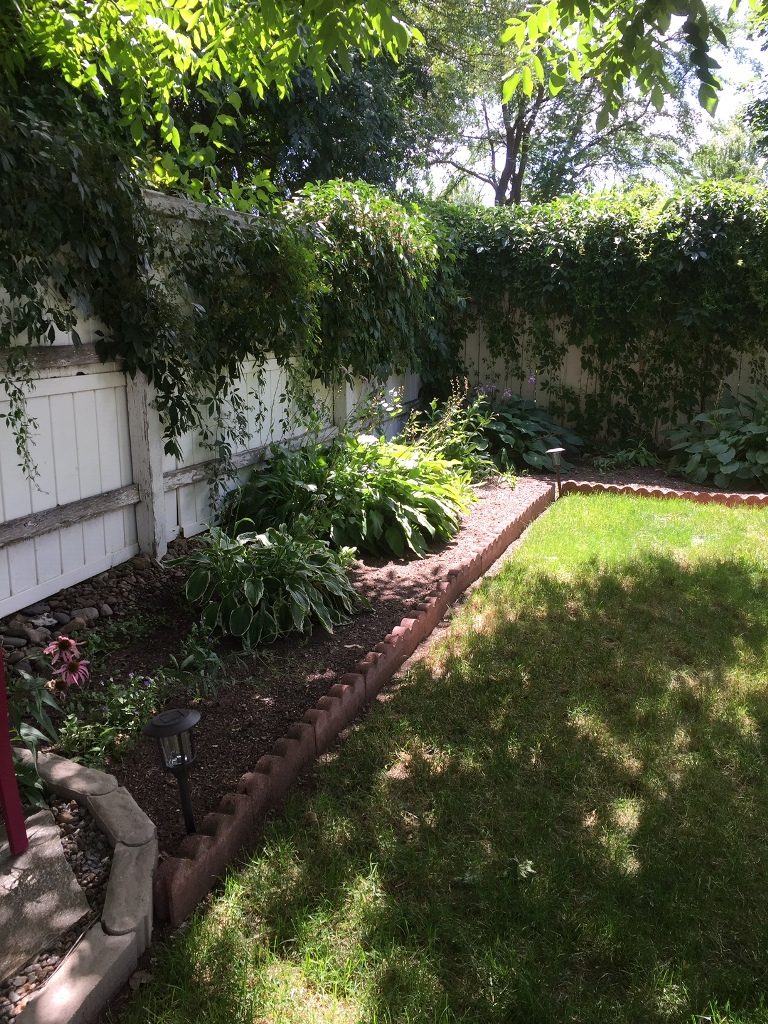
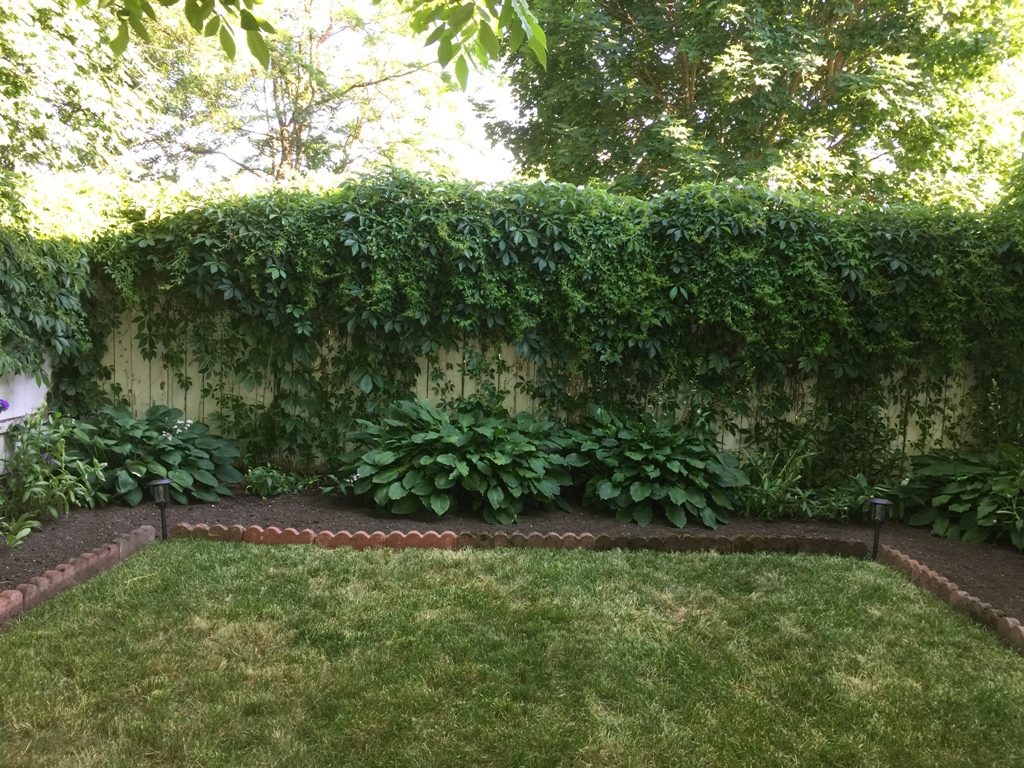
Although I had not planned on edging the East flower bed, I have to admit, doing so creates a nice finished look. Since I already had the bricks, doing so at $0 is even better!
Supplies Used
- Garden shovel
- Small garden rake
- Garden cutting tools – small & large
- Garden wagon
- Garden gloves
- 39 scalloped red bricks @ $1.39 = $54.21 (I had these on hand so $0)
- 10 bags top Soil @ $2 = $20
Instructions
- Measure the size of the area where you are removing sod
- Use
yardstick to measure size and mark with a string line or garden hose - Using a garden shovel, cut through the soil along the line for the new area
- Pull up the sod and set aside
- You can use the shovel to loosen the sod or a small garden rake
- Lay down Landscape Cloth if needed for weed control
- Add soil
- Use edging bricks to line the new area
Remember to grab your free Printable with pics, Supply List & Instructions
Thanks for reading! If you love this project, please leave a
I finished this project not long before a two week vacation. Now that I’m back, I ‘m wondering if adding a flower bed to the West side of the house might be a good idea 🙂


2 Comments
Pingback:
Pingback: